61
Using the Registration Buttons
Using the Registration Buttons
With the settings of Registration buttons [1]–[4] considered as one set, you
can store the Registration set to USB memory or User memory. We
recommend that complex panel settings or Registrations you wish to keep be
saved on USB memory.
Furthermore, when you save Registrations created on the ATELIER to USB
memory, you can call up their settings on other ATELIER Series instruments and
use the Registrations the same way.
1.
Connect your USB memory to the External Memory
connector.
2.
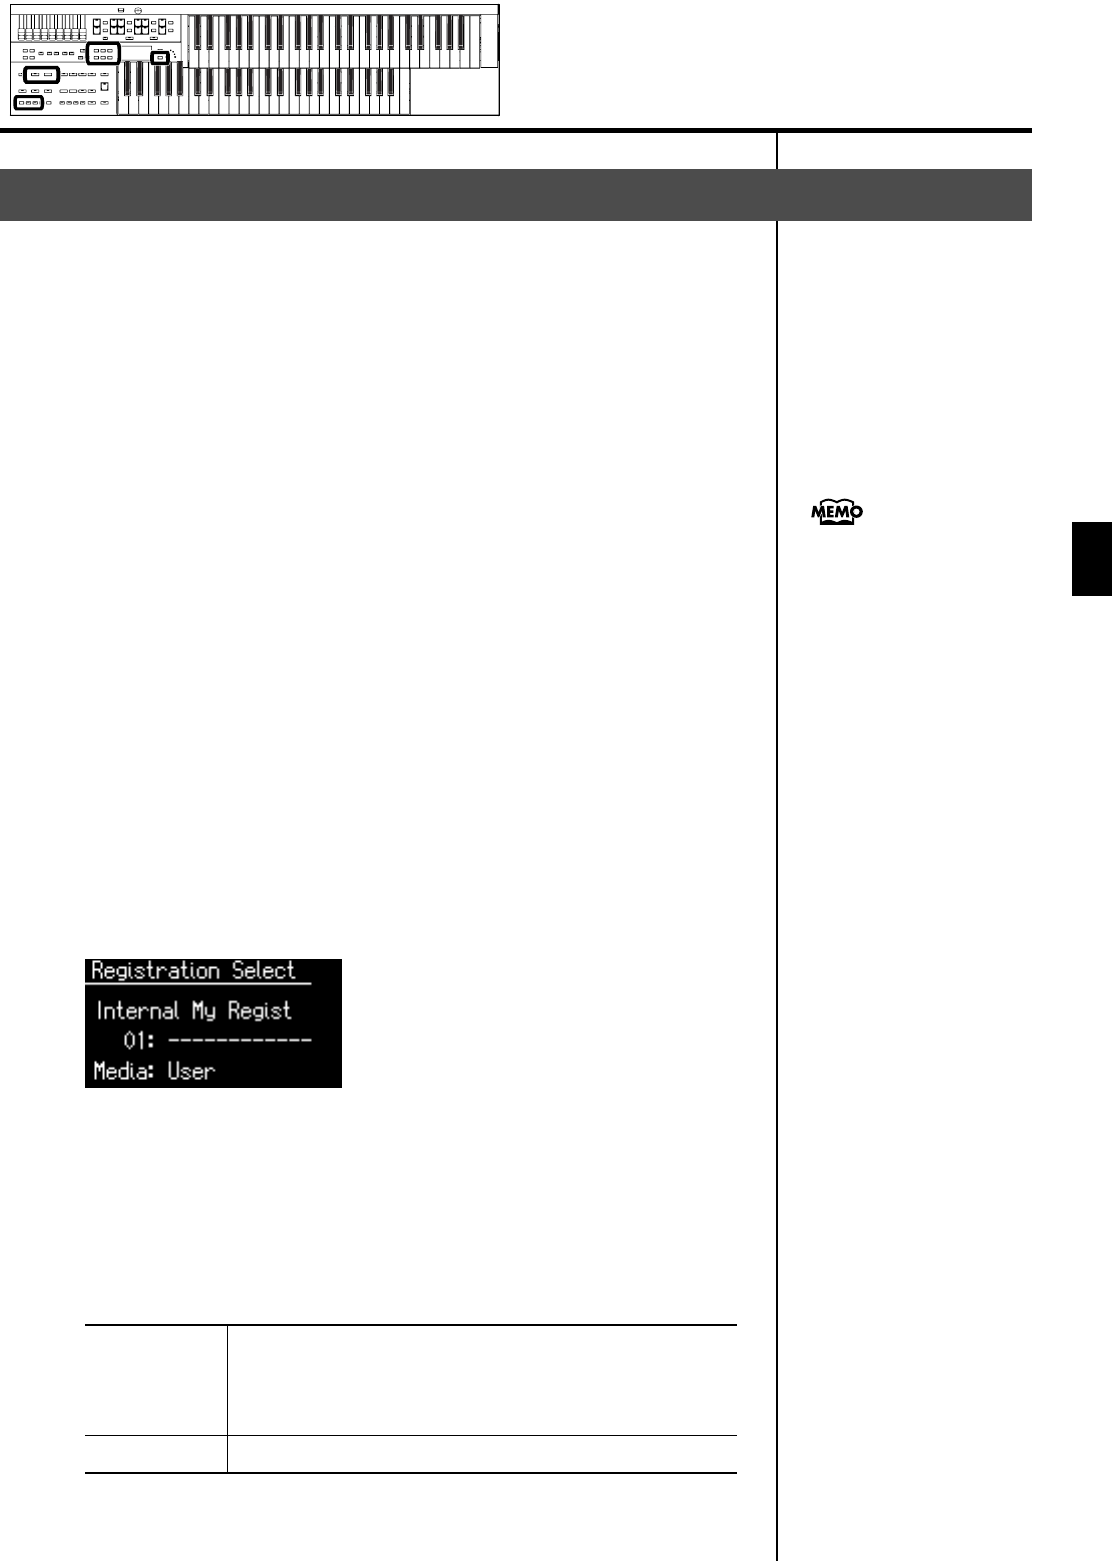
Press the [Registration] button to make the indicator light.
The Registration Select screen appears.
3.
Press the [Media] button to select the desired media.
If you want to save the Registration to USB memory, select “Ext Memory.”
If you want to save the Registration to floppy disk, select “Disk.”
If you want to save the Registration to User memory, select “User.”
4.
Press the Value [-] [+] buttons to select the save-destination
number.
Numbers which have not been used in the Saving operation will be displayed
as “- - - - - - - - - - - -.”
fig.07-10
To cancel the operation, press the [Registration] button.
5.
Press the [Save] button.
6.
Press the Value [-] [+] buttons to select the format in which
the data will be saved.
Saving Registration Sets
ORIGINAL
Save formats that can be used with the AT-75.
When saved in this format, the data can also be used by AT-S
Series, AT-900, AT-900C AT-800, AT-500, AT-300, AT-100,
AT-45 and AT-15 devices.
R-SERIES
Save formats that can be used with AT-R Series devices
If you want to save Registration
data to a floppy disk, connect
the floppy disk drive to the
External Memory connector.
Into the floppy disk drive, insert
a floppy disk that was
formatted by the ATELIER.
AT-75_e.book 61 ページ 2008年8月21日 木曜日 午前10時9分


