RSP-975
11
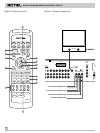
CENTER DELAY Button (remote only)
36
The CENTER DELAY button works like the SURROUND DELAY but-
ton above, except that it increases the delay the center channel
speaker, if present. CENTER DELAY is only available in Dolby
Digital surround mode. The CENTER DELAY button steps sequen-
tially through five available settings (O, 1, 2, 3, 4, 5 ms).
NOTE: The CENTER DELAY setting is system-wide. Changing it will
increase or decrease the relative delay time for all inputs in Dolby
Digital surround mode. The setting is automatically memorized as
it is made.
You will get visual confirmation of your delay time setting on the
VOLUME DISPLAY as you adjust the setting. The delay time setting
also appears in the ON-SCREEN DISPLAY (see below).
DYNAMIC Button (remote only)
37
This button is used to reduce the dynamic range to accommodate
program material that could tax your system or for low-volume lis-
tening. This feature is only available in Dolby Digital surround
mode.
Press the button repeatedly to step through the four available set-
tings: NONE (full dynamic range), 25% reduction, 50% reduction,
and 75% reduction. While making the adjustment, the setting will
appear in the VOLUME display. The setting is also shown in the
ON-SCREEN DISPLAY (see below).
A front-panel LED lights to indicate that the dynamic range has
been reduced.
BACK/BALANCE CHECK (remote only)
41
The BACK button on the remote control is used during initial cali-
bration of relative speaker volume levels. Generally, it is only used
during initial setup of the system and not during normal operation.
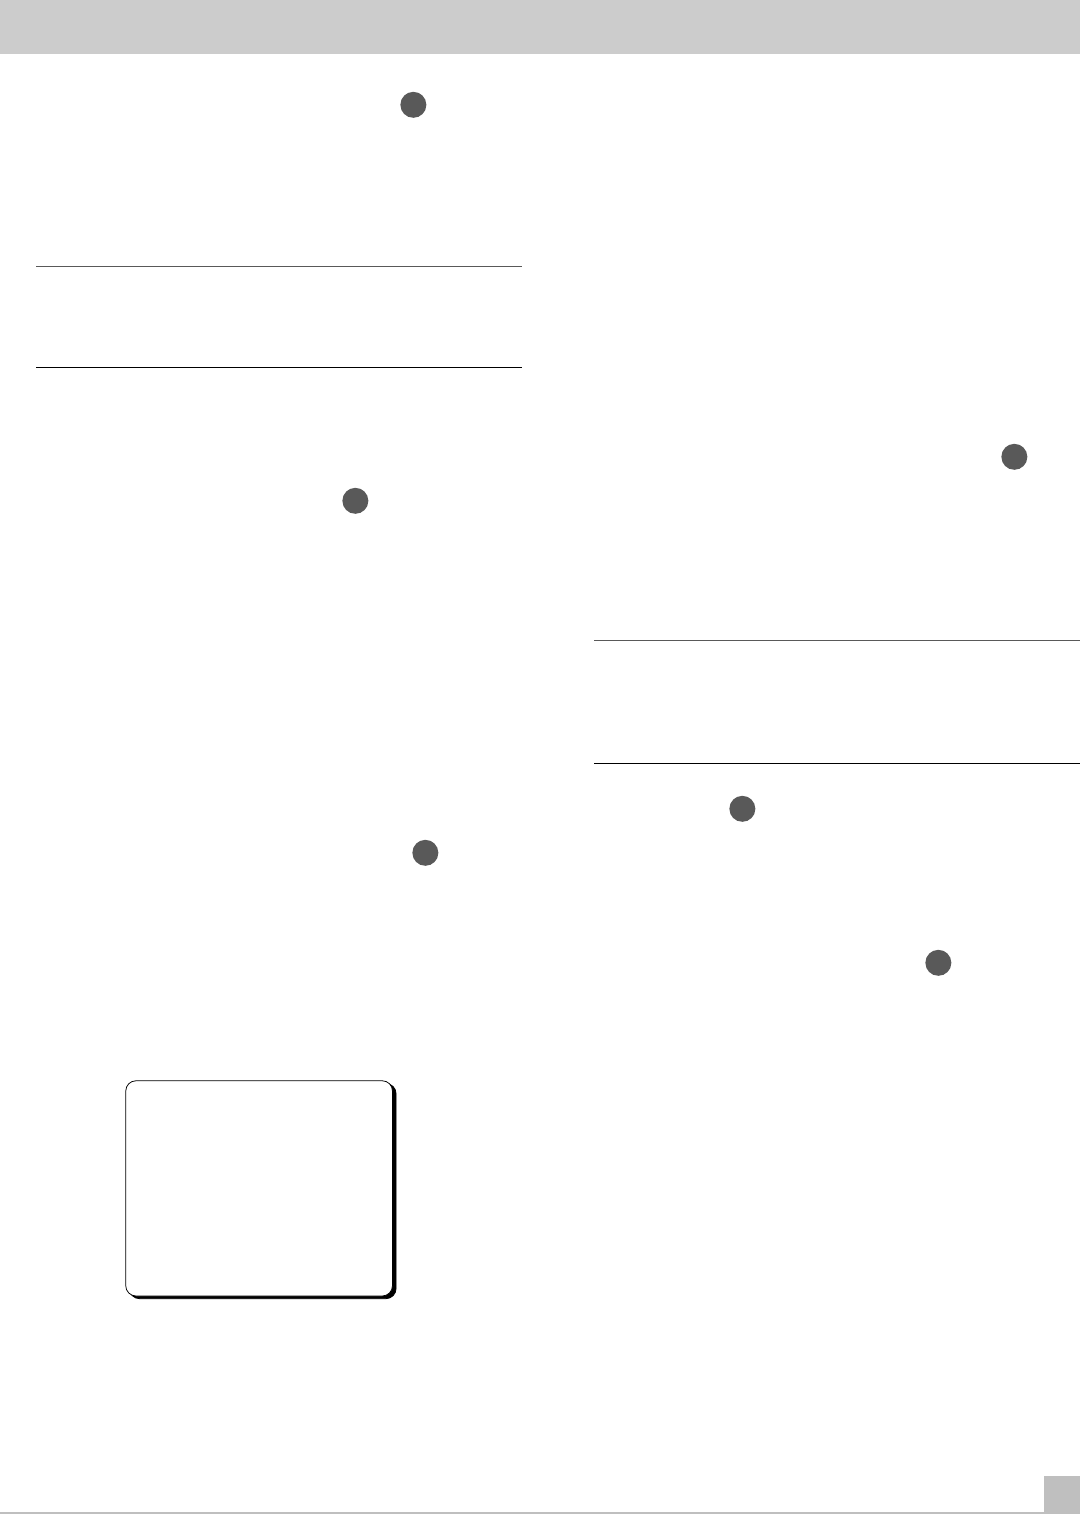
To enter the BALANCE CHECK calibration, press and hold the
BACK button for 2 seconds. The following screen will appear on
your TV monitor, for adjusting the relative volume levels of the
front, center, and rear speakers, along with the subwoofer.
BALANCE CHK
L/F CEN R/F
0dB 0dB 0dB
S/L SUB S/R
0dB 0dB 0dB
When the menu appears, the L/F speaker label will be flashing and
you will hear a test tone coming from that speaker. You can select
the other speakers by sequentially pressing the BACK button. The
test tone will shift accordingly to the selected speaker. The menu
will disappear after all six speakers have been highlighted and
you may need to re-enter the menu by pressing and holding the
BACK button.
While seated in the normal listening location, switch the test tone
to the various speakers and listen to hear if any are noticeably
louder or quieter than the front speakers. If so, adjust the quieter
speakers volume levels up or down to match the louder speakers
using the VOL UP/DOWN remote buttons, while the speaker you
wish to adjust is highlighted. Continue switching among the
speakers and adjusting until all of the speakers are approximately
the same volume (or to suit your listening preference).
This setting will be memorized when you leave the menu and will
become the system-wide default setting.
ENTER/OUTPUT BALANCE (remote only)
42
The ENTER button on the remote control has a similar function to
the BALANCE CHECK calibration described above, except that its
adjustments are temporary and apply only to the selected source
input. As soon as you select a different source, the settings revert
to the system-wide defaults as set during the BALANCE CHECK
calibration.
NOTE: Although these adjustments can be made directly using the
ENTER button, we strongly recommend that you only make these
adjustments from the ON-SCREEN DISPLAY system. For this rea-
son, the instructions are included in the section on the ON-
SCREEN DISPLAY (see below).
RECALL Button
33
You can temporarily reset the OUTPUT BALANCE settings to 0dB
for all speakers at any time by pressing the RECALL button on the
remote control. The memorized sytem-wide settings will be acti-
vated when you switch to a different LISTENING SOURCE input.
ON-SCREEN Button (remote only)
35
Push this button to turn on the ON-SCREEN DISPLAY. If the ON-
SCREEN DISPLAY is already visible, push this button once or twice
to cancel the display. See next section for details.


