16
Operating the MDR8
Using The HDM (HARD DISK MODE) Continued
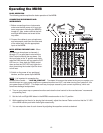
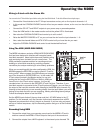
3. Engage the HDM switch in the Master Section. The input channel’s REC LED will light dimly indicating the
channel can be assigned to the RECORD bus.
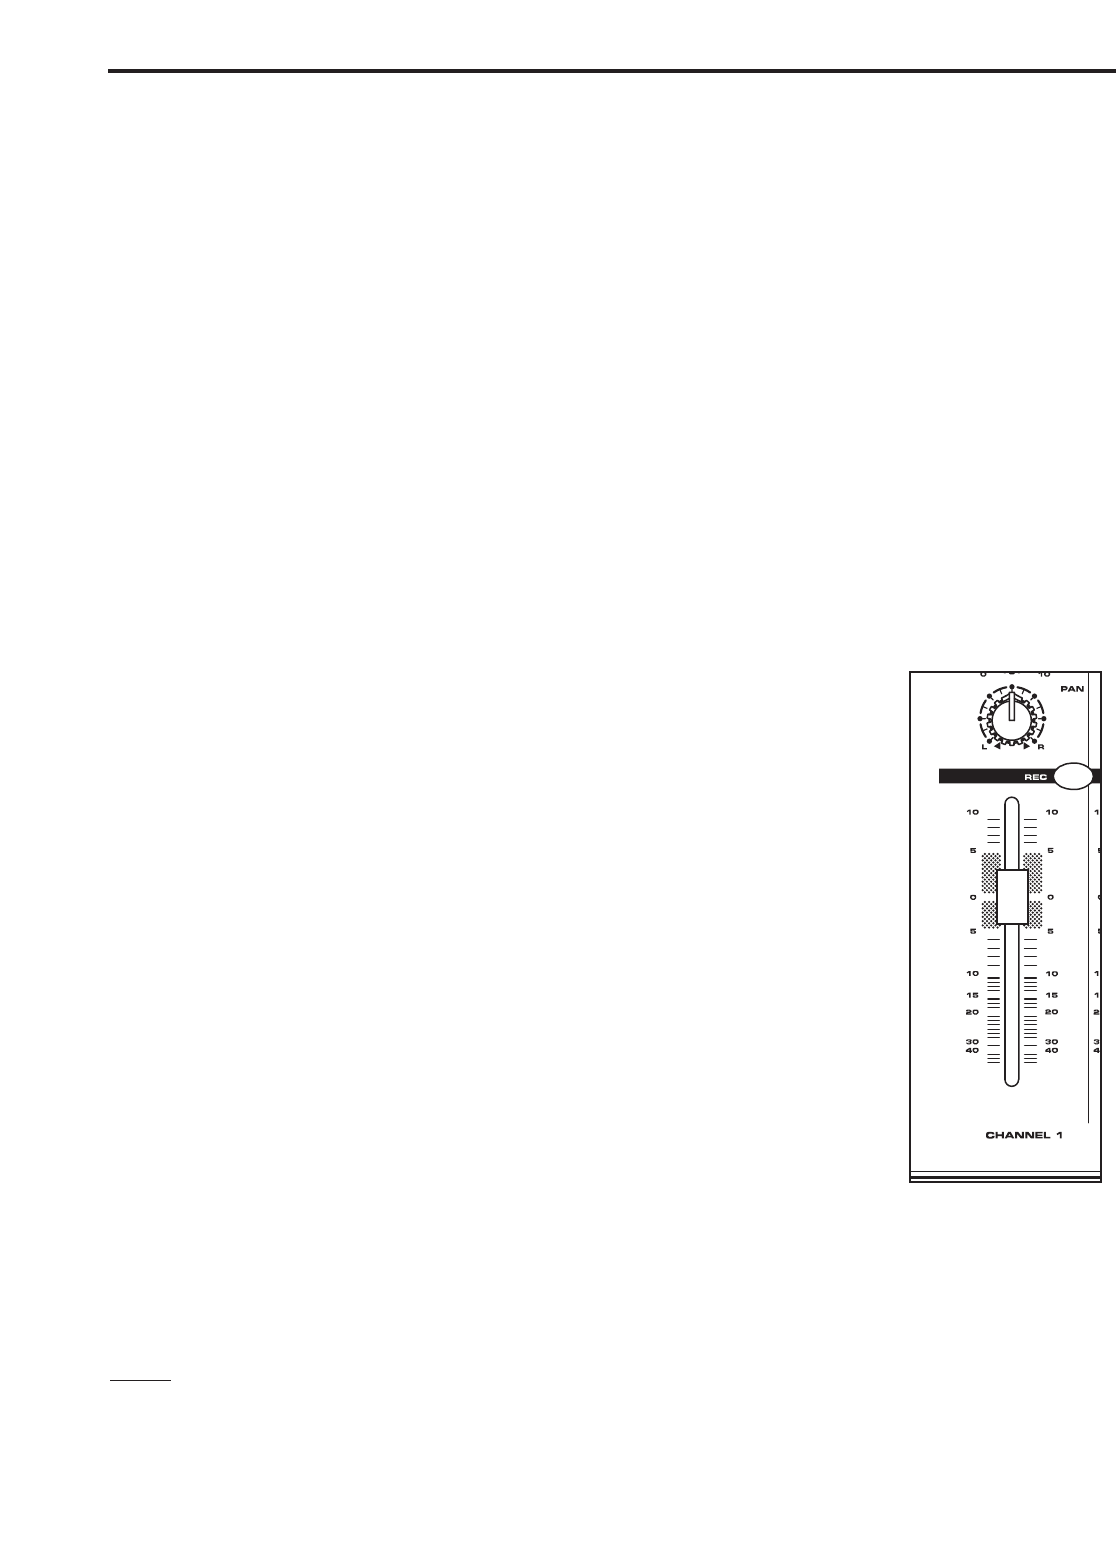
4. Press the RECORD switch on the MDR8’s channel 7/8. The input channel’s REC LED will flash indicating the
channel is assigned to the RECORD bus.
5. Raise the channel 7/8 fader to the nominal area (0).
6. Now, test your listening level by starting the MIDI sequencer and slowly raising the Control Room output level
until you have set a comfortable listening level. If the sound is too low, raise the output level of your key-
board. If the sound is distorted, lower the output level of your keyboard.
7. Select the record enable on the tracks you are recording to on your hard disk recorder and set a level as
described in your software manual.
8. Press REC/PLAY on your recorder and play on the MIDI sequencer.
Overdubbing Using HDM
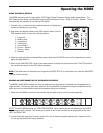
Now that you have recorded a basic rhythm track you can overdub additional tracks
using MDR8’s HDM. For this example, we’ll overdub a vocal track using a microphone.
Follow the steps below.
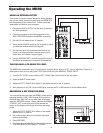
1. Connect the output from your computer sound card to the MDR8’s 2Track In and
then connect the MDR8’s 2Track Output to the input of the sound card.
2. Connect a microphone to the MDR’8s Channel 1 microphone input and set a proper
level using the GAIN control and peak LED.
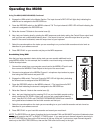
3. Engage the HDM switch. The input Channel’s REC LED will light dimly indicating
the channel can be assigned to the RECORD bus.
4. Press the RECORD switch on the MDR8’s channel 1. The input channel’s REC
LED will flash indicating the channel is assigned to the RECORD bus.
5. Raise the Channel 1 fader to the nominal area (0).
6. Now, test your listening level by pressing PLAY on your hard disk recorder and by
slowly raising the 2TK LEVEL control until you have set a comfortable listening
level. Use the 2TK LEVEL and CONTROL ROOM/HEADPHONE level controls to
set a good balance between the hard disk recorder and the input.
7. Select the record enable on the track you are recording to on your hard disk recorder and set a level as
described in your software manual.
8. Press REC/PLAY on your hard disk recorder and record your vocal track.
NOTE:
The RECORD bus is stereo, therefore the input channels PAN and BALANCE controls will determine how
much signal is sent to the LEFT or RIGHT 2 TRACK output. If you want an input channel’s signal to send only to
the LEFT RECORD bus, then set the PAN control all the way to the left. If you want an input channels signal to
send only to the RIGHT RECORD bus, then set the PAN control all the way to the right.


