32
RECORDING LOOPS
This is where you create the loop samples. There is no input level setting as the onboard AGC (Auto Gain Control) takes care of all
level adjustments automatically. You can record and play back the 2 individual loops up to 32 beats long. To automatically record
perfect loops, the BPM engine must be active and locked. Ensure the [PLAY] mode switch is set to [LOOP] mode.
For the best performance from the BPM engine, set the input trims to provide the optimum level: the input meters should
be peaking at zero (white LEDs).
Perfect loops are created automatically even if the rec/mute buttons are pressed out of time.
SELECTING THE SAMPLING SOURCE
FIRST: Select your sample source, MASTER or CUE
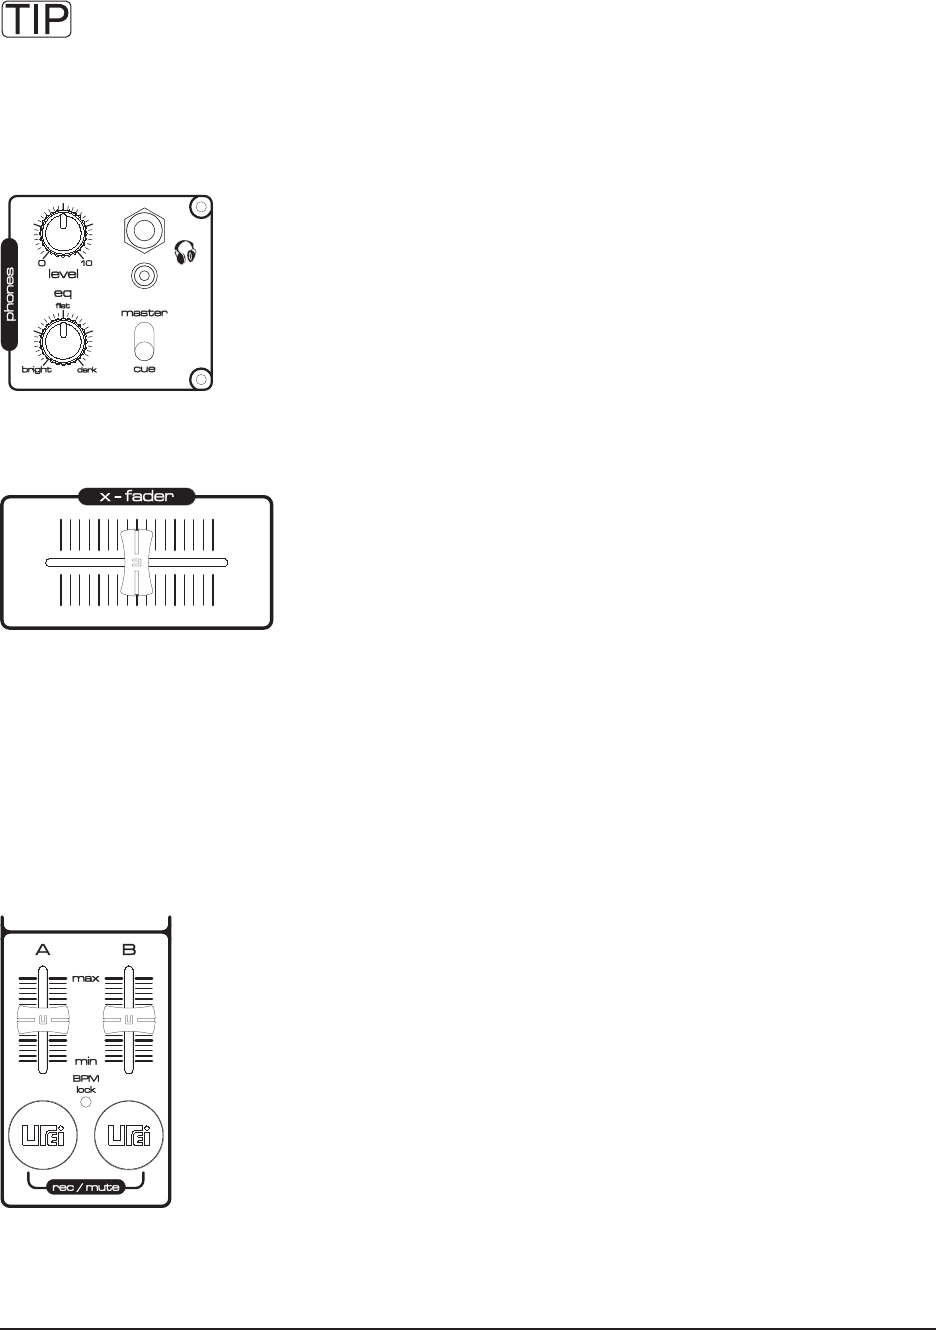
Select [MASTER/CUE] switch to MASTER and you will sample from the Master Output.
Select [MASTER/CUE] switch to CUE and you will then feed the sampler from the X-F MONITOR.
Select [CH1] to the extreme left of the fader and the sample feed will be from Channel 1.
Select [CH2] to the extreme right of the fader and the sample feed will be from Channel 2.
Set the fader between [CH1] or [CH2] and you will sample a mix of the two sources.
RECORDING MODE
Only one loop can be recorded at a time. From boot-up the two loop pads will be empty and the LEDS are off.
Select the SAMPLING SOURCE (see above). When the sample source has been selected and audio is detected the empty sample
bank LEDs will flash.
Empty loop pads are shown by the flashing indicators in the [REC/MUTE] buttons. To start recording a loop, first ensure the LOCK
LED is ON, then simply press the desired [REC/MUTE] button once, as shown in the following example.


