


5
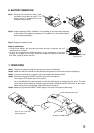
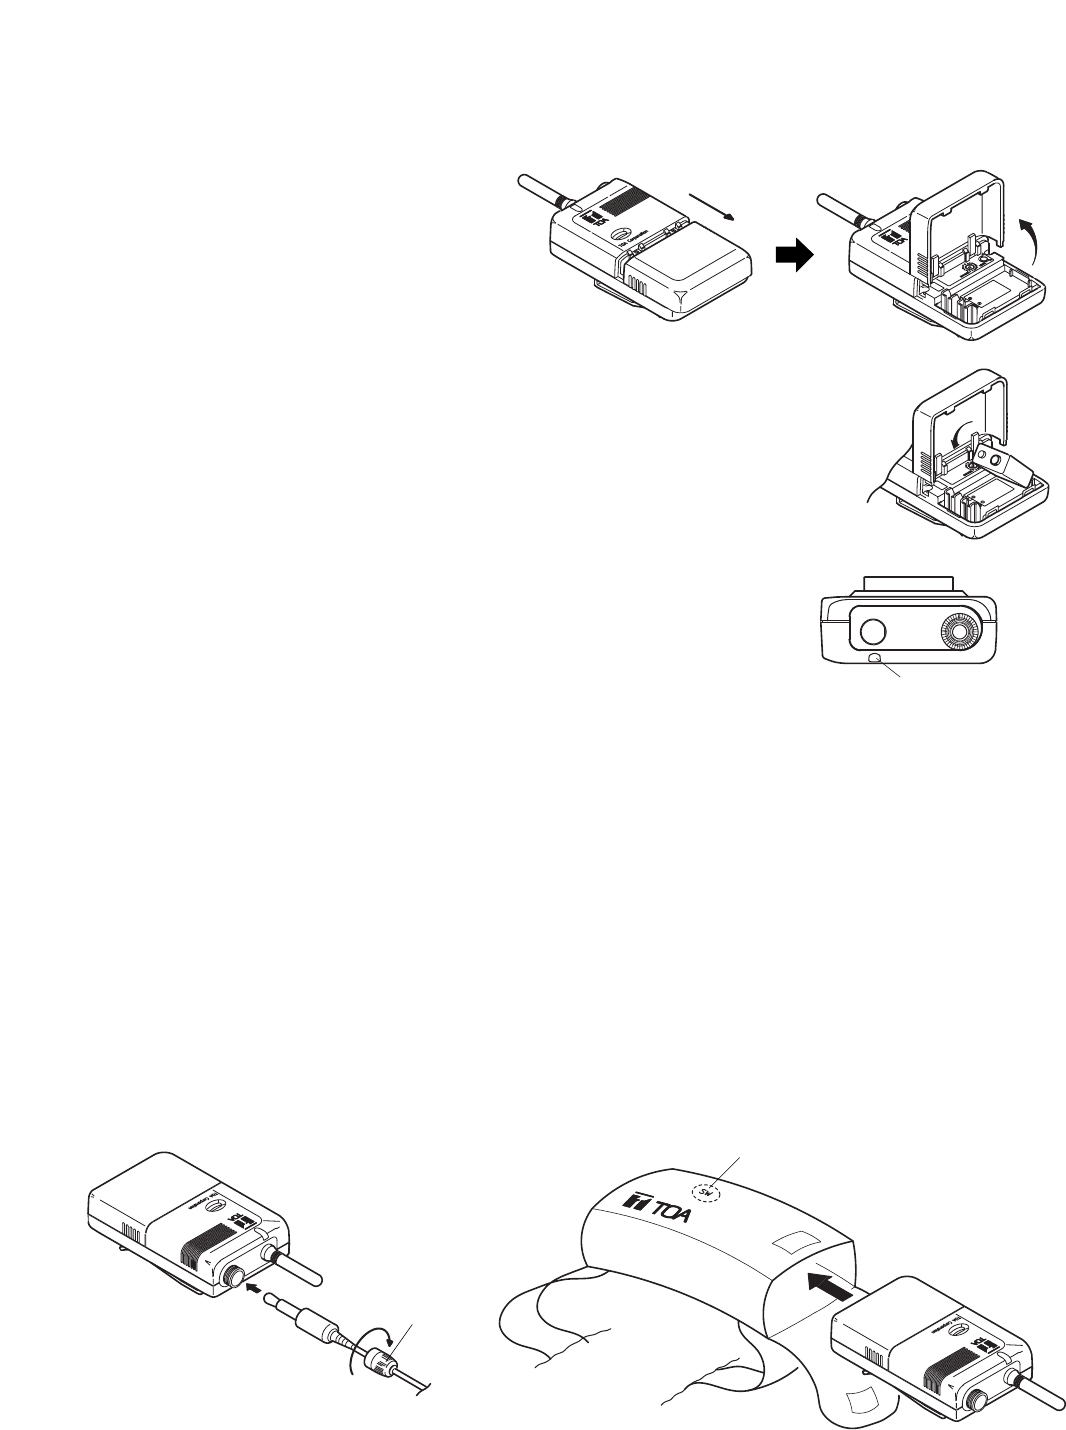
6. BATTERY INSERTION
Step 1. Holding the microphone body, slide
the battery cover down to open it. The
battery cover is designed not to be
removed from the body.
Step 2. Insert the battery 6LR61 (Alkaline 9 V) according to the instructions attached
to the inside of the battery compartment. Pay attention to the correct polarity
when inserting the battery.
Step 3. Replace the battery cover.
1
Battery replacement
• A brand-new battery will provide the power enough to operate the unit
continuously for 10 hours.
• As long as the battery has sufficient power for the microphone to function
properly, the orange LED will light. When the orange LED starts to fade and
then flash, replace it with a new one.
Power/Battery lamp
(Orange LED)
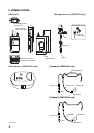
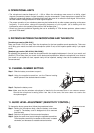
7. OPERATION
Step 1. Plug the microphone's plug into the input connector as illustrated.
Step 2. Make sure that the receiver and the wireless microphone are of the same channel (frequency).
Step 3. If they are not identical in channel, you have to adjust the channel switch.
Step 4. Press the microphone ON/OFF switch to turn on the microphone.
The orange LED indicates the circuit is active.
As for the WM-4310A, insert the main unit into the waist pouch as indicated by the arrow. The main
unit's power switch should be located under the switch indication position (SW mark) of the pouch.
When turning on the microphone, press SW mark on the pouch.
Step 5. Make sure to press the ON/OFF switch again to turn off the microphone after using.
2
1
Plug lock
4
Power switch position mark
Illustration for WM-4310A
Secure the connection
with the plug lock.