(BALANCE)
MIC 1
MIC 1 MIC 2
Gain
5
0 10
Treble
0
-15 +15
Bass
0
-15 +15
Echo
10
8
CUE
KEY
6
4
2
0
0 10
(BALANCE)
MIC 2
Gain
5
0 10
Treble
0
-15 +15
Bass
0
-15 +15
Echo
10
8
CUE
KEY
6
4
2
0
0 10
(BALANCE)
MIC 3
MIC 3 MIC 4
Gain
5
0 10
Treble
0
-15 +15
Bass
0
-15 +15
Echo
10
8
CUE
KEY
6
4
2
0
0 10
(BALANCE)
MIC 4
Gain
5
5 5 5 5
0 10
Treble
0
-15 +15
Bass
0
-15 +15
Echo
10
8
CUE
KEY
6
4
2
0
0 10
9
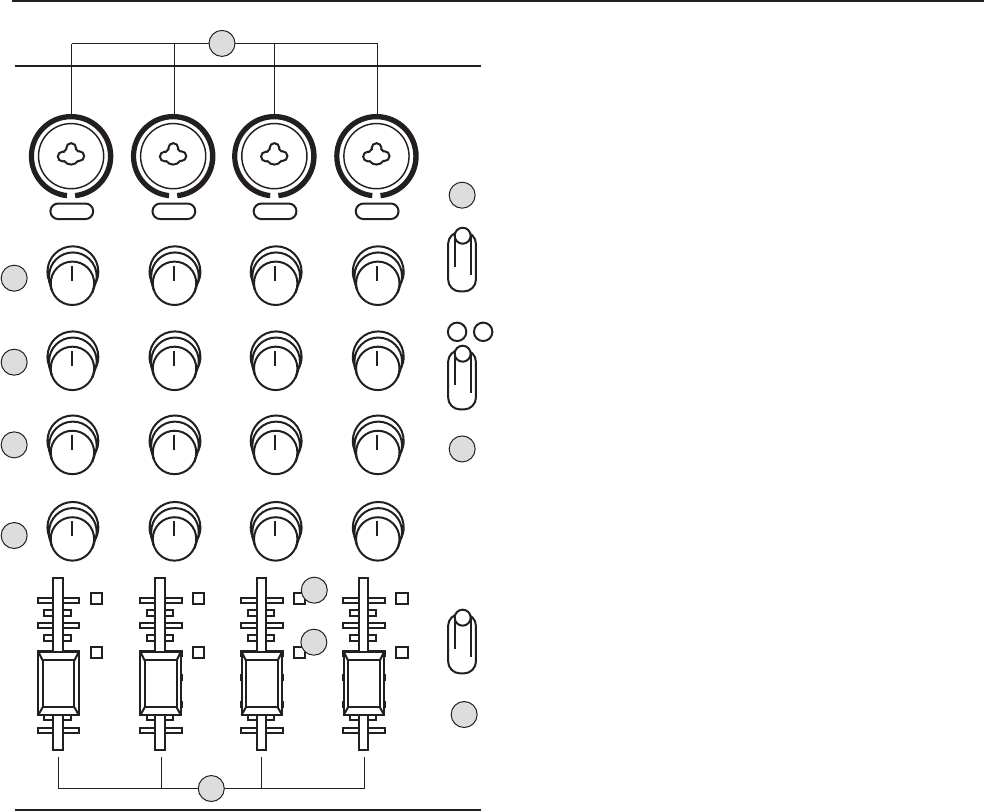
Microphone Panel Descriptions and Functions
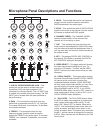
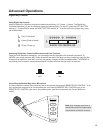
1. XLR/1/4” MICROPHONE/LINE JACK – This
combo jack can be used to connect both a low
impedance (XLR) and high impedance (1/4”)
microphone or line-level device. The 1/4” INPUT jack
is located in the middle of the jack housing. The XLR
INPUT jack is located within the outer perimeter of
the jack housing.
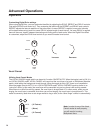
2. GAIN – This controls the input level from any
device that is connected to the XLR / 1/4” input jack.
To increase GAIN level, turn clockwise. To decrease,
turn counter-clockwise.
3. TREBLE – This controls the level for high
frequency ranges. Use this control to boost or
reduce the TREBLE in the audio signal. To increase
TREBLE, turn clockwise. To decrease, turn counter-
clockwise.
4. BASS – This controls the level for low frequency
ranges. Use this control to boost or reduce the
BASS frequencies in the audio signal.
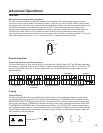
5. ECHO – This controls the level of DIGITAL ECHO
applied to the audio on the channel. Use this control
to increase or reduce the ECHO applied.
6. CHANNEL FADER – The CHANNEL FADER
raises or lowers the Mic or line volume of the
channel as it is moved up or down.
7. CUE – This monitors the input signal from the
mixer board to the headphones. Press CUE to hear
only that channel through the headphones. Note: If
you cue more than one channel, those channels will
be audible as well.
8. KEY – This assigns DIGITAL KEY CONTROL to
the channel. If the button is pressed, the DIGITAL
KEY CONTROL setting will be applied.
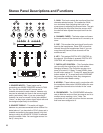
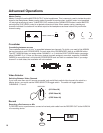
9. VIDEO SELECT – This toggle switch will change
the video channel that is being sent to your TV,
monitor or LCD screen. To utilize, set the VIDEO
SELECT switch to the video device # that you want
displayed.
10. VOCAL CANCEL – This toggle switch controls
the Vocal Cancel/Partner features. VOCAL CANCEL
will cancel out the vocal layer on tracks from
multiplexed karaoke software. VOCAL PARTNER
will only cancel vocals when the Mic is in use. Once
you stop singing, the guide vocals will resume.
When this toggle is set to “AUTO”, it is in VOCAL
PARTNER mode. When it is set to “OFF”, there is no
vocal mode present. When it is set to “ON”, it is on
VOCAL CANCEL mode. (Multiplex).
11. TALK OVER – The TALK OVER feature allows
the KJ/DJ to make announcements by lowering the
music volume when there is Mic activity. To use,
select “ON”. Select “OFF” to disable. When set to
“AUTO”, it will automatically lower music when mic
activity is present, and return music when no mic
activity is present. Note: This feature only works with
the Mic 1, as that channel is designed to be used by
KJ/DJ’s. Other channels are not affected by the Talk
Over function
1
2
3
4
5
6
7
8
VIDEO SEL.
1
2
3
VOCAL CANCEL
AUTO
OFF
ON
TALK OVER
AUTO
OFF
ON
9
10
11


