TAKING CARE OF YOUR
PERSONAL ELECTRONIC PIANO
Your Personal Electronic Piano is a fine musical instrument,
and deserves the most careful treatment. Observe the following
points and your Personal Electronic Piano will sound and look
great for many years.
1.
Never open the case and touch or tamper with the internal
circuitry.
2.
Always turn the POWER switch OFF after use, and cover
the keyboard with the supplied cover.
3.
Clean the cabinet and keys of your Personal Electronic
Piano only
with a clean, slightly damp cloth. A neutral
cleanser may be used if desired. Never use abrasive cleansers,
waxes, solvents or chemical dust cloths since these can dull
or damage the finish.
4.
Never place any vinyl products on your Personal Electronic
Piano. Contact with vinyl can cause irreversible damage to
the finish.
5.
Install your Personal Electronic Piano in a place that is
away from direct sunlight, excessive humidity or heat.
6.
Never apply excessive force to the controls, connectors or
other parts of your Personal Electronic Piano, and avoid
scratching or bumping it with hard objects.
7.
Do not leave heavy objects on the keyboard for an extended
length of time.
8.Never spill water, beverages or other liquids on the key-
board or any other part of the Personal Electronic Piano.
9.
The YPP-50 contains digital circuitry and may cause inter-
ference if placed too close to radio receivers, television sets
or similar radio-frequency reception equipment. If such a
problem occurs, move the YPP-50 further away from the
affected equipment.
10.
IMPORTANT!: Check your power supply!
Make sure that your local AC mains voltage matches the
voltage specified on the name plate on the bottom panel. In
some areas a voltage selector may be provided on the rear
panel of the main unit. Make sure that the voltage selector
is set for the voltage in your area.
l
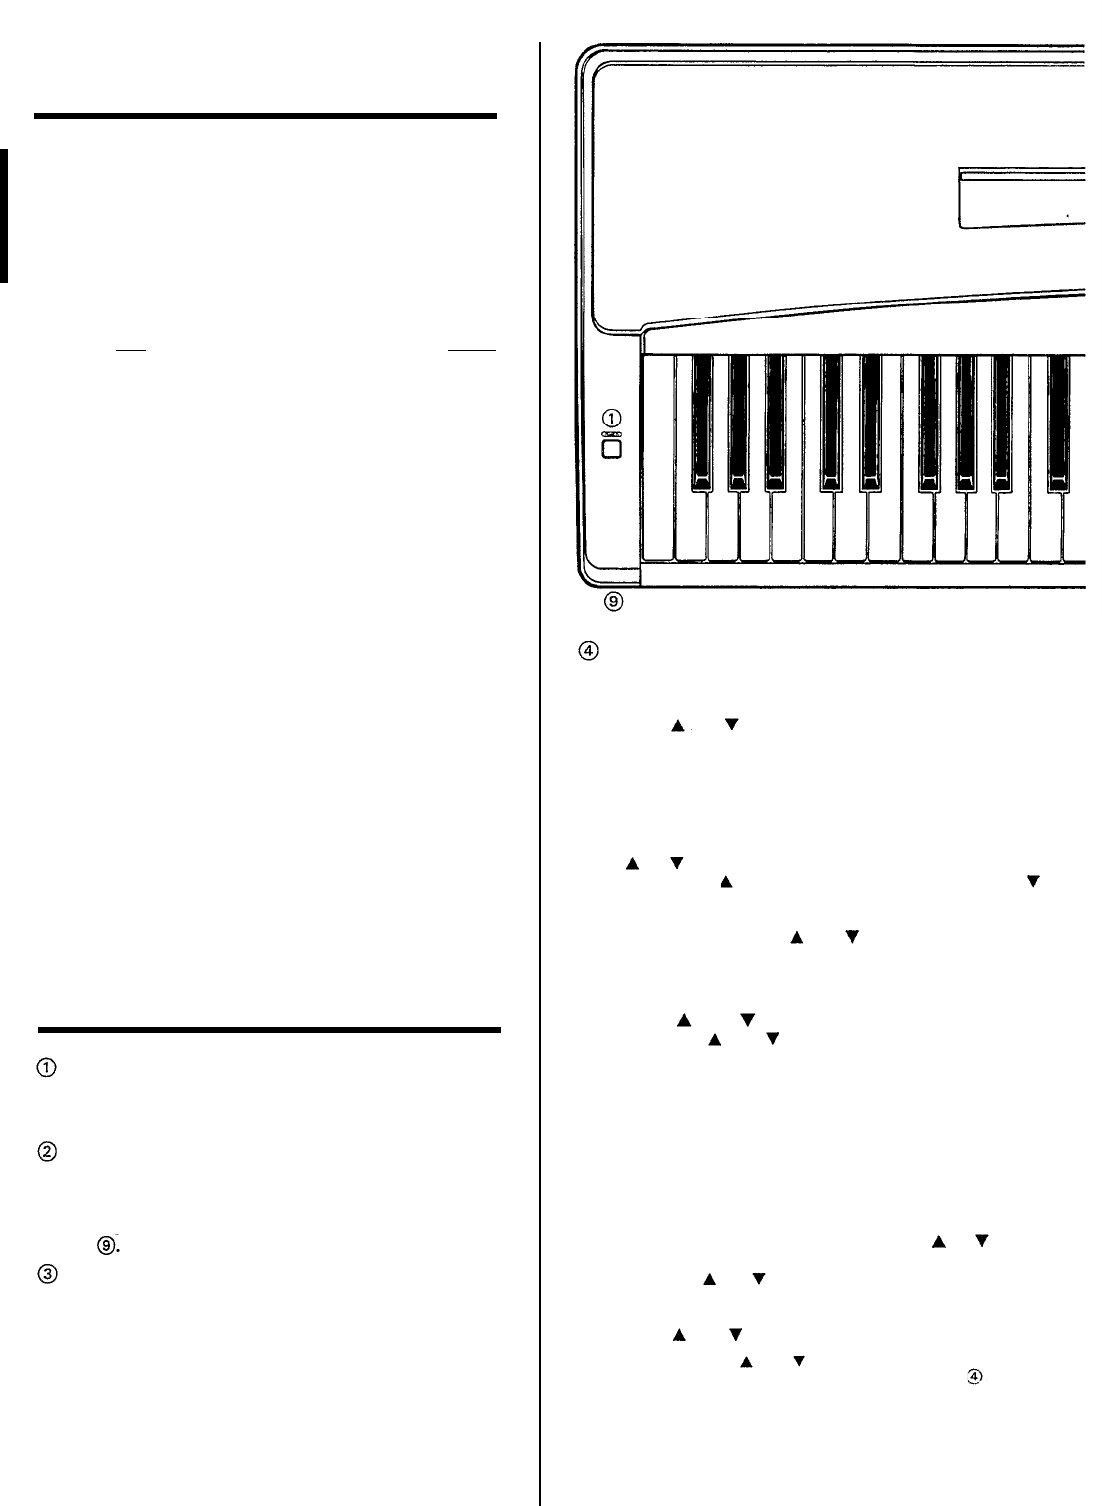
Name Plate Location
The YPP-50 nameplate is located on the bottom panel.
THE CONTROLS AND
CONNECTORS: BASIC OPERATION
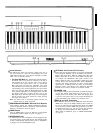
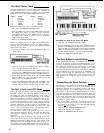
POWER Switch
Press the POWER switch once to turn the power ON, a
second time to turn the power OFF. When the power is
initially turned ON, the PIANO voice selector LED will light.
MASTER VOLUME Control
The MASTER VOLUME control adjusts the volume (level)
of sound produced by the Personal Electronic Piano. The
MASTER VOLUME control also adjusts headphone volume
when a pair of headphones is plugged into the HEADPHONE
jack
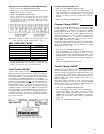
MIDI/TRANSPOSE Button
The MIDI/TRANSPOSE button allows access to the Personal
Electronic Piano’s TRANSPOSE function (to shift the pitch
of the entire keyboard up or down) and MIDI functions.
For details refer to the “TRANSPOSITION” and “MIDI
FUNCTIONS” sections on pages 8 and 10, respectively.
METRONOME Button
Press the METRONOME button to start the YPP-50’s built-
in metronome. The metronome will sound at either the initial
tempo of 120 beats per minute, or a tempo set using the
TEMPO and
buttons, described below. The METRO-
NOME button LED will flash on the first beat of each
measure. Press the METRONOME button a second time to
stop the metronome sound.
l
Metronome Volume:
The volume of the metronome sound
can be independently adjusted in five steps (normal volume
plus two steps up and two down) by pressing the TEMPO
or
button while holding down the METRONOME
button. The button increases the volume while the
button decreases the volume. Normal volume can be
restored by holding the METRONOME button and press-
ing both the TEMPO
and
buttons simultaneously.
Note: The metronome is also related to operation of the YPP-50
Performance Memory. This relationship will be described
in the “PERFORMANCE MEMORY” section on page 9.
TEMPO
and Buttons
The TEMPO
and
buttons are mainly used to adjust
the tempo of the YPP-50 metronome. The tempo can be
adjusted from 32 to 280 beats per minute in the following
steps:
32
36
40 44
48
52
56
60
64
66 68
70 72 74 76 78 80 82 84 86 88 90
92 94 96 98 100102104106108110112
114
116
118120122124126128130132136
140144148152156160168176184192200
208
216
224232240248256264272280
When the power is initially switched ON, the tempo is auto-
matically set to 120. Each brief press on the
or button
increases or decreases the tempo by one step, respectively.
Holding the
or
button down causes continuous in-
crementing or decrementing of the tempo value. The initial
tempo of 120 can be restored at any time by pressing the
TEMPO
and
buttons simultaneously.
Note: The TEMPO and buttons are also used for trans-
position and metronome volume control-see
“
METRO-
NOME Button” above, and “TRANSPOSITION” on page
8 for details.
6


