SERVSELECT™ IP INSTALLER/USER GUIDE
14
CHAPTER 3: INSTALLATION
15
To install the ServSelect IP hardware:
1. Connect a terminal or PC running terminal emulation software (such as
HyperTerminal™) to the conguration port on the back panel of the appliance
using an RS-232 DB9 null modem cable. The terminal should be set to
9600 bps, 8 data bits, 1 stop bit, no parity and no ow control.
2. Plug the supplied power cord into the back of the appliance and then into an
appropriate power source.
3. When you turn on the power, the Power indicator on the front of the unit will
blink for 30 seconds while performing a self-test. Approximately 10 seconds after
it stops blinking, press the Enter key to access the main menu.
To congure the ServSelect IP hardware:
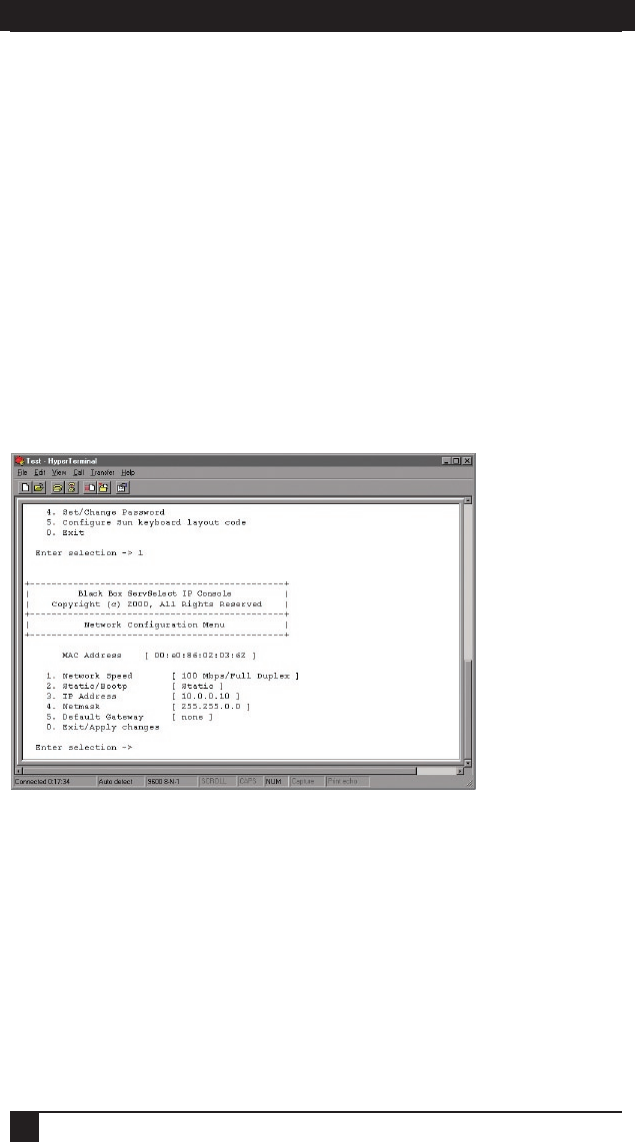
1. You will see the Terminal Applications menu with six options. Select option 1,
Network Conguration.
Figure 3-3. Network Configuration Menu
2. Select option 1 to set your network speed. When possible, you should set your
connection manually without relying on the auto negotiate feature. Once you
enter your selection, you will be returned to the Network Conguration menu.
3. Select option 2 and specify if you are using a static or BootP IP address. Use a
static IP address for ease of conguration. If you are using a BootP address,
please congure your BootP server to provide an IP address to the appliance, skip
step 4 and continue to the next procedure.
4. Select options 3-5 from the Terminal Applications menu, in turn, to nish
conguring your appliance for IP address, Netmask and Default Gateway. Once
this is completed, type a Ø to return to the main menu.


