6. Slide the new optical drive into the drive bay until it snaps into position.
7. Connect the signal and power cables to the drive.
8. To reinstall the front bezel, align the plastic tabs on the bottom of the bezel
with the corresponding holes in the chassis, then pivot the bezel inward until it
snaps into position.
9. Go to Chapter 4, “Completing the parts replacement,” on page 31.
Replacing a memory module
Attention
Do not open your computer or attempt any repair before reading the “Important safety
information” in the ThinkCentre Safety and Warranty Guide that came with your computer.
To obtain a copy of the ThinkCentre Safety and Warranty Guide, go to:
http://www.lenovo.com/support
This section provides instructions on how to replace a memory module.
Note: Your computer has support for two memory modules.
1. Open the computer cover. See “Opening the cover” on page 11.
2. Locate the memory slot. See “Identifying parts on the system board” on page 9.
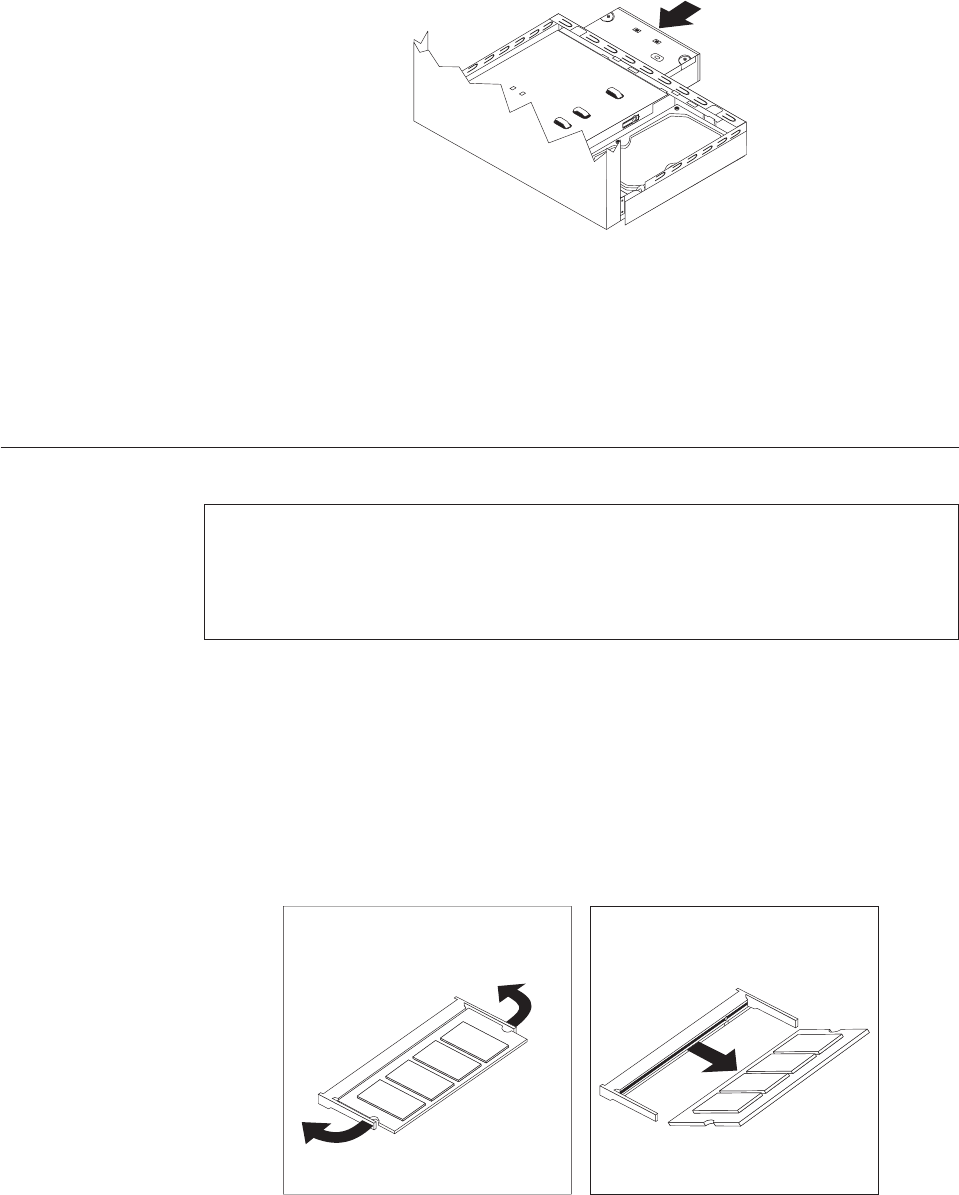
3. Remove the memory module being replaced by opening the retaining clips as
shown.
Figure 23. Replacing the optical drive
Figure 24. Removing the memory module
24 Hardware Installation and Replacement Guide


