1.17
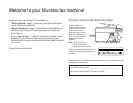
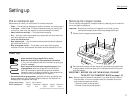
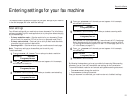
Getting started
Guidelines
Page sizes
While you’ll probably send letter- and legal-sized documents most of the time, it’s
possible to fax a piece of paper as small as a notepad sheet or one nearly three feet
long.
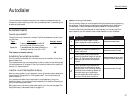
The acceptable dimensions (width × length) are:
Automatic document feeder (
ADF
)
S
INGLE
-
SHEET
M
ULTIPLE
-
SHEET
Maximum:12.0″ × 35.4″ Maximum:11.7″ × 16.5″
Minimum: 4.7″ × 3.9″ Minimum: 5.8″ × 4.1″
Flatbed scanner (
FBS
)
Maximum:10.1″ × 14.3″
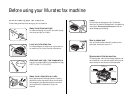
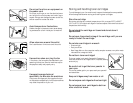
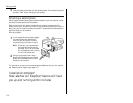
Things not to put in your fax
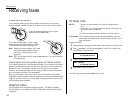
To avoid paper jams and damage to your machine, don’t insert:
• Folded, curled, torn, wrinkled or very thin pages
• Documents with staples, glue, tape, paper clips or still-wet correction fluid
• “Sticky notes” (or documents with “sticky notes” attached)
• Cardboard, newspaper or fabric
• Pages with duplicating carbon on either side
• Credit cards or any small, thick items
Resolution, grayscale and contrast
Reviewing resolution and grayscale:
• Normal resolution (“
NORM
” on the control panel) is suitable for most typed
documents and simple drawings.
• Fine resolution (“
FINE
” on the control panel) is ideal for maps, moderately compli-
cated drawings, floorplans or handwritten documents.
• Superfine resolution (“
S
-
FINE
” on the control panel, “S Fine” on the
LCD
)
reproduces the detail of extremely complicated drawings or line art.
• Grayscale mode (“
HALFTONE
” on the control panel; “Gray” on the
LCD
) captures
shades in photos and drawings.
Note: If you send a fax in superfine, certain fax models (especially older, non-
Muratec models) receive it only in fine mode. However, you can send a fax in
grayscale mode to virtually any fax machine currently in use.
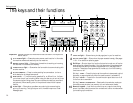
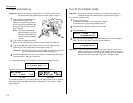
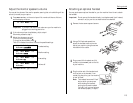
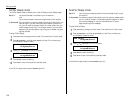
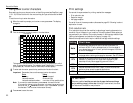
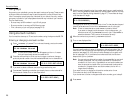
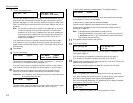
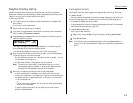
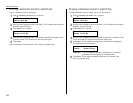
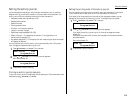
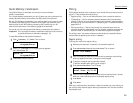
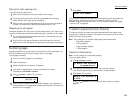
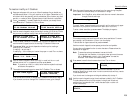
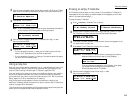
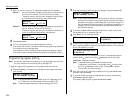
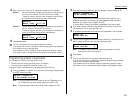
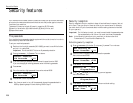
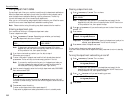
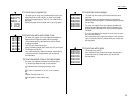
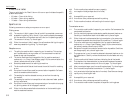
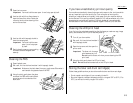
To change the resolution setting, press
RESOLUTION
repeatedly. As
noted above, if neither the
FINE
,
S
-
FINE
nor
HALFTONE LED
(light-
emitting diode; in this case, a small green light) is glowing, your fax
is set for normal resolution. Otherwise, a glowing
LED
indicates the
fax is using the setting named by that
LED
. For example, in the
drawing (left), the machine is set for
FINE
resolution.
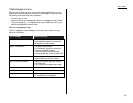
Contrast
Setting the contrast allows you to compensate for any excessive lightness or dark-
ness, as the case may be, of document pages you are sending or copying.
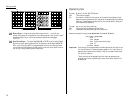
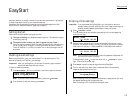
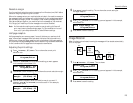
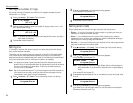
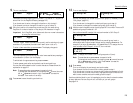
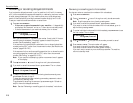
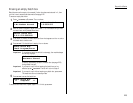
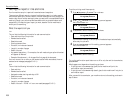
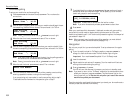
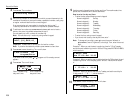
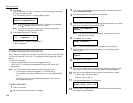
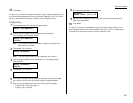
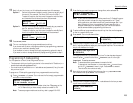
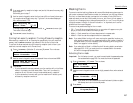
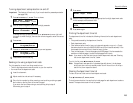
To change the contrast setting:
1
Press
CONTRAST
on the control panel. The display, or
LCD
(liquid crystal dis-
play), indicates the current contrast setting.
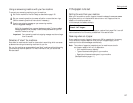
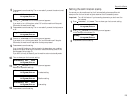
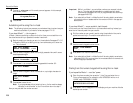
2
To adjust the contrast setting, press , or
CONTRAST
.
To light up an overly dark document, press .
To darken an overly weak document, press .