


ongratulations on your purchase of the BLUE Kiwi, a pre-
mium large-diaphragm, multi-pattern condenser microphone
made the old-fashioned way, without compromise. The Kiwi
is a precision recording tool, combining the low noise and
superb transient response of top-grade modern electronics with
the crisp, airy high end magic of legendary vintage vocal mics.
Among solid state microphones, the Kiwi is utterly unique;
not only because of its size and styling, but also by virtue of
its unprecedented range of nine different pickup patterns.
In omnidirectional and figure of eight patterns, or at a dis-
tance, this microphone delivers every nuance in the room,
with finely focused resolution and clear, musical frequency
response out to the extremes of the audible spectrum. In its
cardioid patterns the Kiwi excels at delivering a vocal or solo
track right to the front of the mix where it belongs, with
detailed highs, smooth midrange, and minimized proximity
effect (a bass boost inherent in all unidirectional mics).
At the heart of the Kiwi is a multi-pattern variation of the
BLUE B6 Bottle microphone capsule. To provide matched
response throughout the range of pickup patterns, two single
backplate, large diaphragm capsules are acoustically matched,
and then measured in our anechoic chamber for optimum
performance. The end result is a hand-crafted dual backplate
capsule, tuned to deliver a larger-than-life sound with exten-
sion in the lower and upper frequencies. Though designed
primarily to achieve a world-class contemporary vocal sound,
this capsule can be utilized to add a glossy, produced sheen
to saxophone, piano, electric guitar, and other lead instruments.
It also has extreme presence and “grab” at distances of three
feet or more for distant acoustic guitar recording, ambient
percussion miking, and unconventional vocal treatments.
The microphone’s electronics are Class A discreet, with trans-
formerless output. In plain English, this means that the sound
which arrives at the diaphragm is transduced (converted to
electrical energy) as accurately as possible, allowing the user
to get the maximum benefit out of the multi-pattern capsule
created by BLUE. To this end, the Kiwi utilizes hand-selected
electronic components of the highest quality (such as expen-
sive metal-film resistors), and there are no integrated circuits
(a.k.a. “IC’s”), pads or low-cut filter switches in the signal path.
In order to familiarize yourself with the specialized and unique
features of the Kiwi microphone and accessories, please take
the time to read this manual, and be sure to try the suggested
recording tips.
Getting Started
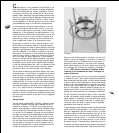
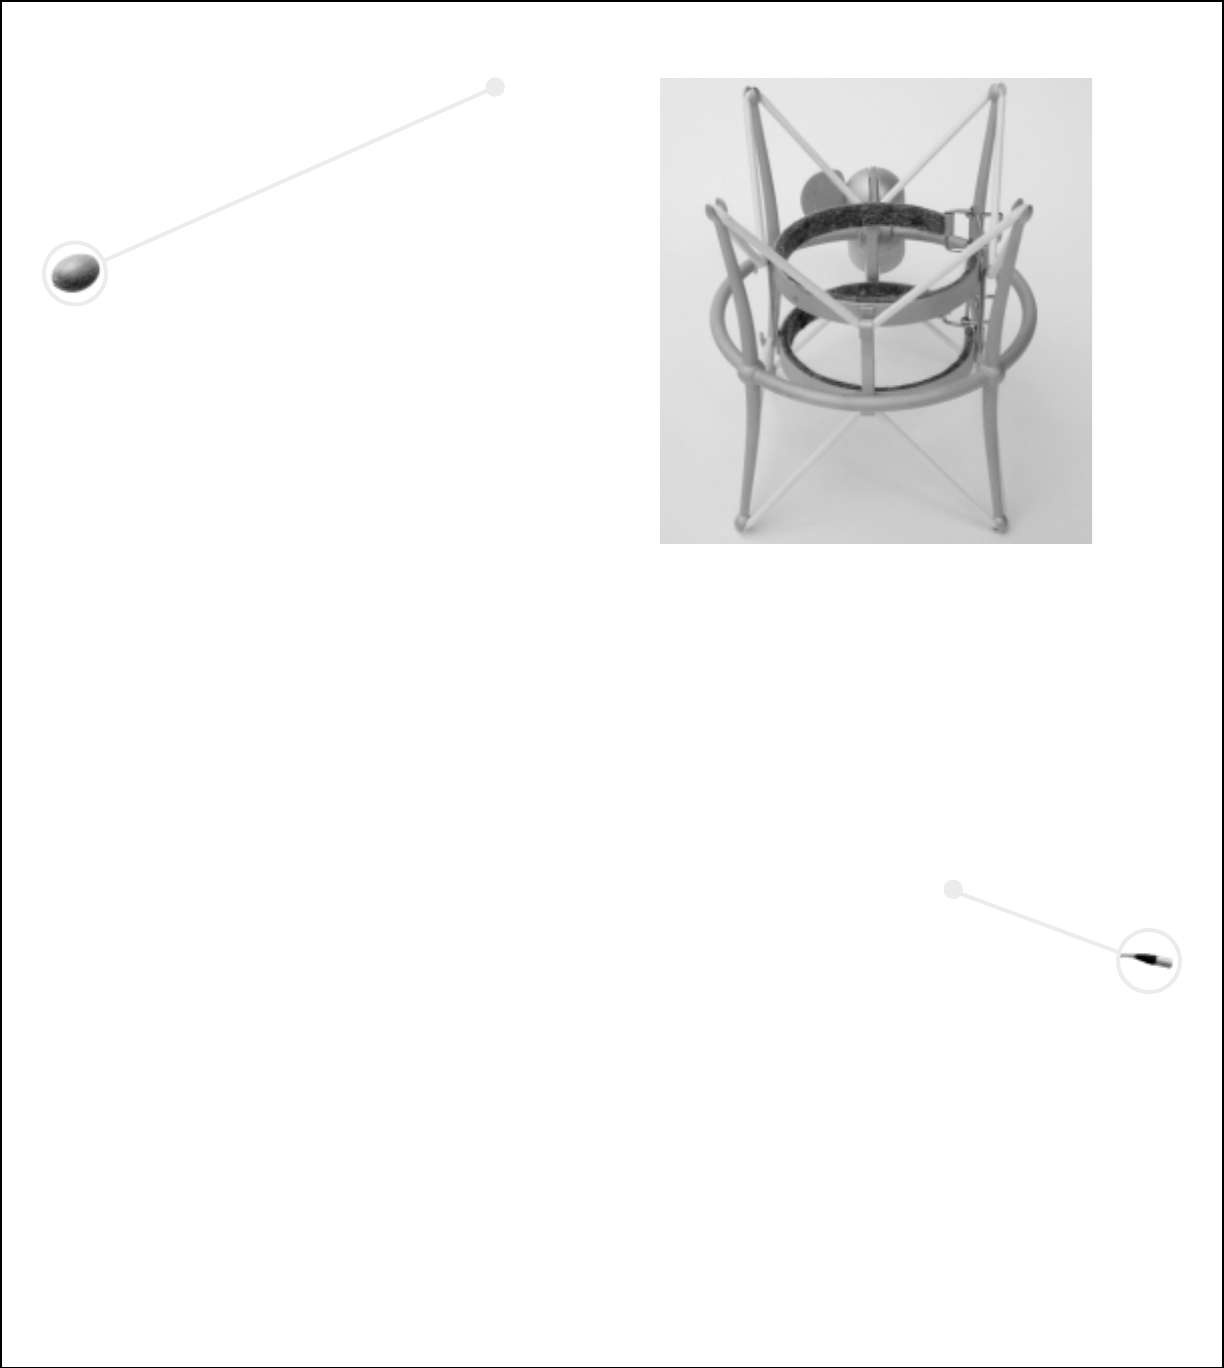
The Kiwi system includes BLUE’s “The Shock” suspension mount,
along with a padded, heirloom-quality wooden box which
houses the microphone. “The Shock” is a vintage-style sus-
pension mount designed to isolate the Kiwi microphone body
from low frequency vibrations when mounted on a stand. To
fit the Kiwi into this assembly, first open the wire latches on
the upper and lower circular padded bands situated inside
the shock mount frame. Then simply slide the Kiwi into the
bands, make sure that the pattern selector switch is accessi-
ble, and close the wire latches to tighten the bands around
the microphone. The angle of the mount assembly can be
swiveled and adjusted with the large thumbscrew, which will
normally be positioned at the rear of the mic.
C
Once you have the Kiwi secured in the Shock, you may find it
easiest to attach the assembly to a stand by 1) loosening
the boom stand arm or threaded end of the mic stand, 2)
grasping the mount assembly in one hand, and 3) screwing
the mic stand threads into the mount, without over-tightening.
This procedure will eliminate any possibility of damage to
the mic.
NOTE: Forceful positioning of The Shock without
loosening of the thumbscrew can result in damage not
covered by warranty.
In order to get the most out of this, or any quality microphone,
it is essential to pair it with a good microphone pre-amplifier.
Most professional recordists prefer to have outboard preamps
on hand, and will choose solid-state or vacuum tube models
based on their unique characteristics. To maintain the integrity
of your signal, use the BLUE Kiwi mic cable to connect the
Kiwi to a mic preamp. Whenever possible, connect the mic
preamp output directly to your recorder or A/D converter, by-
passing the mixing board and any unnecessary components.
The Kiwi requires 48 volt phantom power, which is provided
by most mic preamps, mixing consoles, or separate phantom
power supplies. It is important to note that some units, though
rated at 48 volts, may supply insufficient or unstable phan-
tom power, which can result in distortion and/or degraded
performance when used with the Kiwi.
To avoid damage to audio components when connecting phantom
power, follow this simple procedure: 1) turn down the mic pre-
amp gain, headphones, and your studio monitors, 2) connect
microphone cable to the Kiwi and microphone input jack, 3) turn
on phantom power, 4) turn up the mic preamp gain, etc. To
disconnect or re-route the Kiwi, 1) turn down the mic preamp
gain, headphones, and your studio monitors, 2) turn off phan-
tom power and wait 10 seconds before disconnecting the mic.
To secure the delicate capsule during transport and shipping,
three brass set screws are provided. These screws should be
The Shock