


E-26
Advanced 3-Step Lesson
704A-E-028A
With the Advanced 3-Step Lesson System, you can practice
the built-in tunes and even plot your progress according to
the evaluation points the keyboard awards you.
The 3-Step Lesson System lets you practice at your own pace.
With the Evaluation Mode, you can get an idea of how much
you are progressing. You can even find out what phrases in
your performance need more work and concentrate your
practice there.
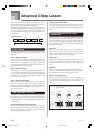
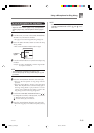
Lesson Progress
Step 1
Targeted Practice
Evaluation 1 Evaluation 2Step 2 Step 3
3-Step Lesson
The 3-step lesson feature takes you through the three distinct
steps described below to help you learn to play tunes on the
keyboard.
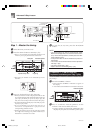
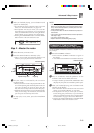
Step 1 – Master the timing.
In this step, pressing any key on the keyboard plays the
correct note, so you can concentrate on getting the timing
right without worrying about playing the right note.
Accompaniment (left-hand part) waits until you press a key
before proceeding to the next phrase.
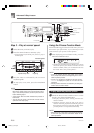
Step 2 – Master the notes.
In this step, you learn the keys to press to play the notes. The
keys you need to press light on the on-screen keyboard guide,
so simply follow along as you learn to play. Accompaniment
(left-hand part) waits until your play the correct note, so you
can learn at your own pace.
Step 3 – Play at normal speed.
This is where you enjoy actually playing the tunes you learn
using Step 1 and Step 2. The on-screen keyboard guide still
shows you which keyboard keys to press, but accompaniment
proceeds at normal speed regardless of whether or not you
play the correct notes.
Tune Types and Their Parts
The built-in tunes of this keyboard are divided between two
basic groups: Auto Accompaniment tunes (Song Bank) and
two-hand accompaniment tunes (Piano Bank). The parts
available for 3-step lesson practice depend on the type of tune
you are using.
Auto Accompaniment Tunes (Song Bank)
As their name suggests, these tunes are made up of an Auto
Accompaniment part and a melody part. When using these
tunes for a 3-step lesson, you can practice playing along with
the melody (right hand) part only.
Two-hand Tunes (Piano Bank)
These types of tunes are played with both hands, as in a piano
solo. When using these tunes for a 3-step lesson, you can
practice playing along with both the left hand and right hand
parts.
Display Contents During 3-step
Lesson Play
Whenever you select an Auto Accompaniment tune for 3-
step lesson play, the on-screen keyboard guide and staff
notation shows the note you should play and its length. The
on-screen keyboard guide also shows the notes you play on
the keyboard. The following describes the information that
appears on the display.
Note Pitch
The key you should press lights on the on-screen keyboard
guide, while the actual pitch of the note appears in the
display’s staff notation area. The fingers you should use to
play the notes are also shown on the display.
Note Length
The key stays lit on the on-screen keyboard guide for as long
as the note should be sustained. The staff notation and
fingerings also remain on the display for the length of the
note.
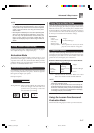
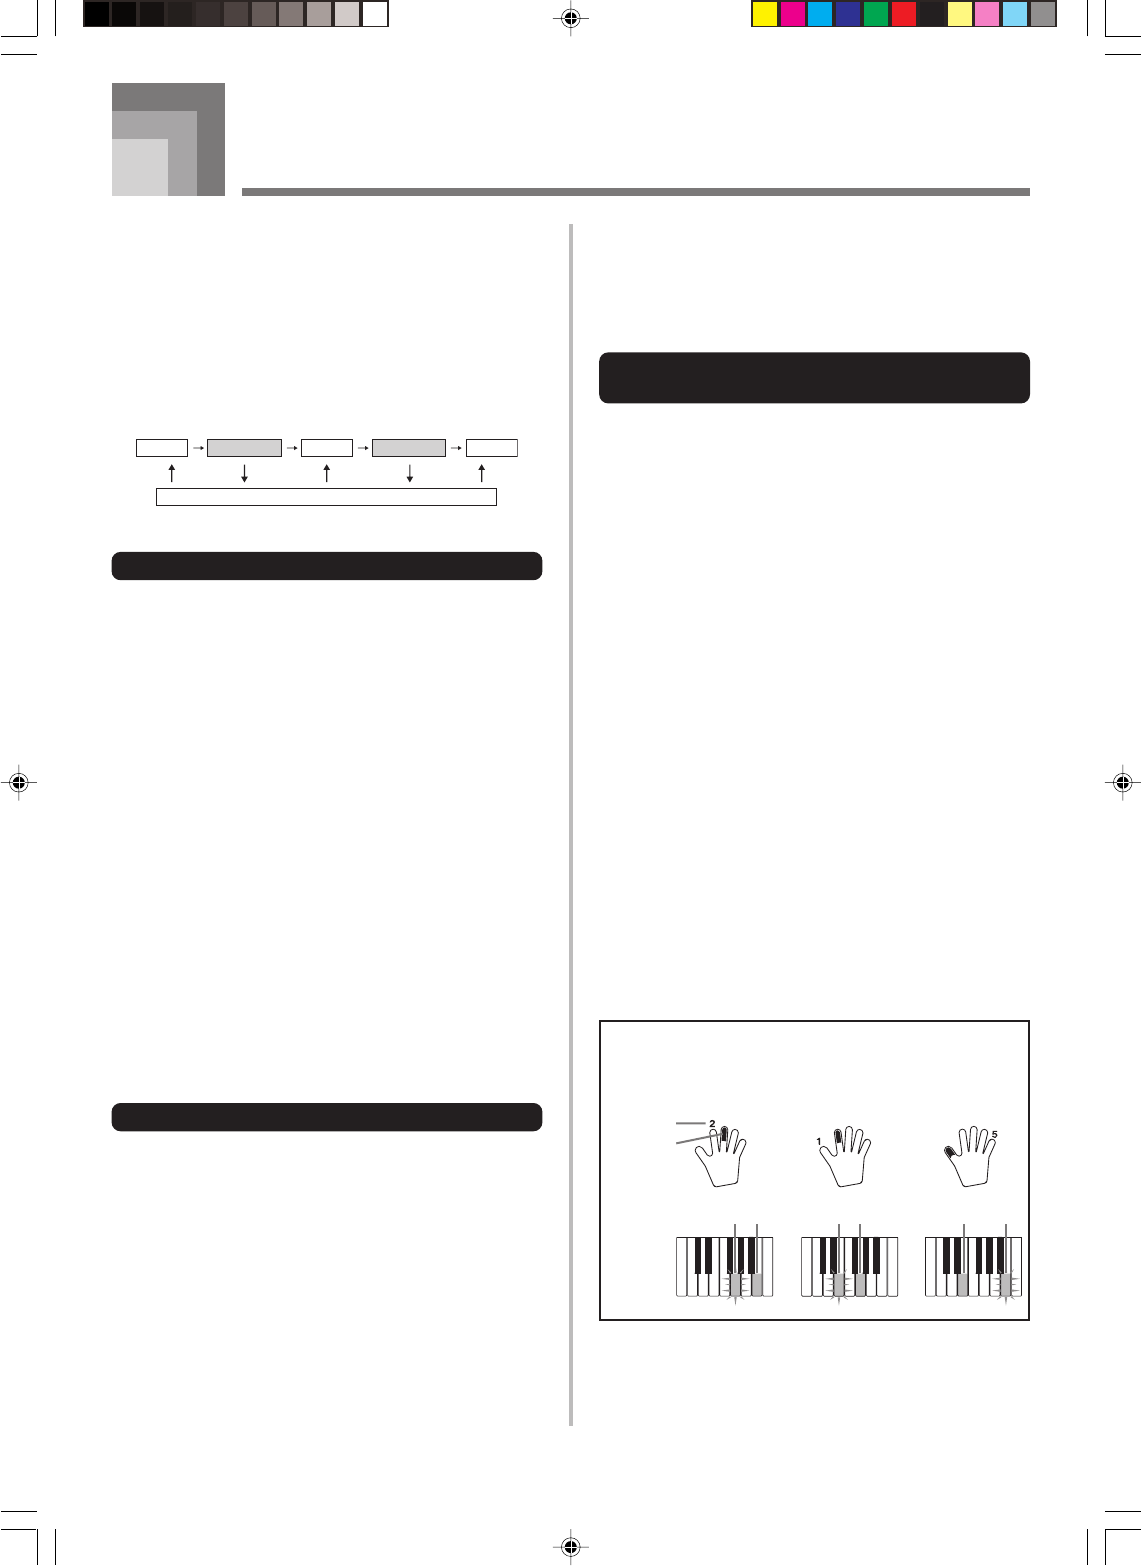
Next Note
An on-screen keyboard guide key flashes to indicate the next
note to be played, while a number appears on the display
near the finger you should use to play the next note.
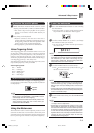
Series of Same Pitch Notes
The on-screen keyboard guide key turns off momentarily
between the notes, and lights again for each successive note.
The staff notation and fingerings also turn off and back on
again.
Flash
Next note
Current note
Lit
Flash
Lit
Flash
1st Note 2nd Note 3rd Note
Lit
On-screen
keyboard
guide
Example: When play requires pressing keys with fingers
3, 2, and then 1
CTK591_e_22-31.p65 03.10.7, 4:27 PM26