


H8070 Heirloom Telecaster-Style Guitar Kit
-13-
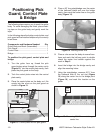
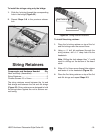
8. Using a Phillips head screwdriver, turn the
lower saddle adjustment screw so the set
screws shown in
Figure 16 are centered over
the bridge point.
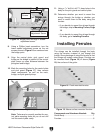
Figure 16. Bridge point and high E saddle
adjustment screw.
Bridge Point
Set
Screws
Lower Saddle
Adjustment Screw
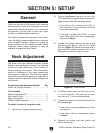
Note: Take care to correctly position the con-
trol plate mounting holes so you do not drill
into the control plate ca
vity.
Figure 17. Marking control plate holes.
9. Align the control plate, pick guard, and
bridge so the bridge is parallel to the control
plate (leave an even distance between the
pickguard and bridge).
10. Mark the mounting holes for the control plate
and pick guard (
Figure 17), then remove
these components, as well as the neck,
bridge, and pick guard pickup.
11. Using a
1
⁄16" drill bit, drill
3
⁄8" deep holes in the
body for the pick guard and control plate.
12. Determine whether you want to mount the
strings through the bridge or whether you
want to mount them to the body using the
ferrules.
— If you decide to mount the strings through
the bridge, skip to Mounting Tuners, Page
14.
—If you decide to mount the strings through
the body, go to
Installing Ferrules.
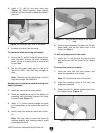
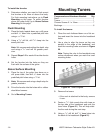
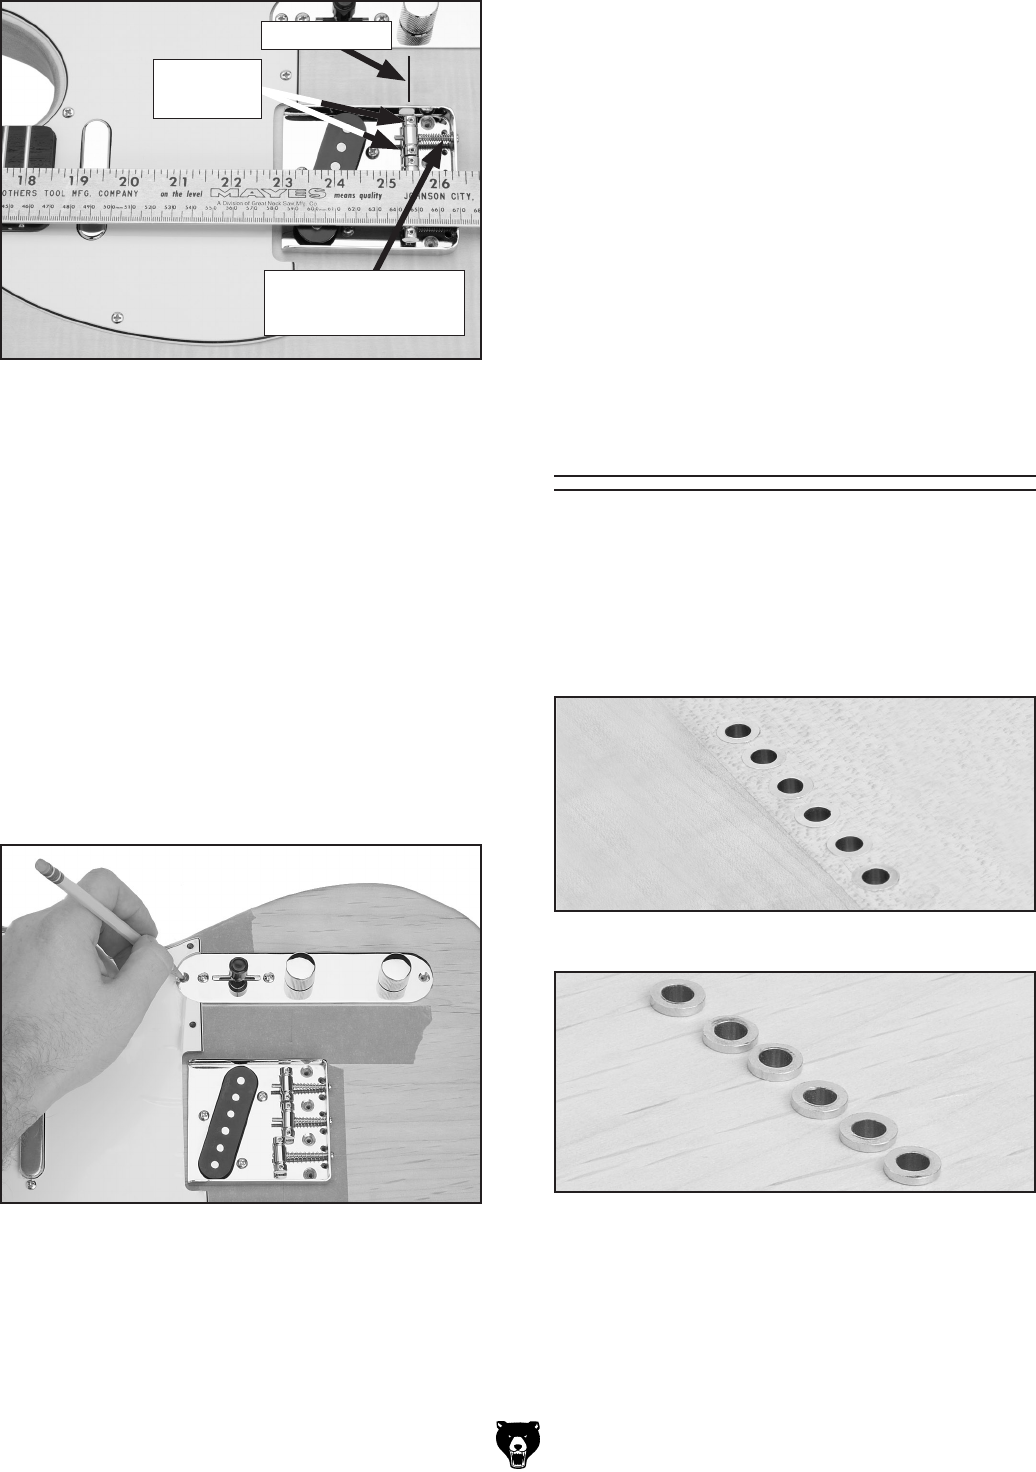
Installing Ferrules
The strings can be installed through the body
using the ferrules—instead of just through the
bridge. One advantage of using the ferrules is that
the strings will sustain notes longer. Ferrules can
be mounted flush (Figure
18) or above (Figure
19) the surface of the guitar.
Figure 18. Flush mounted ferrules.
Figure 19. Above surface mounted ferrules.
Components and Hardware Needed: Qty
Guitar Body .......................................................
1
Ferrules ............................................................. 6