


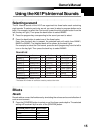
6
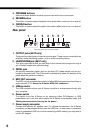
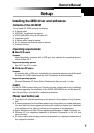
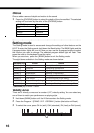
3. PROGRAM buttons
Use one of these buttons to select a sound from within the current bank.
4. REVERB button
This button is used to select the depth of the reverb effect, and to turn it on and off.
5. CHORUS button
This button is used to select the depth of the chorus effect, and to turn it on and off.
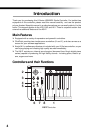
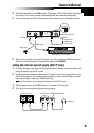
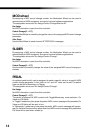
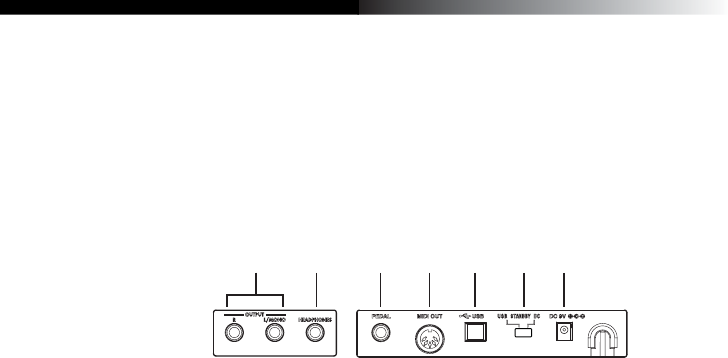
Rear panel
1
2
3 4 5 6 7
Illustration shows the rear panel of K61P.
1. OUTPUT jacks (K61P only)
These are the output jacks of internal sound engine. These can be connected to an
amplifier, audio monitoring system, or to an audio recording device.
2. HEADPHONES jack (K61P only)
This jack is provided so that you can listen to the internal sound engine through a
set of stereo headphone (standard plug).
3. PEDAL jack
An optional momentary pedal (such as the Korg PS-2 pedal switch) can be con-
nected to the pedal jack. The K-Series will automatically detect the polarity of the
pedal when the power is turned on.
4. MIDI OUT connector
The MIDI out jack provides direct control of other MIDI equipped sound modules or
audio devices. (P.10 “About the K-Series’ MIDI OUT connector”)
5. USB connector
The USB connector allows your K-Series controller to communicate directly with
your computer.
6. Power switch
This switch turns the K-Series on by selecting either DC(Adapter) or USB
power.When not in use, this switch places the K-Series in the standby mode. (p.8
“Making connections and turning on the power”)
7. Power supply connector
Connect the optional AC adapter here. For ultimate convenience, the K-Series
controllers can be powered directly from the USB bus - in most cases. In situations
using an unpowered USB hub, or when controlling a MIDI module, you may wish to
use an AC adapter.