16
14. Press the Edit button.
15. Press the Data 3 key. The LCD screen will display the currently selected control (for example "F10") and the current value.
16. Enter a Bank MSB number, such as 32.
17. Press the Enter key.
Programming a Button to Increment/Decrement a MIDI CC value
It is possible to configure a button to increase or decrease a value each time it is pressed. This is useful if you want to step through values
one by one each time a button is pressed.
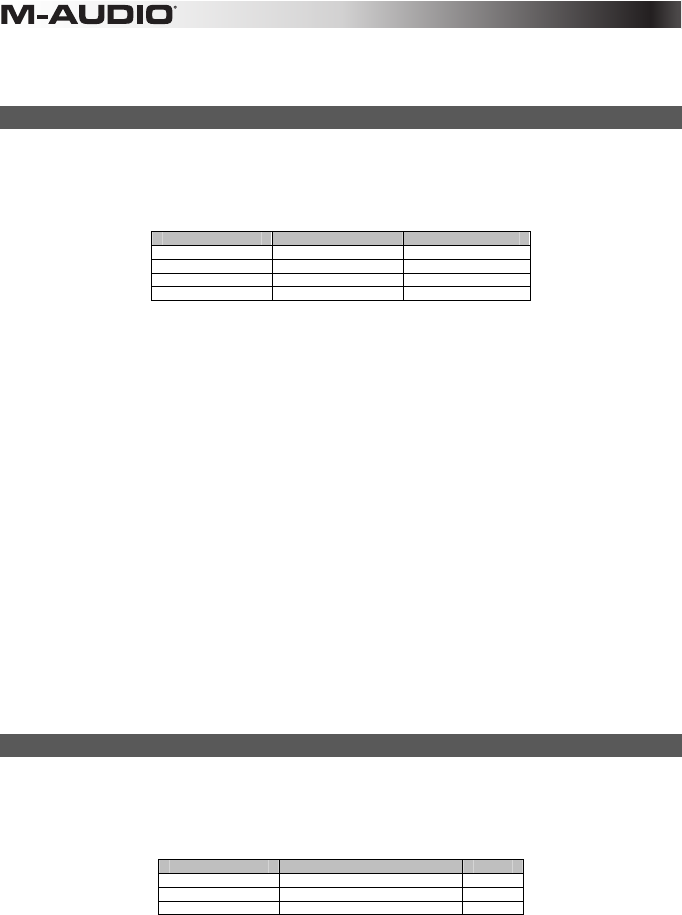
To configure a button to increment a MIDI CC between a minimum and maximum value, assign it to number 154. The maximum and
minimum values are set using the Data 2 and Data 3 parameters respectively. This requires four values to be specified (values given are
examples):
Key Parameter Value
Control Assign Increment MIDI CC 154
Data 1 (example) MIDI CC numbe
72 (Release Time)
Data 2 (example) Low Limit 0
Data 3 (example) High Limit 127
The following example configures a button to increment the release time of a sound patch on a MIDI instrument, every time it is pressed.
You may have to push the button several times while playing notes to hear the difference.
To configure a button to increment/decrement a MIDI CC value:
1. Select a button as described earlier.
2. Press the Edit button.
3. Press the Control Assign key. The LCD screen will read "ASIGN" and display the currently selected control (for example "F10"), and
the current MIDI CC assignment (for example "146").
4. Enter 154 using the number keys. This sets the button to increment the MIDI CC value.
5. Press the Enter key.
6. Press the Edit button.
7. Press the Data 1 key. The LCD screen will display the currently assigned function (for example "NOTE"), the selected control (for
example "F10"), and the current value.
8. Enter "72" using the number keys. This specifies the MIDI CC for the parameter or function that will be affected.
9. Press the Enter key.
10. Press the Edit button.
11. Press the Data 2 key. The LCD screen will read "MIN" and display the currently selected control (for example "F10"), and the
current value (for example "64").
12. Enter 0 using the number keys. This specifies the minimum value.
13. Press the Enter key.
14. Press the Edit button.
15. Press the Data 3 key.
16. Enter 127 using the number keys. This specifies the maximum value.
17. Press the Enter key.
To configure a button to decrement (decrease) a MIDI CC value, assign it to number 153. The minimum and maximum value (range) for
each button is set using the Data 2 and Data 3 parameters respectively.
Each button will only increment or decrement its own parameter value, and this value is independent of any other button. In other words,
assigning one button to increment a parameter and another to decrement the same parameter will cause the first button to send values
such as 1, 2, 3, etc. Pressing the second button will send values such as 127, 126, 125, etc, and will not decrement from where the first
button left off (for example 2, 1, 0).
Programming a Button to Increment/Decrement a Program Change
It is possible to configure a button to send an Increment (increase) or Decrement (decrease) Program Change message each time it is
pressed.
To configure a button to increment a Program Change between a minimum and maximum value, assign it to number 156. The minimum
and maximum values are set using the Data 2 and Data 3 parameters respectively. This requires three values to be specified (values given
are examples):
Key Parameter Value
Control Assign Program Increment 156
Data 2 (example) Program Number (minimum) 0
Data 3 (example) Program Number (maximum) 127
To configure a button to increment/decrement a Program Change:
1. Select a button as described earlier.
2. Press the Edit button.
3. Press the Control Assign key. The LCD screen will read "ASIGN" and display the currently selected control (for example "F10"), and
the current MIDI CC assignment (for example "154").
4. Enter 156 using the number keys. This configures the button to increment the Program number
5. Press the Enter key.
6. Press the Edit button.
7. Press the Data 2 key. The LCD screen will read "MIN" and display the currently selected control (for example "F10"), and the
current value (for example "64").
8. Enter 0 using the number keys. This specifies the lowest Program number.
9. Press the Enter key.
10. Press the Edit button.
11. Press the Data 3 key. The LCD screen will read "MAX" and display the currently selected control (for example "F10"), and the
current value (for example "87").


