


17
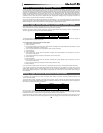
12. Enter 127 using the number keys. This specifies the highest Program number.
13. Press the Enter key.
To configure a button to decrement a Program Change between a maximum and minimum value, assign it to number 155. The minimum
and maximum values are set using the Data 2 and Data 3 parameters respectively.
When one button is configured to increment through sound patches (such as, 1, 2, 3, etc.), and another to decrement through them (such
as, 127, 126, 125, etc.), the second button will not decrement from where the first button left off (for example, 2, 1, 0).
Reversing the Operation of Knobs or Faders
Most MIDI parameters that are assignable to knobs or faders can be configured to reverse the controls operation. Once a control is
assigned to a MIDI parameter, by default the Data 2 parameter defines a minimum value (such as, zero) while the Data 3 parameter
defines a maximum value to be transmitted (such as 127). Reversing the operation of knobs or faders is achieved by entering a higher
value for the Data 2 parameter (usually minimum) and a lower value for the Data 3 parameter (usually maximum).
This is useful when a single fader needs to be configured to work as a drawbar, or if a knob needs to be configured in reverse when
controlling a particular parameter. In the case of a fader, this is an alternative to using the Drawbar function detailed in Chapter 4,
"Advanced Keyboard Functions," because it allows the configuration of different minimum and maximum values.
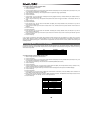
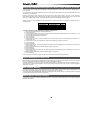
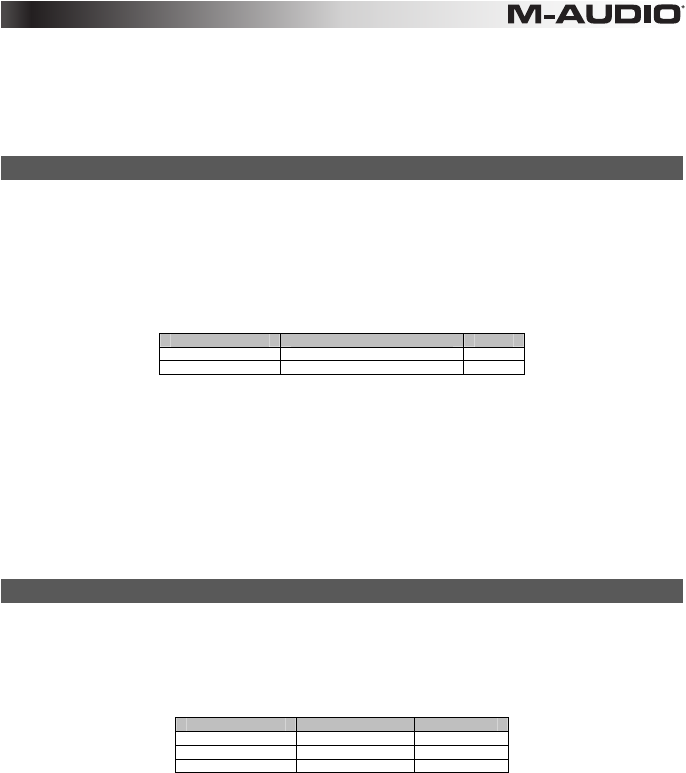
This requires two values to be specified (values given are examples):
Key Parameter Value
Data 2 (example) Minimum value 127
Data 3 (example) Maximum value 0
To configure a knob or fader to reverse Its operation:
1. Select a knob or fader as described earlier.
2. Press the Edit button.
3. Press the Data 2 key. The LCD screen will read "MIN" and display the currently selected control (for example "F1"), and the current
value (for example "0").
4. Enter 127 using the number keys. This configures the control to reach its maximum value when it is all the way down.
5. Press the Enter key.
6. Press the Edit button.
7. Press the Data 3 key. The LCD screen will read "MAX" and display the currently selected control (for example "F1"), and the current
value (for example "127").
8. Enter 0 using the number keys. This configures the control to reach its minimum value when it is all the way up.
9. Press the Enter Key.
The knob or fader now operates in reverse. What was originally the maximum position is now the minimum position, and vice versa.
Limiting the Range of a Knob or Fader
The effective range of values transmitted by knobs and faders can be limited by entering values other than 0 and 127(the default minimum
and maximum values) for the Data 2 and Data 3 parameters.
For example, with the Data 2 parameter set to 38 and Data 3 set to 93, if a knob is set fully counter-clockwise, the minimum value
transmitted is 38. If the knob is turned fully clockwise, the maximum value transmitted is 93. This can be useful in a variety of scenarios,
like keeping a knob within the "sweet spot" of a synthesizer parameter (such as, filter cutoff), or to quickly recall a specific minimum or
maximum volume setting for a track.
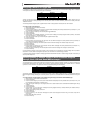
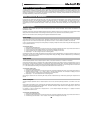
Key Parameter Value
Control Assign MIDI CC numbe
r
07 (Volume)
Data 2 (example) Minimum value 38
Data 3 (example) Maximum value 93
The operation of knobs and faders can also be reversed, even if the range of operation is limited. This is achieved by entering a higher
value for the Data 2 parameter and a lower value for the Data 3 parameter.
To configure a knob or fader to operate within a limited range:
1. Select a knob or fader as described earlier.
2. Press the Edit button.
3. Press the Control Assign key. The LCD screen will read "ASIGN" and display the currently selected control(for example "F1"), and
the current MIDI CC assignment (for example "10").
4. Type 7 using the number keys. This assigns MIDI CC number 7 (Volume) to the control.
5. Press the Enter key.
6. Press the Edit button.
7. Press the Data 2 key. The LCD screen will read "MIN" and display the currently selected control (for example "F1"), and the current
value (for example "0").
8. Type 38 using the number keys.
9. Press the Enter key.
10. Press the Edit button.
11. Press the Data 3 key. The LCD screen will read "MAX" and display the currently selected control (for example "F1"), and the current
value (for example "127").
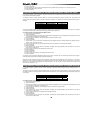
12. Type 93 using the number keys.
13. Press the Enter key.