


6 OnSite Expansion Modules Quick Start Guide
4.2 Getting Started
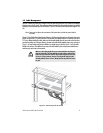
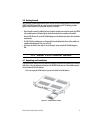
The HD-ENET module supports insertion into or removal from any available expansion slot on the OS1052 and
OS1063 chassis while the system is powered on and carrying traffic. The following procedure applies to module
insertion into a system that is powered ON:
•
After the module is securely installed to the chassis (using the mounted screws on the front panel), the STAT
LED of the HD-ENET module becomes a solid amber light for about ten seconds after the system detects the
module.
•
After the STAT LED turns off, use the OS-10 Node Manager to set the Administrative Type for the slot where
the module resides to 8-port Ethernet expansion module.
•
The STAT LED of the module becomes a solid green light when the Administrative Status of the module is set to
Enabled and the Operational Status is in service (IS).
•
At this point, the module is now ready for the provisioning of Ethernet services using the OS-10 Node Man-
ager or NMS.
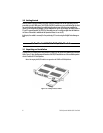
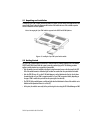
5.0 Model 9300 STM-1 Module
This section provides a brief overview of the information that you need to install the 2-port STM-1 module. There
are two types of STM-1 expansion module: 2-port STM-1 optical interface (STM-1o) module and 2-port STM-1
electrical interface (STM-1e) module. Table 1 provides the product codes that identify each module type. The
STM-1 modules require software Release 4.0 and above for operation in the OS1052 and OS1063 platforms.
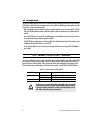
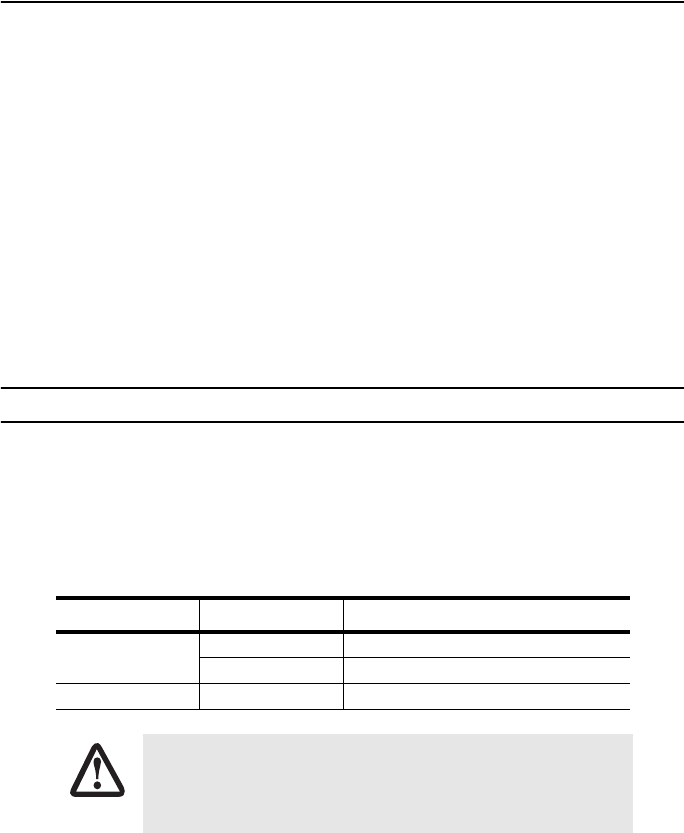
Table 1. Product Codes for the STM-1 Modules
Module Type Code Description
Optical 9300-STM1-S11-02 2-port STM-1 optical S-1.1 interface
9300-STM1-L11-02 2-port STM-1 optical L-1.1 interface
Electrical 9300-STM1-075-02 2-port STM-1 electrical 75-ohm G.703 interface
To protect your eyes, never look at the transmit LED or laser of the STM-
1 optical interface (STM-1o) module through a magnifying device while it
is powered on. Never look directly at a fiber port on the module or at the
ends of fiber cable when they are powered on.
CAUTION