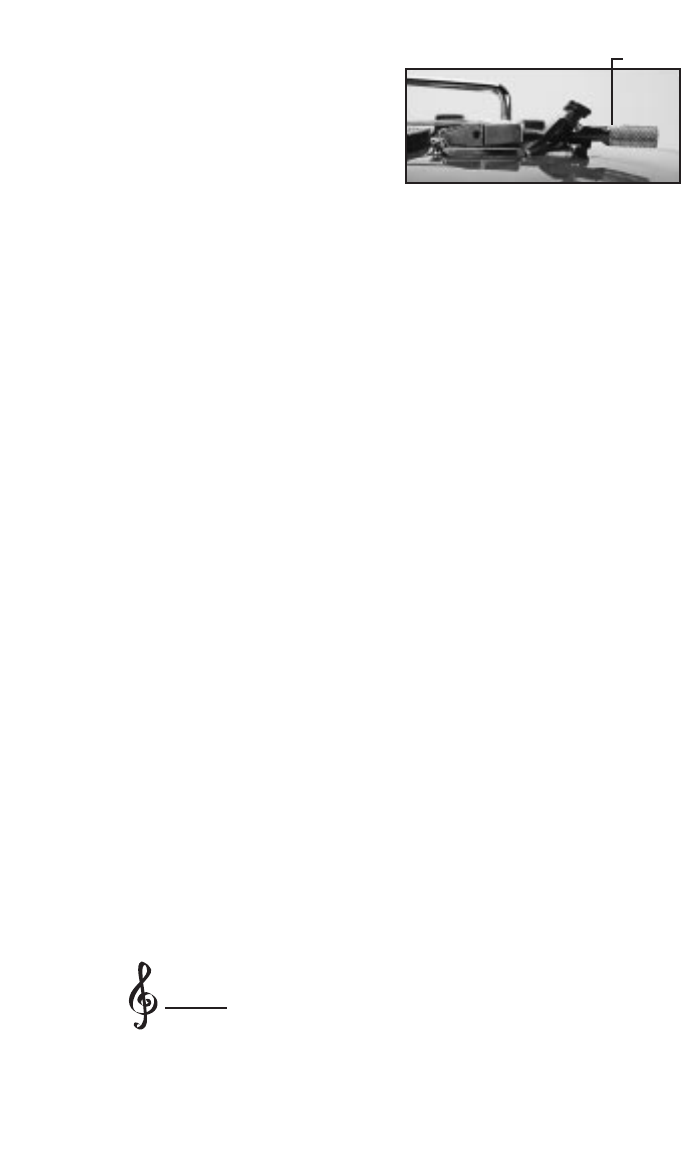
9
simply sliding the mecha-
nism in (for E) or out (for D).
Please read the instructions
carefully to understand the
operation and adjustment of
the D-Tuner.
1. Loosen the locking topnut screw for the low-E string.
2. Adjust the D-Tuner to the “D” position by pulling it
back (away from the tremolo).
3. Turn the fine-tuning adjustment screw for the low-E
string counterclockwise until it stops. Then, turn
the fine-tuning adjustment screw clockwise approxi-
mately one full turn. This will allow proper travel for
the D-Tuner.
4. Using the tuning machine, stretch and retune the low-E
string to “D.” Then, tighten the locking topnut screw and
fine tune the “D” using the fine-tuning adjustment
screw.
5. Slide the D-Tuner forward (toward the bridge) while
applying slight downward pressure. The D-Tuner will
now be in the “E” position. The fine-tuning screw will
now be positioned on the top, flat surface of the
D-Tuner.
6. Check the tuning of the low-E string.
7. If the low-E string is out of tune, use the supplied 1.5mm
hex wrench to turn the set screw on the D-Tuner clock-
wise if the pitch is flat, or counterclockwise if the pitch is
sharp.
8. Pull the D-Tuner back to the “D” position and check tun-
ing. Push it back to the “E” position, check tuning and
readjust the set screw if necessary.
9. Once the set screw on the D-Tuner is correctly adjusted,
use only the fine-tuning screw for tuning. (The fine-tun-
ing screw will simultaneously tune both notes in either
position.)
It is recommended that the D-Tuner, fine-tuning
adjustment screw and bridge saddle be
cleaned and lubricated to ensure smooth oper-
ation. The saddle should be allowed to pivot up and down
freely to ensure proper operation of the D-Tuner.
Changing string gauges or deviation from proper pitch
(A-440) will necessitate readjustment of the D-Tuner.
Note
set screw
“D” position


