14
Operating the MC section
Using a microphone
1 Switch [OUTPUT]
Select the output destination of the sound output from the [MIC1] or [MIC2]
channel.
2 Rotate [LEVEL] for the microphone channel
Adjusts the level of audio signals output from the microphone channel.
! Pay attention that rotating to the extreme right position outputs a very loud
sound.
3 Press [MIC1 ON] for the [MIC1] channel or [MIC2 ON] for the
[MIC2] channel.
Turn on the microphone channel. The button lights up in green.
4 Input audio signals to the microphone
Sound is output to the output destination selected in step 1.
! The peak level indicator lights in different colors corresponding to the level of
audio being input.
— Green: Permissible level
— Orange: Appropriate level
— Red: Excessive level (lower the level of audio by rotating [LEVEL] to the
left)
Adjusting the sound quality
Rotate [HI], [MID] or [LOW] for the [MIC1] or [MIC2] channel
Refer to Specifications on page 18 for the range of sound that can be adjusted by
each control.
Using the microphone effect feature
1 Press [MIC EFFECT (REVERB, ECHO+VERB, OCTAVER or PITCH)]
Turn on the microphone effect function. The button flashes in blue.
! The effect varies depending on the button.
2 Rotate [EFFECT]
Adds an effect to the sound output from the microphone channel.
! The effect varies according to the rotation direction and position of [EFFECT].
Effect Name Descriptions
REVERB
1
Adds a reverberation effect to the original sound.
ECHO+VERB
1
Adds reverberation and echo effects to the original sound.
OCTAVER
1
Adds sound with 1 octave up and down to the original sound.
PITCH
Changes the musical interval within the range of 1 octave up and
down. Rotate it to the right and left to change the interval 1 octave up
and down respectively.
1 The more you rotate it to the right, the louder the effect sound.
! When you turn off the microphone effect function, press the flashing
[MIC EFFECT (REVERB, ECHO+VERB, OCTAVER, PITCH)] once again. The but-
ton lights up in blue.
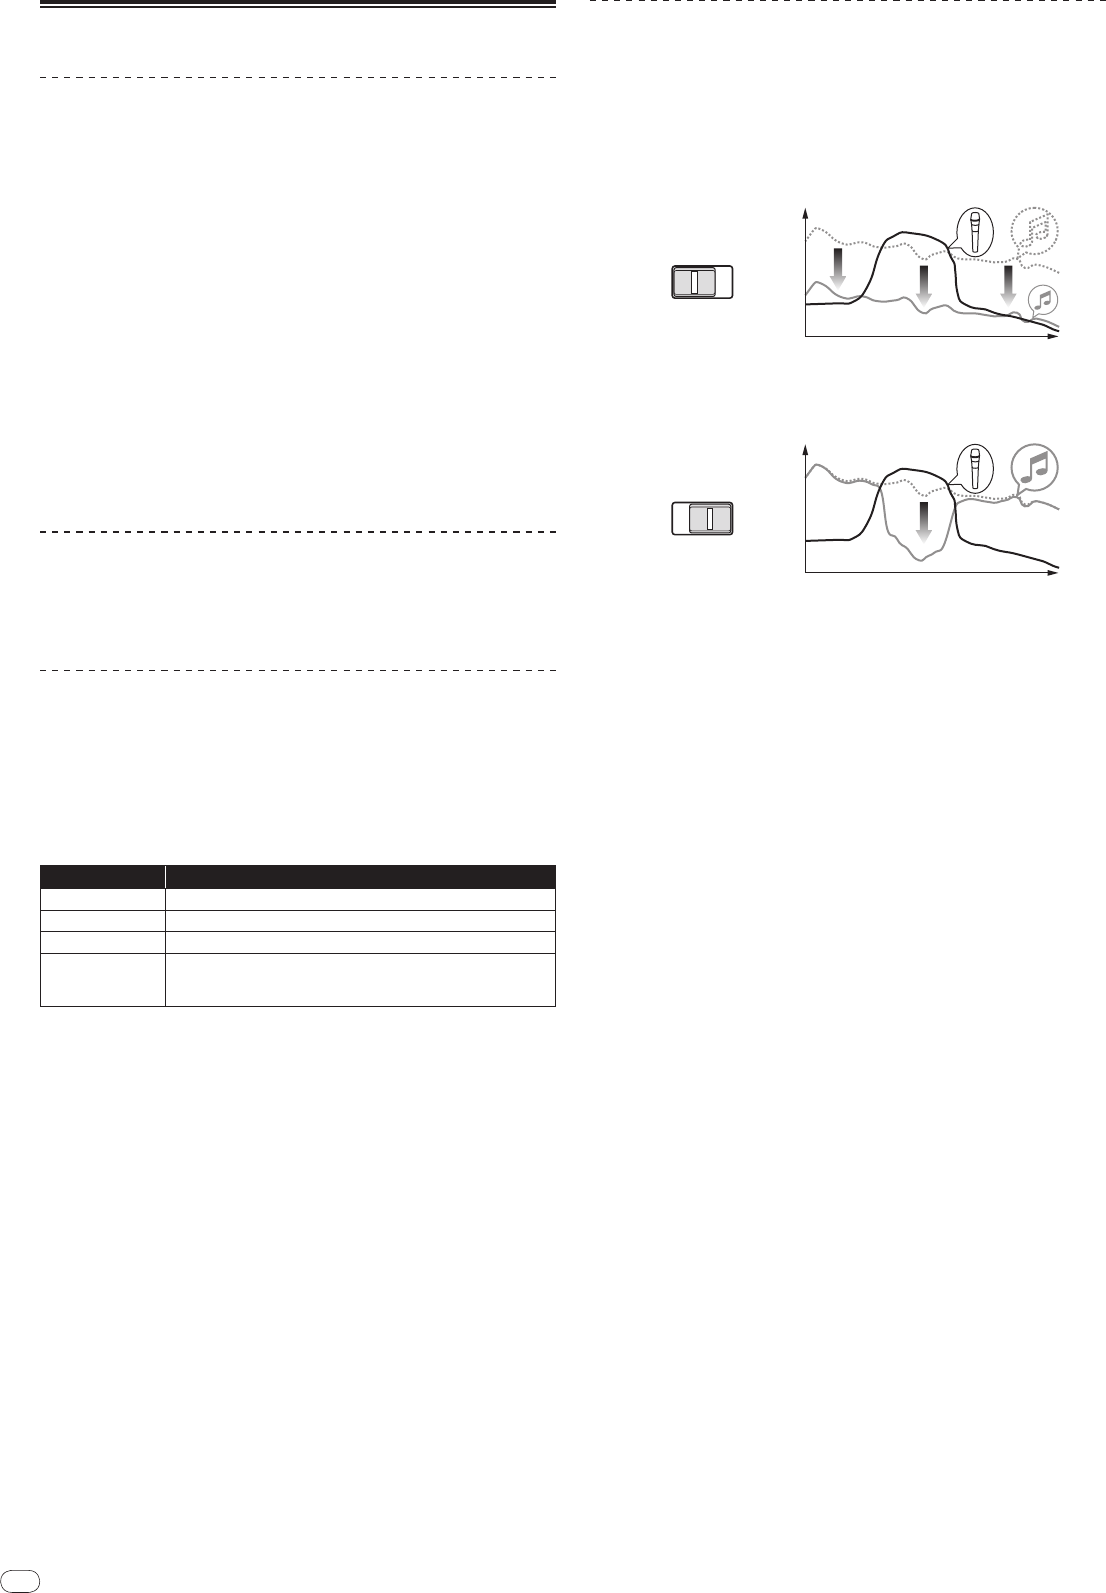
Using the talk-over feature
1 Rotate the talk-over level
Set the attenuation level of sound besides the one in the microphone channel.
2 Switch between [NORMAL]/
[ADVANCED]
The attenuation mode for the talk-over function switches.
! Normal talk over:
The sound output from channels other than the microphone channel is
attenuated by the amount set for the talk over level.
dB
Frequency
NORMAL
ADVANCED
! Advanced talk over:
Only the voice band of the sound output from channels other than the
microphone channel is attenuated by the amount set for the talk over
level.
dB
Frequency
NORMAL
ADVANCED
3 Press [ON/
OFF] for [TALK OVER]
Turn on the talk-over function. The button lights up in red.
! When audio signals are input in the microphone channel, the sound, besides
the one in the microphone channel, is attenuated according to the attenua-
tion mode setting and the position of the control.


