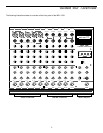
Guided Tour - Mono and Stereo Channels
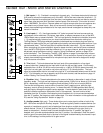
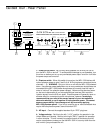
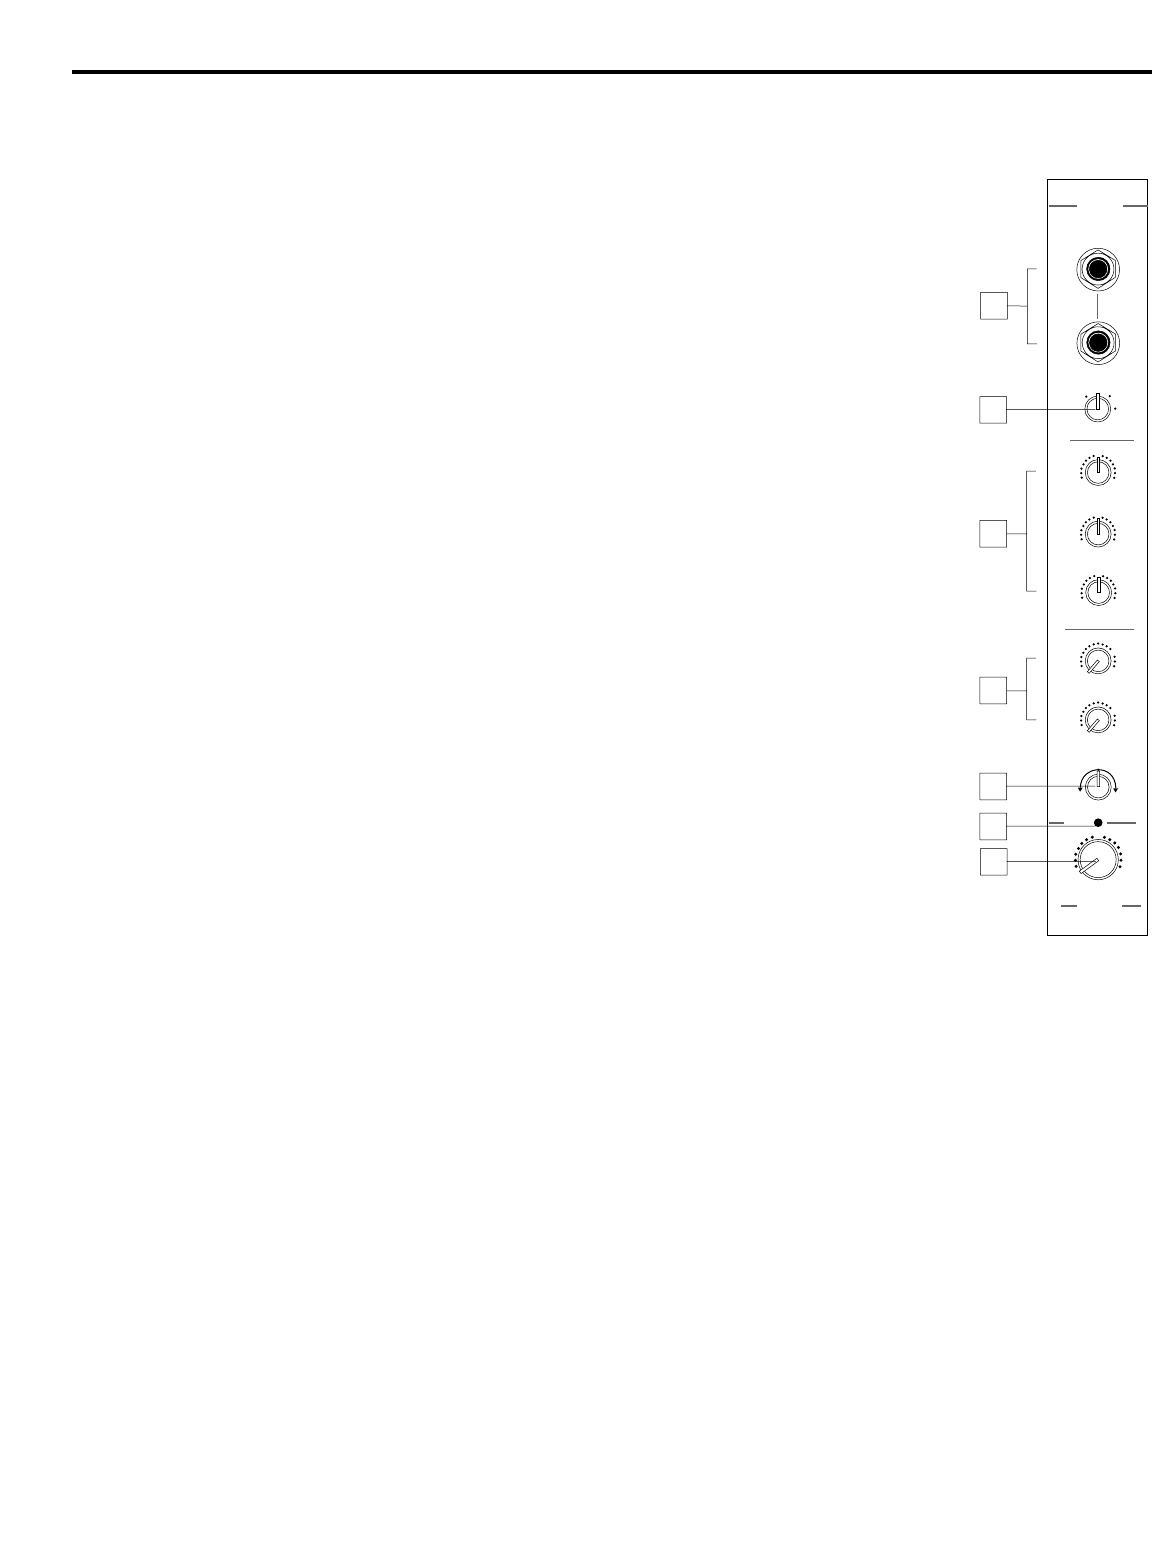
6: Pan (white) - Provided in mono channels only. This knob allows you to place the input signal
anywhere in the left-right stereo spectrum, while keeping the overall signal level constant. When
the knob is placed at its center (detented) position, the signal is sent equally to both left and right
outputs. When moved left of center, less signal is sent to the right output (making the sound
appear left of center) and when moved right of center, less signal is sent to the left output
(making the sound appear right of center). To route a signal hard left or right, place the pan
knob either fully counterclockwise or fully clockwise.
7: Balance (dark gray) - Provided in stereo channels only. When both inputs (even-numbered
and odd-numbered) are connected to a stereo channel, the even-numbered input signal is auto-
matically panned hard left and the odd-numbered input signal is automatically panned hard right.
In this case, the “Balance” knob controls the relative levels of the paired input signals. When the
knob is placed at its center (detented) position, both signals are at equal strength. When moved
left of center, the even-numbered channel remains at the same strength but the odd-numbered
channel is attenuated; when the knob is moved right of center, the odd-numbered channel
remains at the same strength but the even-numbered channel is attenuated. When placed fully
counter-clockwise, only the even-numbered channel is heard (panned hard left); when placed
fully clockwise, only the odd-numbered channel is heard (panned hard right).
In stereo channels where only the even-numbered input is connected, the Balance knob func-
tions the same as a mono channel Pan control; see #6 above for details. For more information,
see the “Using Pan/Balance” section on page 18.
8: Peak LED (red) - This warning light indicates an overload situation. It lights whenever a
channel’s signal is 5 dB short of clipping. To stop it from lighting (and eliminate the accompanying
sonic distortion), turn down the channel’s Trim knob (see #3 above) or reduce the amount of
equalization boost. See the “Setting the Correct Gain Structure” and “Using Equalization”
sections in this manual (pages 14 and 19) for more information.
9: Gain (green) - In mono channels (or in stereo channels where only the odd-numbered input
is connected), this knob determines the signal level being sent to the main output as well as
affecting the signal level being sent to both Aux send. In stereo channels, this knob simultane-
ously controls the level of both the even-numbered and odd-numbered inputs (the relative levels
of the two can be adjusted with the Balance knob, as described above). In practice, you will use
the channel gain controls to continuously adjust the levels of the various signals being blended
together by the MPL 1502. The center-detented “0” position of the knob indicates unity gain (no
level attenuation or boost). Moving the knob counterclockwise from the “0” position (towards
“-∞”) causes the signal to be attenuated (at the very bottom, it is attenuated infinitely—in other
words, there is no sound). Moving it clockwise from the “0” position (towards “+15”) causes the
signal to be boosted by as much as 15 dB.
For best signal-to-noise ratio, all gain controls for channels carrying signal should generally be
kept at or near the “0” position. Channels that are unused should have their gain controls kept
fully counterclockwise at their “-∞” (minimum) level. See the “Setting the Correct Gain Structure”
section on page 14 for more information.
5
−∞
−∞
−∞
14 / 15
LEFT/MONO
RIGHT
-30+4
0
10
TRIM
HIGH
-15 +15
0
MID
-15 +15
0
LOW
-15 +15
0
+10
AUX 1
14 /15
GAIN
0
+15
PEAK
BALANCE
LR
AUX 2
+10
0
0
2
3
4
5
7
8
9


