


Settings
30
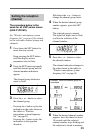
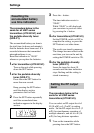
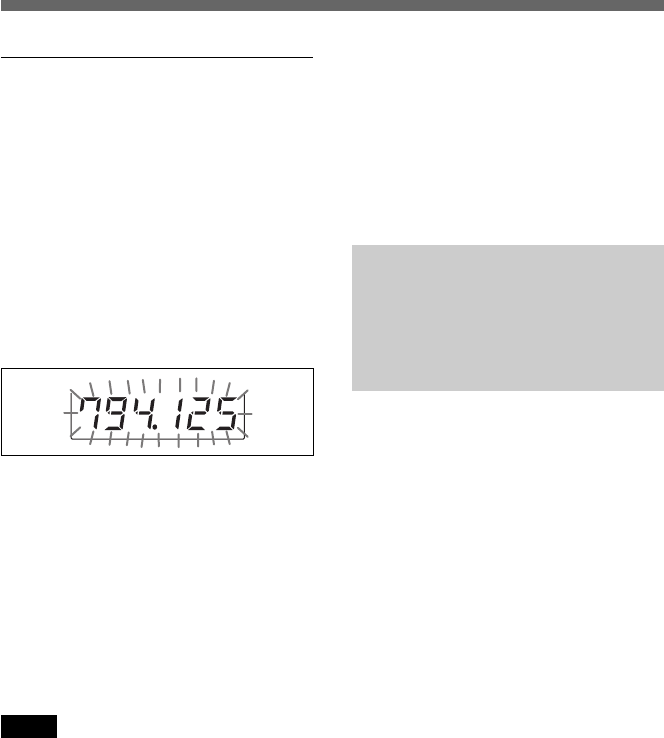
To selct the channel by
frequency indication
1 Press the SET button for more
than one second.
Keep pressing the SET button
until the display seciton
parameters start to flash.
2 Press the SET button repeatedly
until the frequency indication
appears and starts flashing.
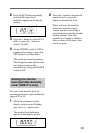
3 Press the + or – button to select
the frequency.
4 When the desired frequency
appears, leave the tuner for about
10 seconds until the selected
channel frequency stops flashing
and the selection is stored in
memory.
Notes
• When you are setting the reception
channel, the tuner can be used to
receive signals.
• Do not remove the batteries while
setting the reception channel. If they
are inadvertently removed, re-insert
them immediately and redo the
procedure “Setting the reception
channel” from step 1.
• Make sure that the selected channel
is the same on the transmitter and
tuner being used in the same system.
• If you turn off the tuner and then
immediately turn it on right after
setting the reception channel, the unit
may not operate normally. Wait a
few seconds before turning it on
again.
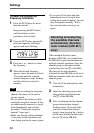
Detecting and selecting
the available channels
automatically (diversity
tuner module (URX-M1)
only)
When multiple diversity tuner
modules (URX-M1) are installed into
the MB-806 to perform simultaneous
multiple-channel operation, select the
channel group on the tuner module
installed into the slot 1 of the MB-
806, then all the tuner mudules
installed into the MB-806 can be set to
different channels within the selected
channel group.
1 Turn off all the microphones and
transmitters.
2 Select the channel group on the
tuner module installed into the
slot 1 of the MB-806.
3 After confirming that the channel
group indication has stopped
flashing (about 10 seconds after
you have selected the channel
group), keep pressing the + button
on the tuner module installed into
the slot 1 of the MB-806.