


27
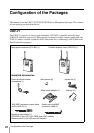
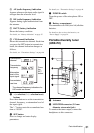
Parts Identification
Parts
Identification
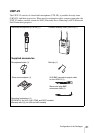
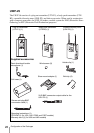
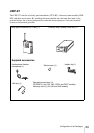
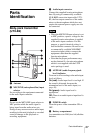
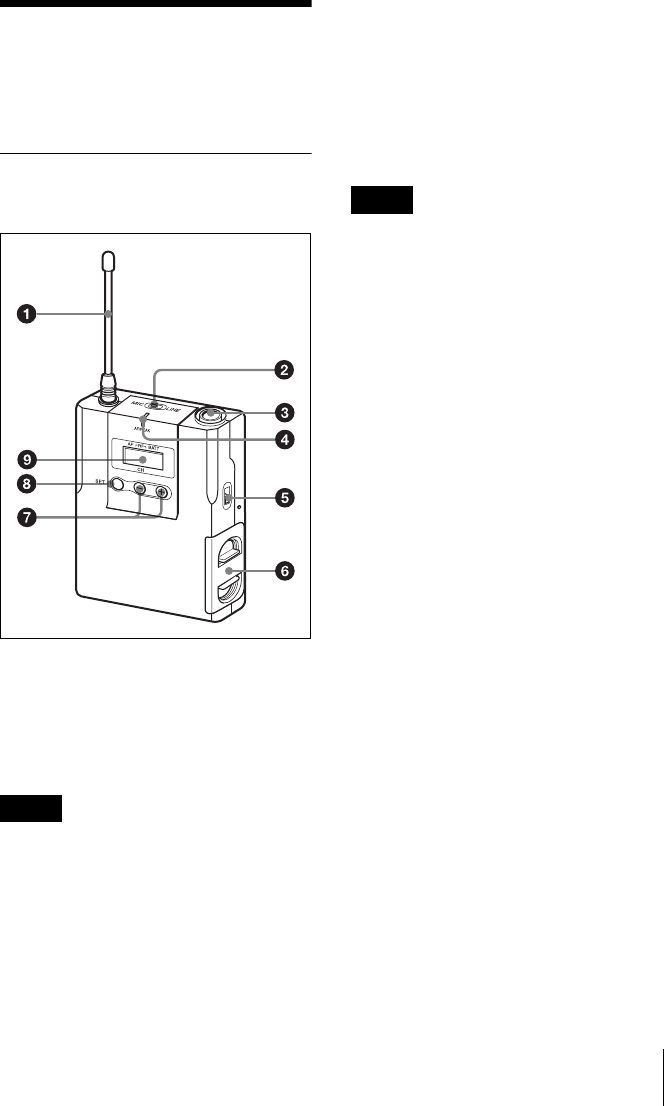
Body-pack transmitter
(UTX-B2)
a Antenna
b MIC/LINE (microphone/line) input
selector
Set according to the equipment connected
to the audio input connector.
Do not set the MIC/LINE input selector to
MIC position while the audio signal is
being input from the audio mixer, etc.
Doing so may cause excessive audio input,
resulting in distorted playback or recorded
sound or damage to the playback or
recording equipment.
c Audio input connector
Connect the supplied lavarier microphone
here. By using a commercially available
XLR-BMP conversion input cable, UTX-
B2, the line output connector of the audio
mixer or the microphone which does not
require the external power supply can also
be connected.
• When the MIC/LINE input selector is set
to MIC position, a power voltage for the
supplied lavarier microphone is applied
to the audio input connector. For this
purpose, a special electrical wiring is
used inside this connector. Be sure to use
a commercially available XLR-BMP
conversion input cable to connect the
equipment other than the supplied
lavarier microphone.
• Note that the proper performance may
not be obtained if a lavarier microphone
which is not supplied with the UWP
series package is used.
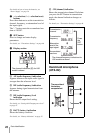
d AF/PEAK (audio frequency/peak
level) indicator
Turns on or off according to the audio input
level as follows.
On (red): Audio input level is too high. If
the sound is distorted, decrease the
attenuation level of the audio input (see
page 48).
On (green): Audio input level is
appropriate.
Off: There is no audio input or input level is
too low.
e POWER switch
Turns the power of the transmitter ON or
OFF.
f Battery compartment
Accommodates two LR6 (size AA) alkaline
batteries.
Note
Notes