


46
Transmitter Settings
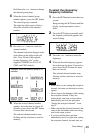
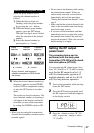
3 Press the – button.
The time indication resets to “00:00.”
While “00:00” is still displayed, you
can return to previous value by
pressing the + button.
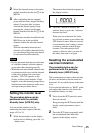
4 Leave the tuner for about 10 seconds or
press down the SET button for more
than one second.
The time indication stops flashing and
the results are stored in memory.
Transmitter
Settings
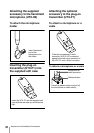
Setting the transmission
channel
The procedure below is the same
for all UWP series transmitters
(UTX-B2/H2/P1).
Refer to the pdf files “Sony Wireless Microphone
System Frequency List” on the supplied CD-ROM
for details on the selectable channel groups and
channels (for U30, U42, CE62, and CE67 models).
1 Turn on the transmitter while pressing
down the SET button.
Keep pressing the SET button until the
display section parameters that were
displayed when the unit was last turned
off start to flash.
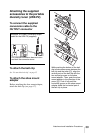
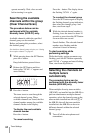
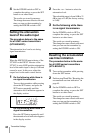
2 Press the SET button repeatedly until
the channel number (or frequency)
indication appears.
3 Press the + or – button to select the
channel number (or frequency).
Pressing the + button cycles the
indication in the order shown in the
tables in the pdf files “Sony Wireless
Microphone System Frequency List”
on the supplied CD-ROM (for U30,
U42, CE62, and CE67 models).
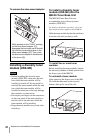
Pressing the – button cycles the
indications in the opposite direction.
Hold down the + or – button to change
the channel number (or frequency)
faster.