


XDCAM Workflow Guide
Video Technics provides the highest level of interoperability with Sony XDCAM using plug-in technology embedded in Adobe
®
Premiere Pro v2.0 and the VT Proxy Editor™ low-resolution editor. The VT XDCAM Browser connects via Ethernet directly to any
XDCAM device on the network and allows the user to seamlessly browse the centralized database and sort media by ID, date,
duration, and thumbnail picture. Files are copied as native MXF or automatically re-wrapped in an AVI format without transcoding,
which preserves the original file quality.
XDCAM media is dragged and dropped directly into the Adobe Project Bin and transferred much faster than real-time. Files are
optionally imported to a non-proprietary SAN/NAS storage system along with associated metadata and proxies for shared access by
any VT browse/edit client or craft editor, and are immediately available for playout on any HD/SD Apella™ video server channel.
Managing collaborative broadcast media content has never been so fast and easy!
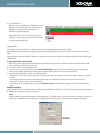
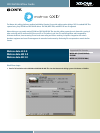
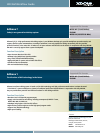
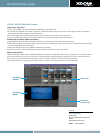
1. Launch the VT XDCAM application
2. Select the XDCAM device from the drop down list or enter a new IP
address.
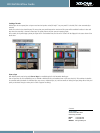
3. Once connected, the browser will display a list of clip IDs, metadata,
and thumbnails on the XDCAM media.
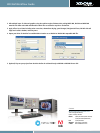
4. Select MXF or AVI format.
5. Select one or more clips in the display and click Import to Apella.
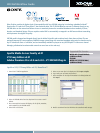
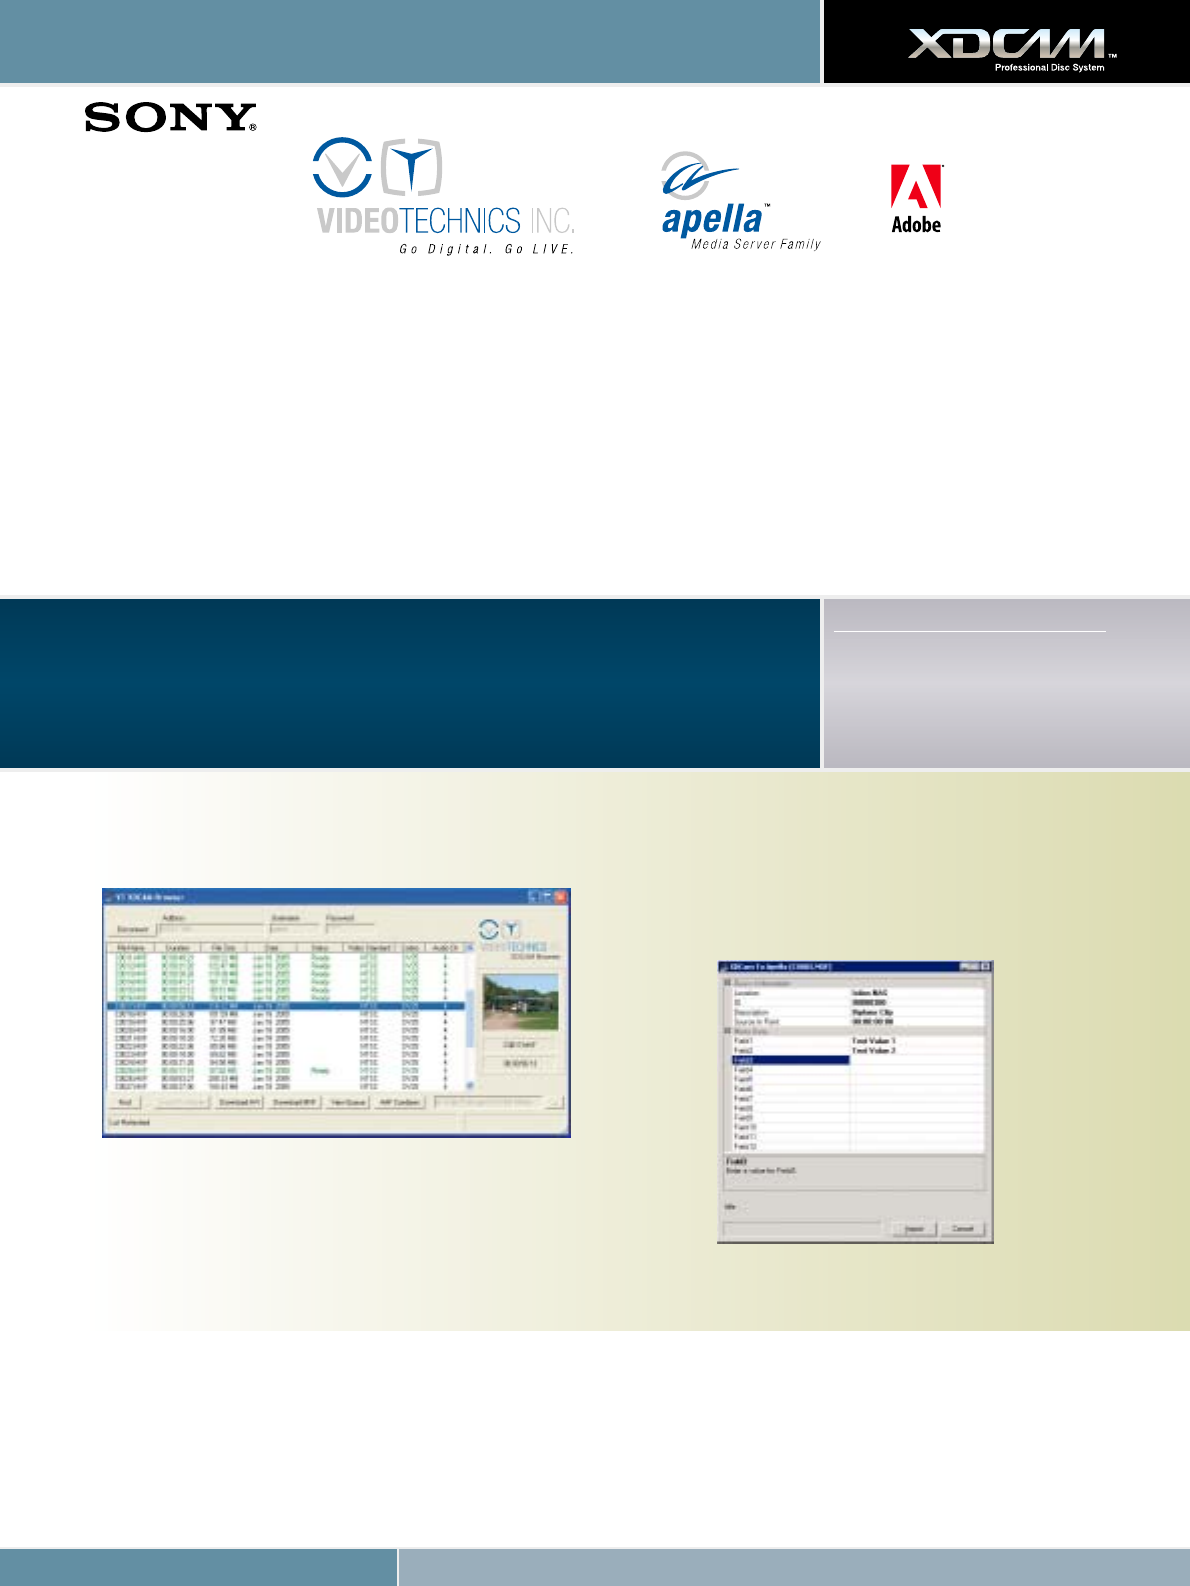
6. Log on with your username and password.
7. Add a description for the clip and metadata in the dialog below and
click Import.
8. Media is transferred from the XDCAM to the centralized media storage.
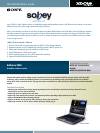
Apella Media Server Family v3.21
VT Proxy Editor v4.21
Adobe Premiere Pro v2.0 and v3.0 – VT XDCAM Plug-In
Supported File Formats:
MPEG IMX (50/40/30 Mb/s)
(w/Matrox Axio)
DVCAM
MPEG HD (35/25/18 Mb/s)
(w/Matrox Axio)
Apella v.3.21, VT Proxy Editor v.4.21, Newsflow™