8
AUDIO INBALANCED
OUTPUT
TRIM OUTPU
T
1 3212
R
L
AUDIO OUT
L
R
R L
MIC INSERT
WWW.VOCOPRO.COM
FOOTSWITCH
LA VERNE CALIFORNIA
U S A
MIC 3 MIC 2 MIC 1
CAUTION
RISK OF ELECTRIC SHOCK
DO NOT OPEN
AC 10V
VSP-M1
ON
OFF
ECHO
1
15
17
16
2
3 4 5 6 7 8
9
18
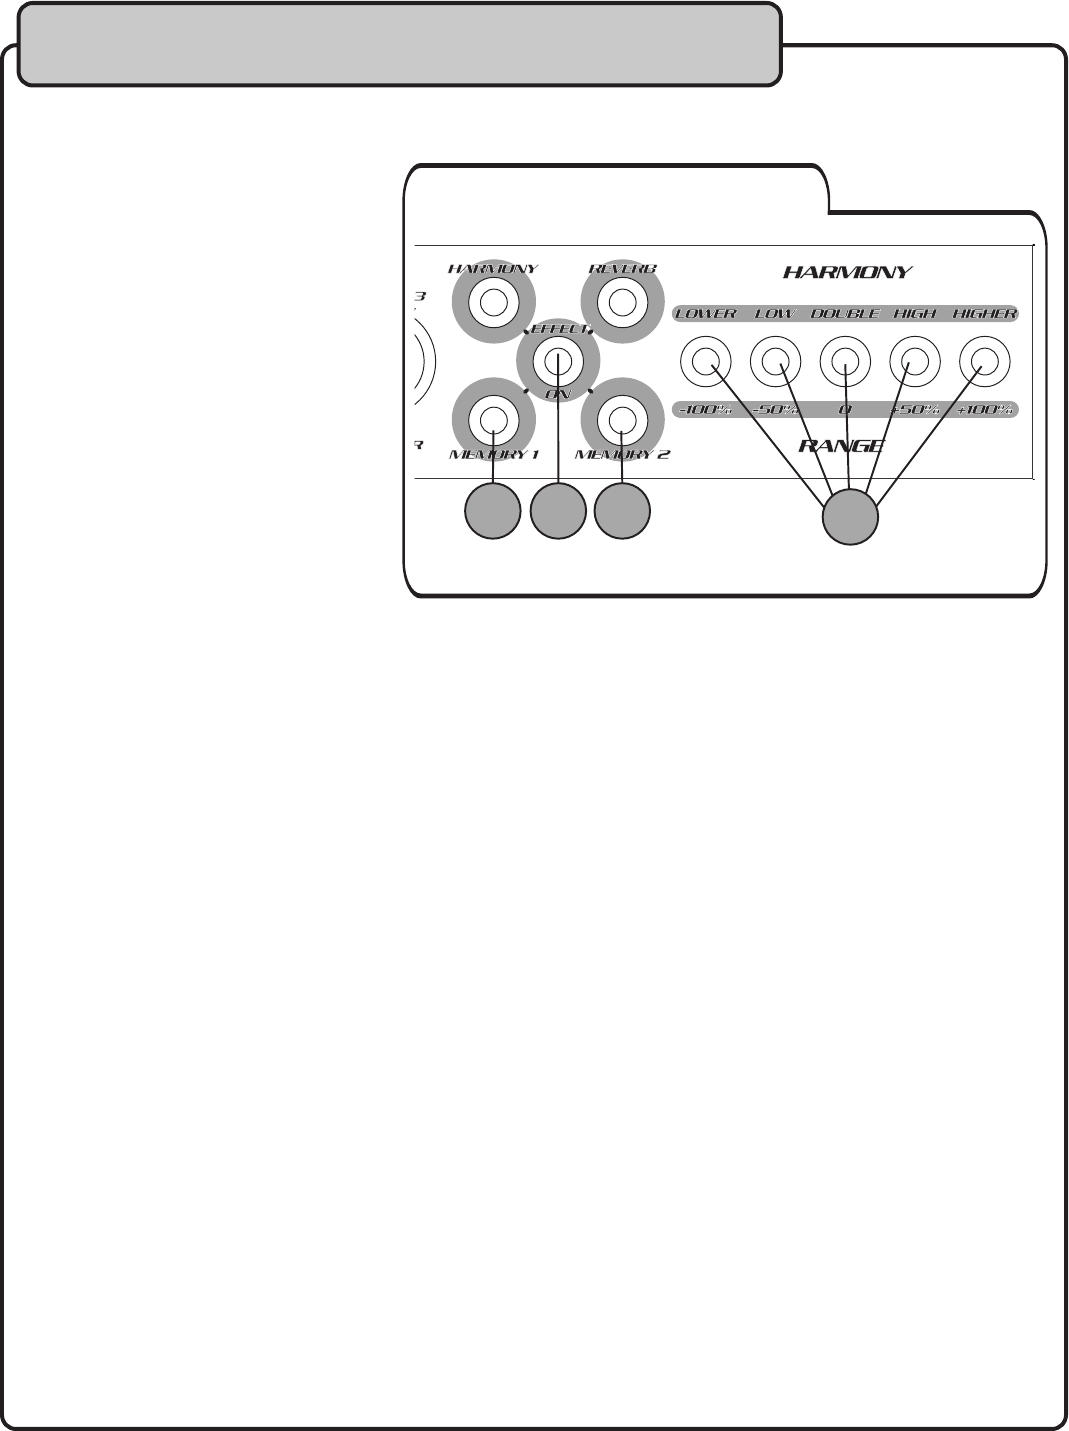
Front Panel Descriptions (CONTINUED)
16. EFFECT ON - This button must be pushed, switching the red LED to green, to activate the effects.
17. MEMORY 2 - Use this button if you want to save your parameters preferences for one of the effects. With the
effect desired selected, set your X and Y PARAMETER preferences and hold the MEMORY 2 button until the
red LED flashes. The preferenes have been saved. Now when you need to make a quick selection of this
effect with these parameters, press MEMORY 2 for instant access rather than using the DSP EFFECT dial.
When an effect has been stored, pressing this button will turn the LED from red to green, indicating your
saved effect has been recalled.
18. HARMONY/RANGE - When you press each of these buttons, the LED switches from red to green. These buttons
serve a dual function:
a. HARMONY - The Vocal Harmonizer effect of the VSP-M1 allows you to add harmonizing, octaves or doubling notes to
either a microphone or source music input.
DOUBLE/0 - As an example, if you sing a “C” note (or any other note) into the mic, and have selected the DOUBLE/0
button, a duplicate signal is produced which gives the impression there are two people singing that same note.
LOW/-50% - There are two notes in a major scale that harmonize easily with the root note, the major third and major
fifth. This button will take the C note from our example and match it to the 3rd of its lower octave, E in this case, to
simulates backing bass vocal parts being sung.
LOWER/-100% - Pressing this button adds the major fifth of the lower octave of your root note. In our example of
singing a C note, this would add a G note for very “pop” sounding, or chiming, vibrant bass harmonies.
HIGH/+50% - There are several different higher and lower pitch “octaves,” of every musical note, and pressing this button
will add the next higher octave accompanying the source.
HIGHER/+100% - Press this button to get the next octave, 2 higher than the root note.
b.
RANGE - The second function of these buttons is presets or “hot keys” for REVERB and PTICH effects X PARAMETER.
DOUBLE/0 - With the REVERB effect, this button sets the RANGE (X PARAMETER) at 50. With PITCH, RANGE is set 0.
LOW/-50% - With the REVERB effect, this button sets the RANGE (X PARAMETER) at 25. With PITCH, RANGE is set -50%.
LOWER/-100% - With the REVERB effect, this button sets the RANGE (X PARAMETER) at 0. With PITCH, RANGE is -100%.
HIGH/+50% - With the REVERB effect, this button sets the RANGE (X PARAMETER) at 75. With PITCH, RANGE is set at +50%
HIGHER/+100% - With the REVERB and PITCH effects, this button sets the RANGE (X PARAMETER) at 100.
Front Panel
15. MEMORY 1 - Use this button if you
want to save your parameters
preferences for one of the effects
With the effect desired selected, set
your X and Y PARAMETER
preferences and hold the
MEMORY 1 button until the red LED
flashes. The preferenes have been
saved. Now when you need to make
a quick selection of this effect with
these parameters, press MEMORY 1
for instant access rather than using
the DSP EFFECT dial When an
effect has been stored, pressing this
button will turn the LED from red to
green, indicating your saved effect
has been recalled.


