Using, Creating and Editing Songs
Recording Your Performance
CVP-409/407 Owner’s Manual
143
Recording Your Performance
You can record your own performances and save them to the User tab display or a
USB storage device. Several different recording methods are available:
Quick Recording which lets you record performance conveniently and quickly,
Multi track Recording which lets you record several different parts to multiple
channels, and Step Recording which lets you enter notes one by one. You can also
edit the Songs you’ve recorded.
For details on MIDI Recording, see page 196.
For details on USB Audio Recording, see page 60.
Recording Methods
There are three methods as shown below.
You can also edit Songs after they’ve been recorded (page 158).
For example, you can edit specific notes one by one, or you can use the Punch In/
Out function to re-record a specific part.
Turning playback channels of the Song on and off
A Song consists of 16 separate channels. You can independently turn each
channel of the selected Song playback on or off. Usually, CH 1 is assigned to
[TRACK 1] button, CH 2 is assigned to [TRACK 2] button, and CH 3–16 are
assigned to the [EXTRA TRACKS] button.
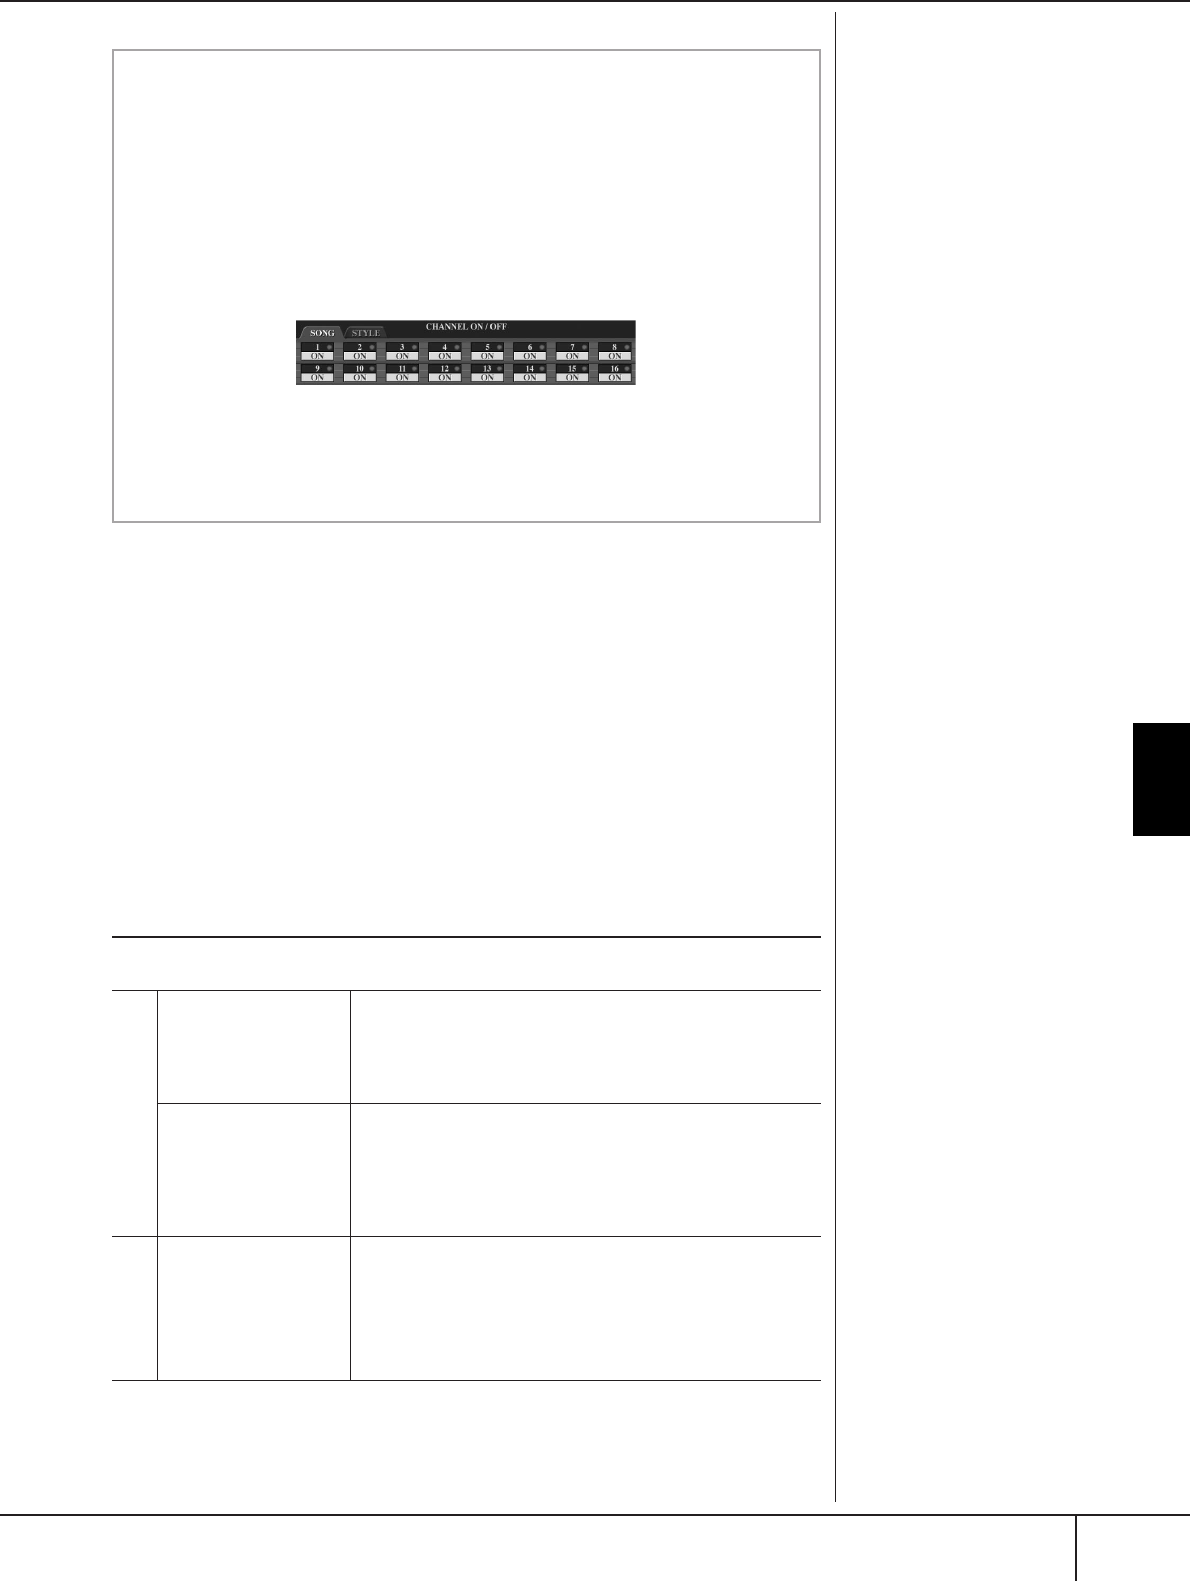
1 Press the [CHANNEL ON/OFF] button to call up the Song CHANNEL
ON/OFF display.
If the display shown below does not appear, press the [CHANNEL ON/
OFF] button again.
2 Use the [1
ππ
ππ
††
††
]–[8
ππ
ππ
††
††
] buttons to turn each channel on or off.
If you want to play back only one particular channel (muting all other chan-
nels), press and hold down one of the [1
ππ
ππ
††
††
]–[8
ππ
ππ
††
††
] buttons corresponding
to the desired channel. To cancel solo playback, press the same button again.
T
e microp
one input signa
can
not be recorded.
Internal memory (User tab
displays) capacity
The internal memory capacity of
the instrument is about 3.2MB.
This capacity applies to all file
types, including Voice, Style,
Song, and Registration data files.
Quick Recording
➤ page 144
This convenient and simple recording method lets you quickly
record your performance—useful, for example, in recording solo
piano pieces. You can record to the [TRACK 1 (R)] or [TRACK 2
(L)] button, and also to the [EXTRA TRACKS (STYLE)] track,
which can be used for recording at the same time.
Multi track Recording
➤ page 145
This lets you record a whole Song including several different
instrument parts, to create the sound of a full band or orchestra.
Record the performance of each instrument part one by one
and create fully orchestrated compositions. You can also record
over already-recorded parts of an existing Song (Preset Song or
a Song on USB storage device) with your own performance.
Step Recording
➤ page 147
This method lets you compose your performance by “writing”
it down one event at a time. This is a non-realtime, manual
recording method – similar to writing music notation onto
paper. You can input notes, chords and other events one by
one (realtime performance is not needed).
ea
t
me
ecor
ng
tep
ecor
ng
