8
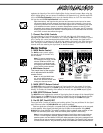
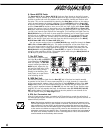
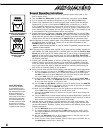
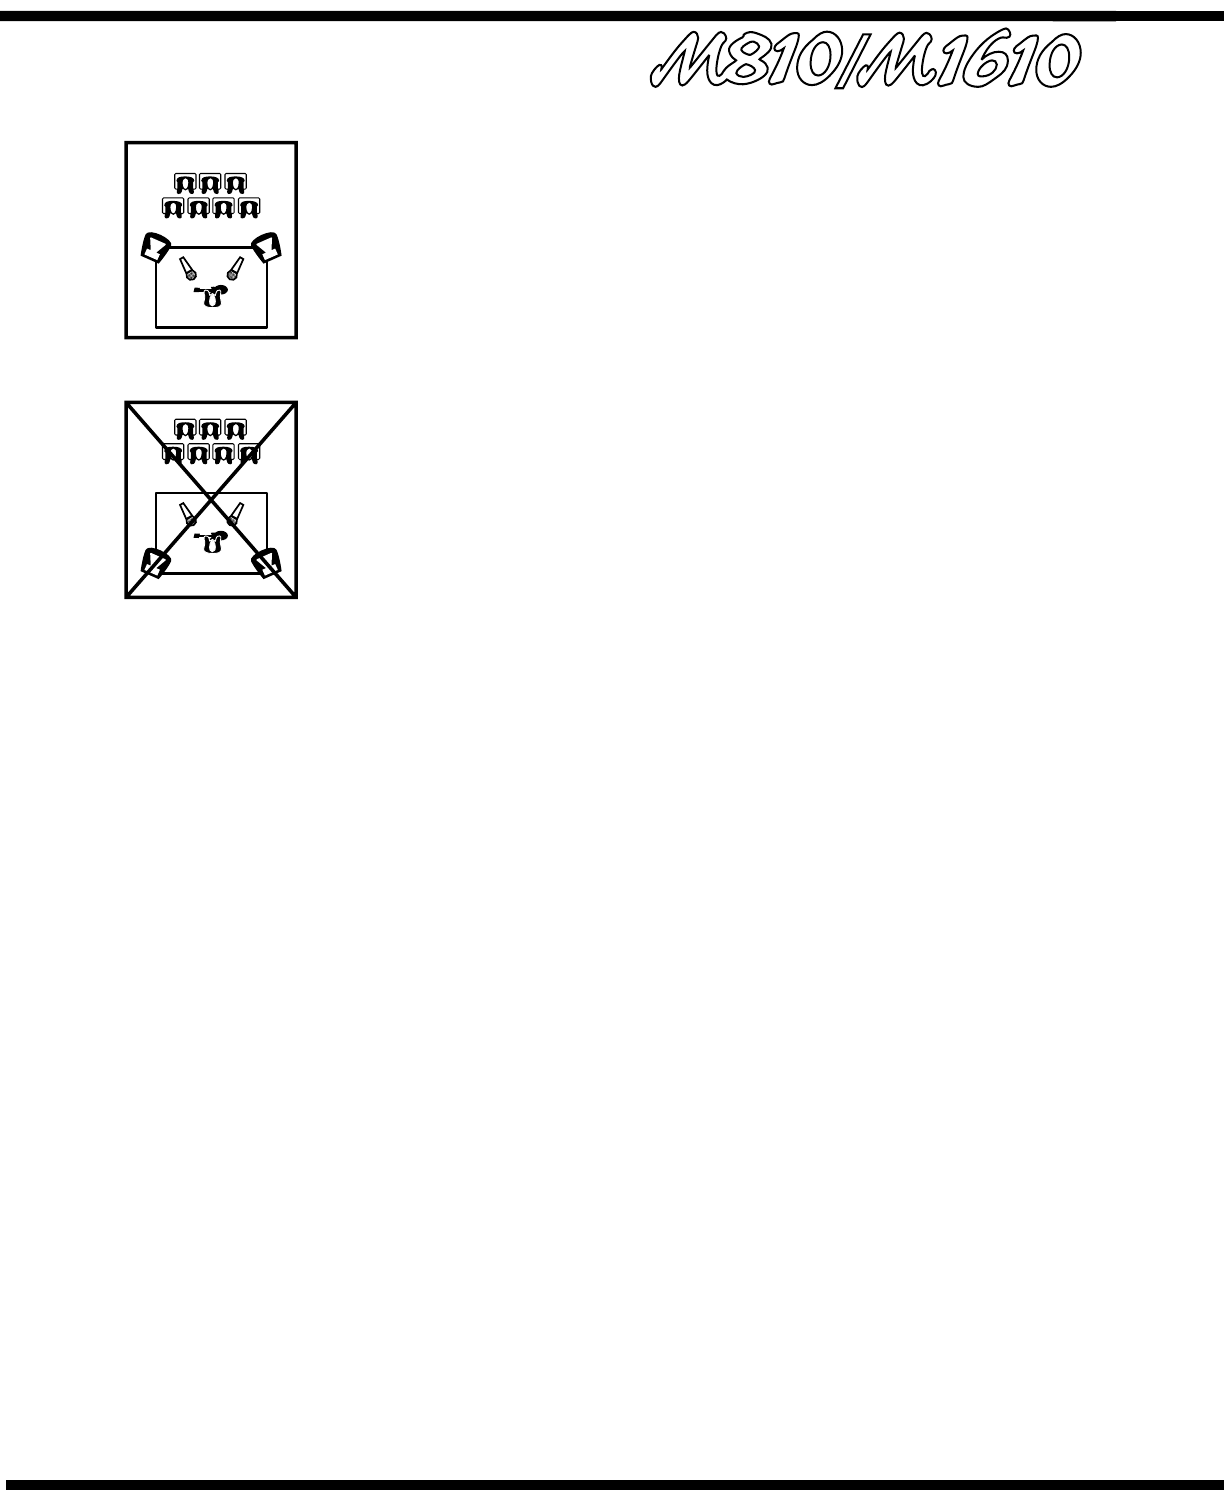
Keep the Main Speakers
between mics and audience
to minimize feedback
DO NOT place Main
Speakers in back of
the stage!!
General Operating Instructions
1. Connect the AC power cord to a 120 Volt AC grounded power outlet (220 to 240
Volts in export units).
2. Turn the MAIN and MON master controls to 0 initially, then switch on the Power.
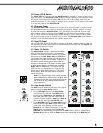
3. You can connect low-impedance microphones to the 3-pin XLR type MIC inputs.
4. Connect high-impedance mics or mono line-level signal sources (mixer line outputs,
keyboards etc.), to the ¼-inch balanced LINE IN jacks on channels 1-4, 7/8 and
9/10. Connecting more than one signal source to both XLR and ¼-inch inputs is not
recommended; this includes stereo sources (if you try to connect a stereo source to a
mono channel using a Y-adapter, you may get distortion). The ¼-inch channels 5 and
6 are optimized for musical instruments and are not balanced.
5. Connect stereo sources (CD players, tape decks, stereo keyboards etc.) to channels 7/8 or
9/10 via the stereo ¼-inch balanced LINE IN type inputs. Once again, connect only one
signal source per channel, and use shielded patch cords for all pre-amp connections. If a
monitor send or EFX send is not required use the Tape/CD input for your stereo source.
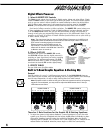
6a. Use 18-gauge (or heavier) speaker cables, using shielded patch cords to connect speak-
ers will waste power by heating up. Connect one or two 8-ohm PA speakers to the
SPEAKER outputs on the rear panel.
Note: To deliver maximum power to a pair of 4-ohm PA speakers, connect only one
speaker to each amplifier.
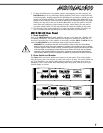
6b. If you are using a separate power amplifier for the stage monitor speakers, connect the
main speakers (as in #6, above) and run a shielded patch cord from the Pre-EQ or Post-
EQ Out jack to the input of the monitor power amp. If you are using a separate graphic
equalizer for the monitors run a shielded patch cord from the Pre-EQ or Post-EQ Out
OUT jack to the input of the EQ. Then, another one from the EQ’s output to the input of
the monitor power amp.
7. Position your main PA speakers at the front of the stage, pointing directly at the
audience. Position your monitor speakers on the stage floor; preferably to one side
of the mic stands, pointing up at the performer. Try to use cardioid or uni-directional
mics to help reduce the threat of feedback through the monitors (avoid having the
back of the mic pointing directly at the speakers).
8. During a sound check and with the band playing, make the following control adjustments:
i. On mono channels, you need to set the TRIM appropriately. To set the TRIM, first turn
the channel LEVEL control down, with a normal signal (present at the input) adjust
the TRIM control until the green LED flashes only during the peaks in signal. Now you
can use the LEVEL control to set the channel volume level.
ii. Set the channel Lo, Mid, and Hi EQ controls at center. Set the channel LEVEL, MON,
and EFX controls to seven. The Graphic EQ sliders and rotary shelving controls should
be set at the center position at this point as well.
iii. Turn the MAIN and MON Master controls up to give the desired volume, the MAIN EFX
return to around 7. Effects in the monitors tend to increase the possibility of feedback
so if the band insists, set the MON EFX return to 5.
iv. Adjust the channel MON control/s to give each performer the desired volume levels.
Use the MON master control to adjust the overall monitor level.
v. Use the channel LEVEL control/s to balance each channel’s volume level through the
main PA speakers.
vi. Turn up the EFX controls on those channels requiring the selected Digital Effect. Typically, the
lead and harmony vocal channels would be good candidates for effects. Reverb can be used on
other channels or on recorded music, but should be used sparingly.
9. Feedback during a performance is usually caused by one of the stage monitors. The
main PA is less likely to feedback because the mics are usually a good distance from
the main PA speakers. Therefore, if you’re using monitors, and feedback occurs, try the
following procedures:
i. Turn the MON Master down until the feedback stops.
ii. If a graphic equalizer is patched between the MON output and your monitor power
amp, adjust the EQ sliders individually to determine which frequency band will reduce the
potential of feedback.
iii. Now turn the MON Master back up. If the feedback returns, reset the sliders to their
original positions and retry using different sliders.
iv. In the rare case of main system feedback, follow the above type of procedure, but use
the MAIN Master and the built in Graphic EQ.
Input Wiring tips:
1. For all input connectiv-
ity use shielded wire only.
Cables with a foil shield or a
high-density braid are better.
2. When changing input
connections, turn down the
level controls on the mixer to
eliminate pops and thumps
out of the loudspeakers as
the cable contacts the mixer.
3. Keep input connection
cables as short as possible
to minimize noise and hum.


