5
Getting Started
Before you install your CameraConnect Pro, familiarize yourself with the location
and appearance of your computer system’s printer port connector and keyboard
connector. Determine if you have a “PS/2” keyboard or an “AT” keyboard. The best
resource for this information is your computer system user’s manual.
If you can’t find your computer user’s manual, go to “Appendix B: Technical Refer-
ence” at the back of this manual for help. In that appendix are drawings of these
connectors that might help you to identify the correct components. The location of
these ports change from system to system, however, so study the layout of your
computer’s I/O ports carefully to avoid plugging a cable into the wrong connector.
Connecting the CameraConnect Pro Hardware
Turn off the power and unplug the power cord. Although you will not be opening
your computer’s cover, this step is necessary to prevent damage to your computer
system’s motherboard from insertion or removal of connectors with the power on.
Step 1 If your computer is on, shut it down, turn off the power, and unplug the
power cord.
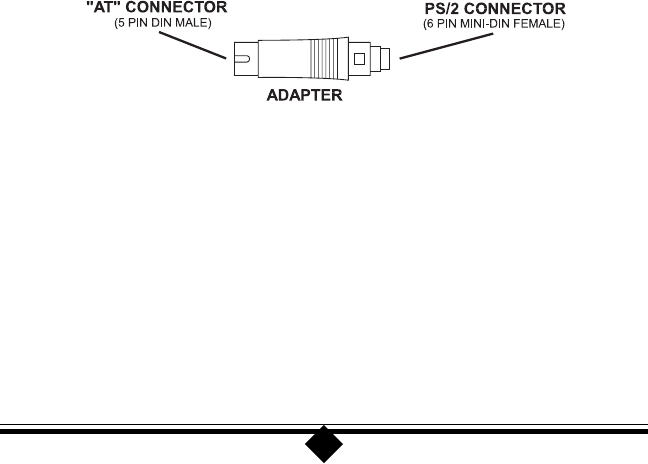
Step 2 Find the keyboard adapter included in the CameraConnect Pro package.
This device allows you to use the CameraConnect Pro in a system with
either an AT or PS/2 keyboard. The following drawing illustrates this de-
vice.
Figure 1: Keyboard Adapter
Step 3 Find the port where your keyboard is connected to your computer. Make a
note of the location of this port, then unplug the keyboard cable. If you
have an AT keyboard, see Figure 2. If you have a PS/2 keyboard, see Figure
3. In both cases the connection of the CameraConnect Pro to the printer
port is the same.
