12 Microphone and accessories
Installing the preamp
Models SE and DL
Installing the preamp
The preamplifier is detachable for storage purposes or if you wish to connect
an extension cable for distance monitoring.
Connecting to the instrument
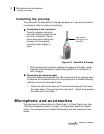
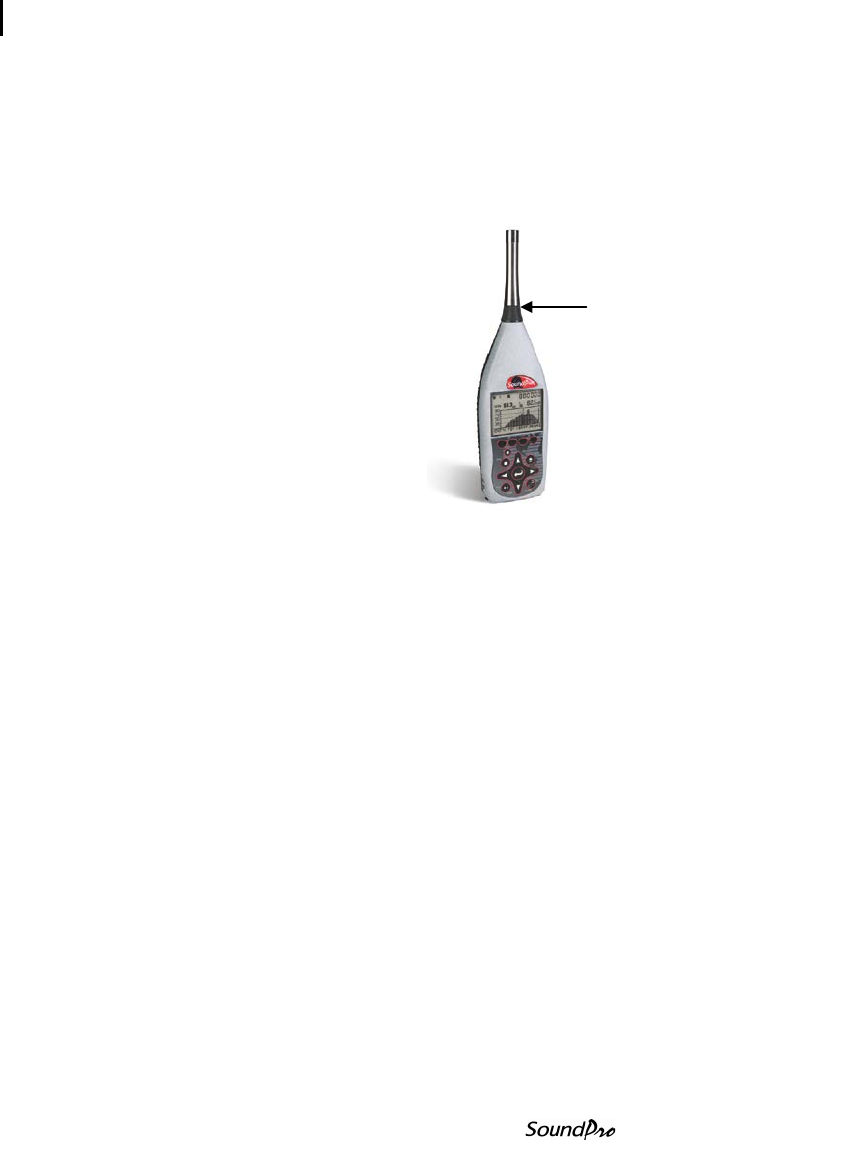
Place the preamp connector
over the mating connector at the
top of the instrument. Gently
press down while rotating the
preamp until the preamp
connector drops slightly in
place.
Figure 2-2: SoundPro & Preamp
1. While pressing the connector together to engage the threads, rotate
the black knob clockwise to secure the preamp to the instrument. It
will fit snuggly.
Connecting an extension cable
Extension cables are available from 3M as options and are typically used
to distance the instrument body from the microphone to reduce distorting
reflections from the instrument’s case.
1. Attach the cable to the base as if it were the preamp and then follow
the steps above “Connecting to the instrument”. Attach the preamp to
the other end of the cable.
Microphone and accessories
The instrument is ordered either for Class/Type 1 or Class/Type 2 use. See
“Distinctions between models” on page 1 for information about this classifi-
cation. The microphones are treated differently for the two classes of instru-
ments.
Twist preamp
locking ring onto
SoundPro


