E-33
702A-E-035A
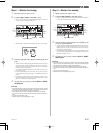
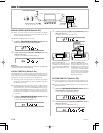
3. Press the LAYER button and then input the number of
the layered tone.
• Note that you can reverse steps 2 and 3, specifying the lay-
ered tone first and then the split tone.
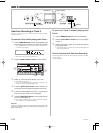
4. Press the SPLIT button or the LAYER button so both
of the SPLIT and LAYER indicators are displayed.
5. Input the number of the layered split tone.
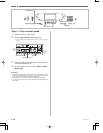
6. Specify the split point.
• While holding down the SPLIT button, press the keyboard
where you want the leftmost key of the low end range to be.
7. Play something on the keyboard.
• Press the LAYER button to unlayer the keyboard, and the
SPLIT button to unsplit it.
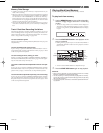
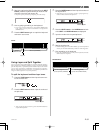
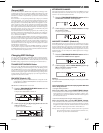
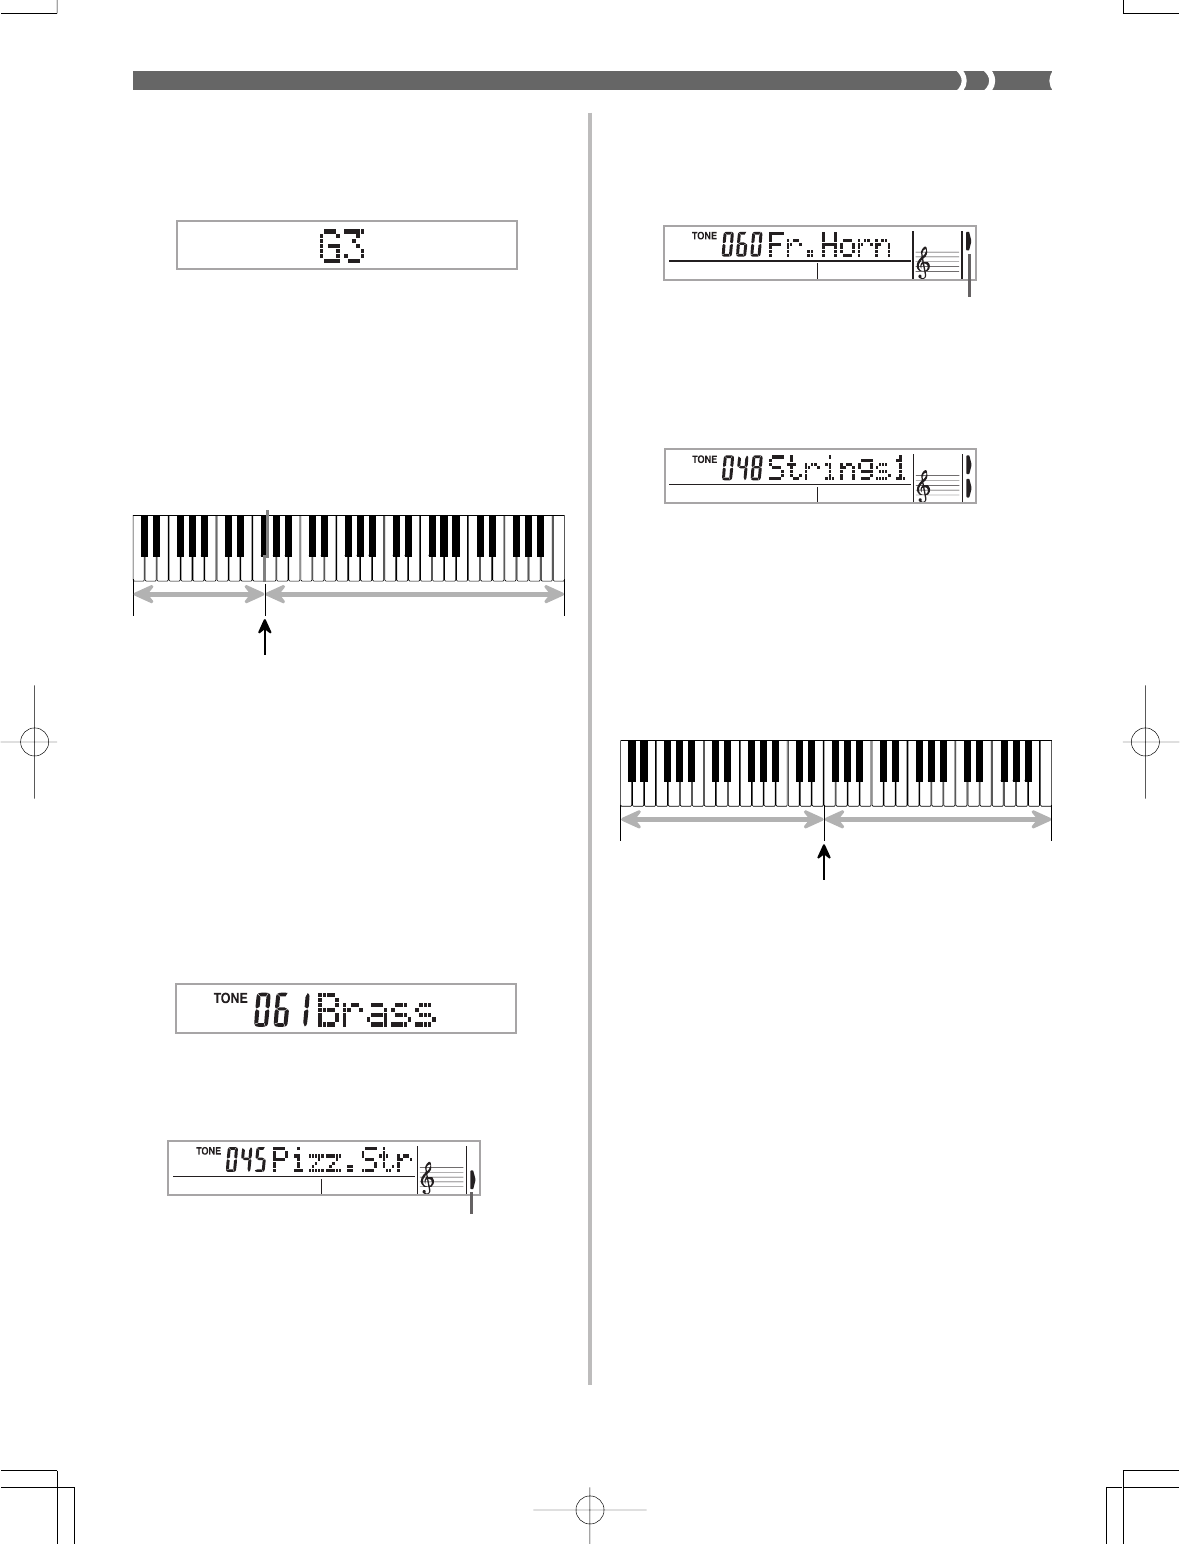
LAYER SPLIT
Main Tone (STRINGS1)Split Tone
(PIZZICATO STR)
Split point
Using Layer and Split Together
You can use layer and split together to created a layered split key-
board. It makes no difference whether you layer tones first and then
split the keyboard, or split the keyboard and then layer tones. When
you use layer and split in combination, the high range of the key-
board is assigned two tones (main tone + layered tone), and the low
range two tones (split tone + layered split tone).
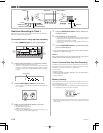
To split the keyboard and then layer tones
1. Press the TONE button and then input the tone num-
ber of the main tone.
2. Press the SPLIT button and then input the number of
the split tone.
• After specifying the split tone, press the SPLIT button to
unsplit the keyboard.
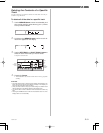
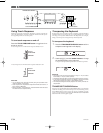
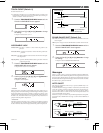
Split Tone (PIZZICATO STR)
+
Layered Split Tone (STRINGS1)
Main Tone (BRASS)
+
Layered Tone (FRENCH HORN)
Split point
LAYER
SPLIT
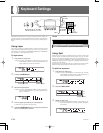
4. Specify the split point. While holding down the SPLIT
button, press the keyboard where you want the left-
most key of the high end range to be.
Example: To specify G3 as the split point, press the G3 key.
5. Now try playing something on the keyboard.
• Every key from F
3 and below is assigned the PIZZICATO
tone, while every key from G3 and above is assigned the
STRINGS tone.
6. Press the SPLIT button again to unsplit the keyboard
and return it to normal.
SPLIT
LAYER
SPLIT
Indicator appears
LAYER
SPLIT
Indicator appears


