


E-37
KEYBOARD CHANNEL
The keyboard channel is the channel used to send MIDI messages
from this keyboard to an external device. You can specify one chan-
nel from 1 to 16 as the keyboard channel.
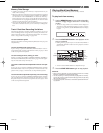
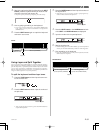
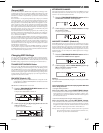
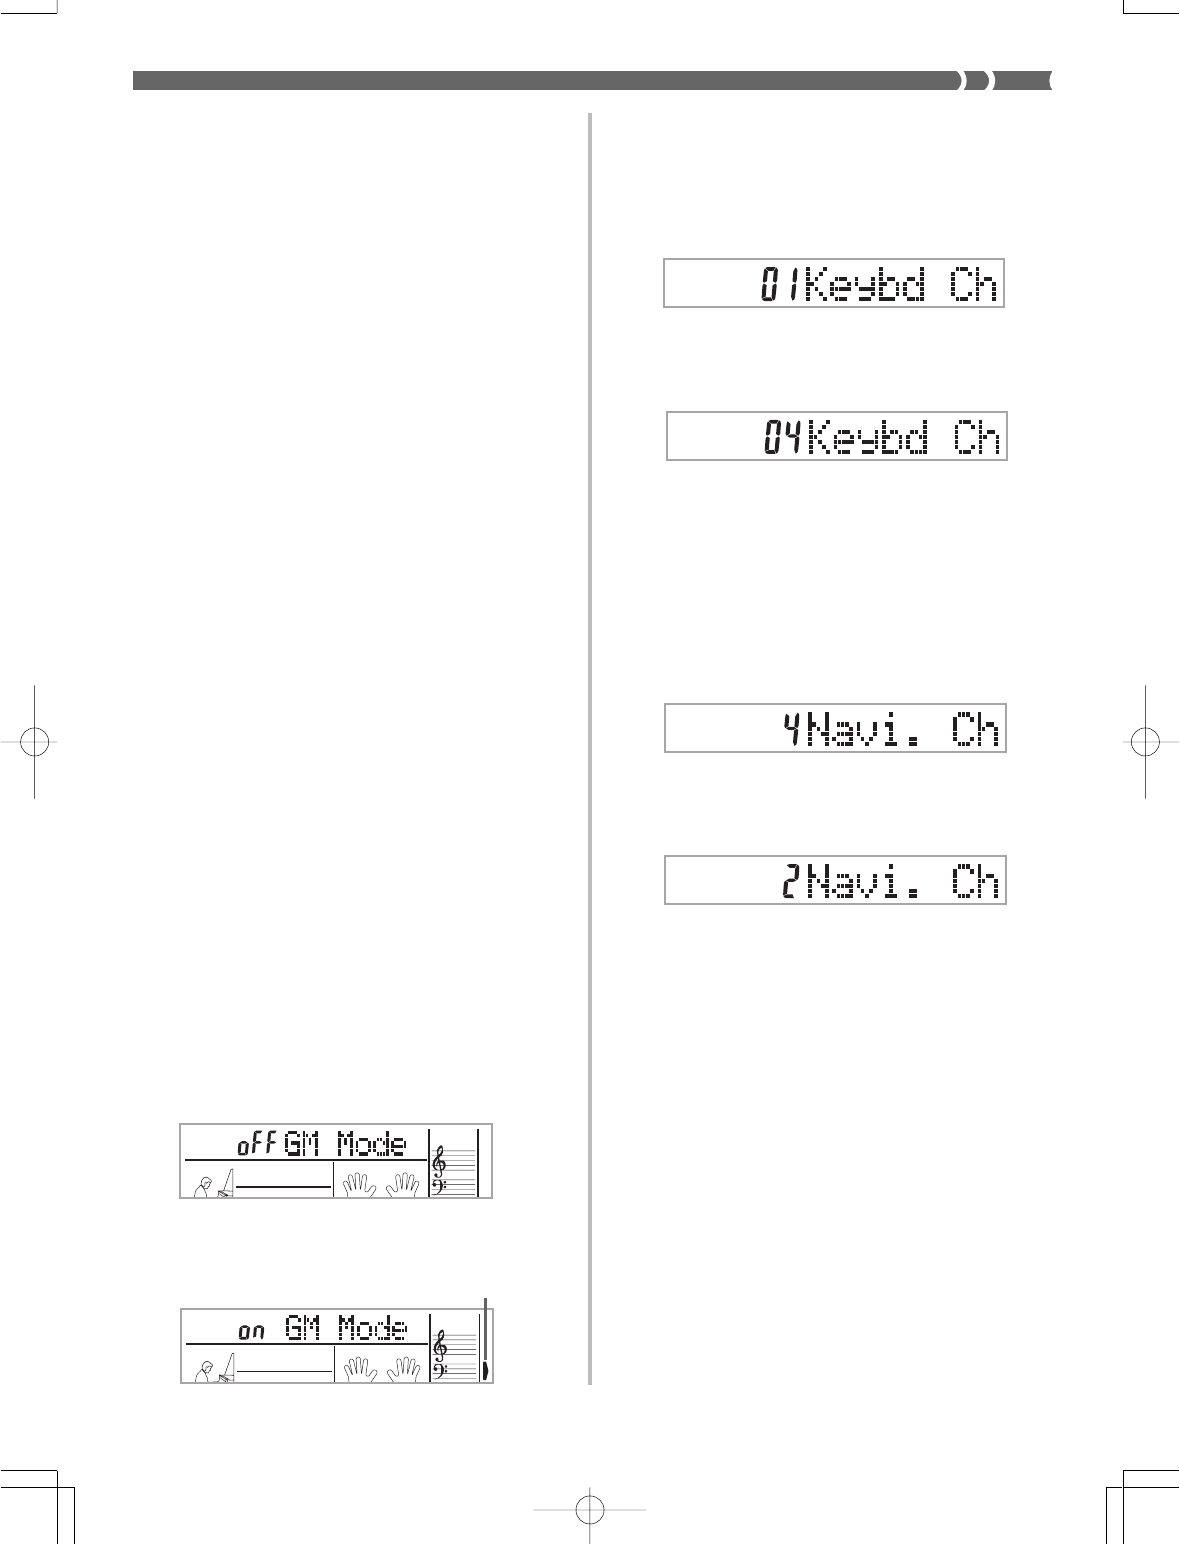
1. Press the TRANSPOSE/TUNE/MIDI button until the
KEYBOARD CHANNEL screen appears.
2. Use the [+], [–], and the number buttons to change
the channel number.
Example: To specify channel 4
NAVIGATE CHANNEL (Default: 4)
When MIDI messages are received from an external device for play
on this keyboard, the navigate channel is the channel whose note data
appears on the display. You can select one channel from 1 to 8 as the
navigate channel. Since this setting lets you use the data on any chan-
nel of commercially available MIDI software to light on the on-screen
keyboard guide, you can analyze how different parts of an arrange-
ment are played.
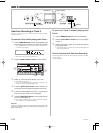
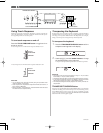
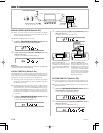
1. Press the TRANSPOSE/TUNE/MIDI button until the
NAVIGATE CHANNEL screen appears.
2. Use the [+], [–], and the number buttons [1] through
[8] to change the channel number.
Example: To specify channel 2
❚
NOTE
❚
The navigate channel automatically changes to 1 whenever you turn MIDI
IN CHORD JUDGE.
To turn off specific sounds before playing back MIDI data
that is being received
<<Navigate channel on/off>>
While playing MIDI data, press the RIGHT/TRACK 2 button.
• This cuts the sound of the navigate channel, but on-screen key-
board guide keys continue to light in accordance with the chan-
nel’s data as it is received. Press RIGHT/TRACK 2 button again to
turn the channel back on.
<<Next lower channel from navigate channel on/off>>
While playing MIDI data, press the LEFT/TRACK 1 button.
• This cuts the sound of the channel whose number is one less than
the navigate channel, but on-screen keyboard guide keys continue
to light in accordance with the channel’s data as it is received. Press
LEFT/TRACK 1 button again to turn the channel back on.
Example: If the navigate channel is channel 4, the above operation
turns off channel 3. If the navigate channel is channel 1 or 2,
the above operation turns off channel 8.
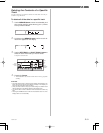
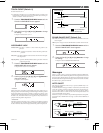
LAYER
SPLIT
GM
LAYER
SPLIT
GM
Lit
702A-E-039A
General MIDI
As we have already seen, MIDI makes it possible to exchange musi-
cal data between devices produced by different manufacturers. This
musical data does not consist of the notes themselves, but rather in-
formation on whether a keyboard key is pressed or released, and the
tone number.
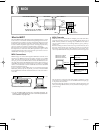
If tone number 1 on a keyboard produced by Company A is PIANO
while tone number 1 on a Company B's keyboard is BASS, for exam-
ple, sending data from Company A's keyboard to Company B's key-
board produces a result entirely different from the original. If a com-
puter, sequencer or other device with auto accompaniment capabili-
ties is used to produce music data for the Company A keyboard which
has 16 parts (16 channels) and then that data is sent to the Company
B keyboard which can receive only 10 parts (10 channels), the parts
that cannot be played will not be heard.
The standard for the tone numbering sequence, the number of pads,
and other general factors that determine the sound source configura-
tion, which was arrived at by mutual consultations by manufactur-
ers, is called General MIDI.
The General MIDI standard defines the tone numbering sequence,
the drum sound numbering sequence, the number of MIDI channels
that can be used, and other general factors that determine the sound
source configuration. Because of this, musical data produced on a
General MIDI sound source can be played back using similar tones
and identical nuances as the original, even when played on another
manufacturers sound source.
This keyboard conforms with General MIDI standards, so it can be
connected to a computer or other device and used to play back Gen-
eral MIDI data that has been purchased, downloaded from the Inter-
net, or obtained from any other source.
Changing MIDI Settings
You can use this keyboard in combination with an external sequenc-
er, synthesizer, or other MIDI device to play along with commercial-
ly available General MIDI software. This section tells you how to make
the MIDI settings required when connecting to an external device.
TRANSPOSE/TUNE/MIDI Button
Each press of the TRANSPOSE/TUNE/MIDI button cycles through
a total of 12 setting screens: the transpose screen, the tuning screen,
and 10 MIDI setting screens. If you accidentally pass the screen you
want to use, keep pressing the TRANSPOSE/TUNE/MIDI button
until the screen appears again. Also note that leaving a setting screen
is automatically cleared from the display if you do not perform any
operation for about five seconds.
GM MODE (Default: Off)
on: This keyboard plays General MIDI data from a computer or oth-
er external device. MIDI IN CHORD JUDGE cannot be used when
GM MODE is turned on.
oFF:MIDI IN CHORD JUDGE can be used.
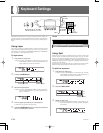
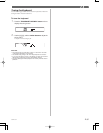
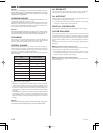
1. Press the TRANSPOSE/TUNE/MIDI button until the
GM MODE screen appears.
Example: When GM MODE is turned off
2. Use the [+] and [–] or [0] and [1] buttons to turn the
setting on and off.
Example: To turn GM MODE on