E-42
TR1
CH 11
TR2
CH 12
TR3
CH 13
TR4
CH 14
TR5
CH 15
TR6
CH 16
8.
After you are finished, press START/STOP to stop re-
cording.
• The REC indicator disappears from the display when record-
ing is stopped.
9.
At this point you can repeat steps 3 through 8 for oth-
er tracks, if you want.
Punch-in Recording
Note that the procedure you use for Track 1 is different from that for
Tracks 2 through 6.
PREPARATION
• Determine the tones that you want to use.
• Set the tempo that you want to use during recording.
❚
NOTES
❚
• You can change tone and rhythm while recording is in progress.
• The previously recorded rhythm pattern is automatically selected at first,
but you can change the rhythm during punch-in recording. Changing
the rhythm during punch-in recording, however, may cause the metro-
nome display and rhythm beat to be out of synch with the rhythm that is
playing.
• The tempo you use for recording does not affect the tempo of the play-
back. This means you can record at a very slow tempo for easy play,
and then speed up the tempo for playback.
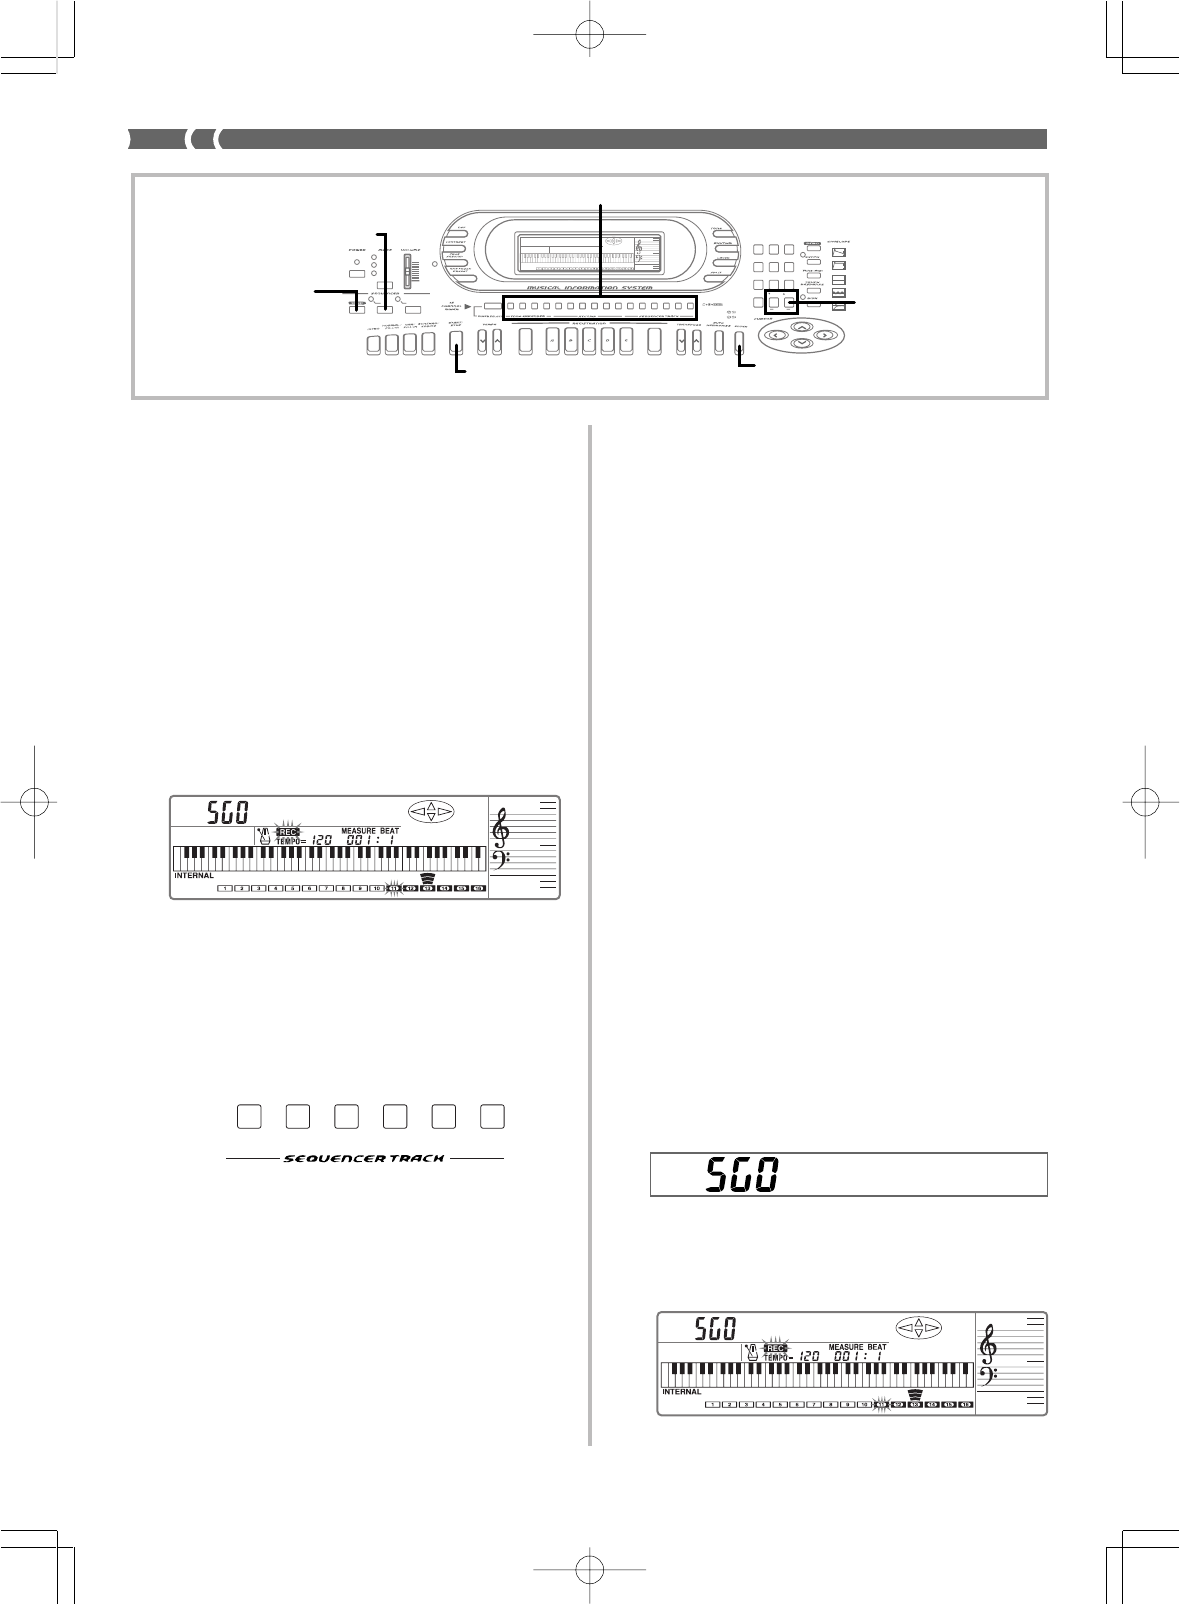
To use punch-in recording in Track 1
1.
Press the SONG button once.
• This causes the indicator lamp above the SONG button to
light.
2.
Select the user song area that contains the song whose
contents you want to change using punch-in record-
ing.
• Use [+] and [–] to select User Song Area 0 (SG0) or User Song
Area 1 (SG1).
3.
Press the RECORD button to enter record standby.
• The REC indicator appears, and the frame around the CH11
(Track 1) flashes on the display.
733A-E-044A
To use real-time recording in Tracks 2 through 6
❚
NOTE
❚
If you are performing real-time recording in Tracks 2 through 6 immediate-
ly after you finished real-time recording in Track 1, skip steps 1 and 2 of
the following procedure.
1.
Press the SONG button once.
• This causes the indicator lamp above the SONG button to
light.
2.
Select the user song area to which you want to record.
• Use [+] and [–] to select User Song Area 0 (SG0) or User Song
Area 1 (SG1).
• Change Mixer settings for the channel if you want. The Mix-
er settings you make for the channel are copied to applica-
ble track during recording.
3.
Press the RECORD button to enter record standby.
• The REC indicator appears, and the frame around the cur-
rently selected channel (track) flashes on the display.
• Channels CH 11 through CH 16 of the level meter show which
tracks already contain recorded data. See “Level Meter Dur-
ing Record Operations” on page E-44 for details on how to
read the level meter.
4.
Select the track to which you want to record.
• Use CHANNEL buttons CH12 (Track 2) through CH16 (Track
6) to select the track you want.
5.
Make any tone setting you want.
6.
Press the START/STOP button to start recording.
• At this time the REC indicator stops flashing.
• The metronome normally sounds during recording. If you
want to turn off the metronome, use the procedure under
“Metronome Setting (1)” on page E-46.
7.
Play the notes you want to record on the keyboard.
AMPENVELOPE
00 FLAT
01-17 VIBRATO
18-45 OTHERS
DECAY
SUSTAIN
PITCHENVELOPE
MIN
MAX
FULL RANGE
CHORD
CASIO CHORD
SONG
FINGERED
PATTERN
EXTERNAL
INTERNAL
UPPER1
CH 1
UPPER2
CH 2
LOWER1
CH 3
LOWER2
STOREBANK
CH 4
ACC VOL.
CH 5
CHORD1
CH 6
CHORD2
CH 7
CHORD3
CH 8
BASS
CH 9
RHYTHM
CH 10
TR1
CH 11
TR2
CH 12
TR3
CH 13
TR4
CH 14
TR5
CH 15
TR6
CH 16
789
456
1
0
23
PARAMETER RESET:
DELETE
/YESS/NO
MAIN MANU/
CHANNEL VOLUME:
SUB MANU/
CHANNEL SELECT:
–
]
WK-1800/1600(E)-39~47 03.7.31, 5:21 PMPage 42 Adobe PageMaker 6.5J/PPC


