Sampling Sounds and Playing Them on the Digital Keyboard
E-26
You can use the following procedure to specify a sampled
tone number and delete its data.
1.
Press
ct
(FUNCTION) and then use the
br
(10-key) [4] (o) and [6] (p) keys to display
“DELETE” (page E-7).
2.
Press the
br
(10-key) [9] (ENTER) key.
3.
Use the
br
(10-key) [–] and [+] keys to select
the tone number of the data you want to delete.
4.
Press the
br
(10-key) [9] (ENTER) key.
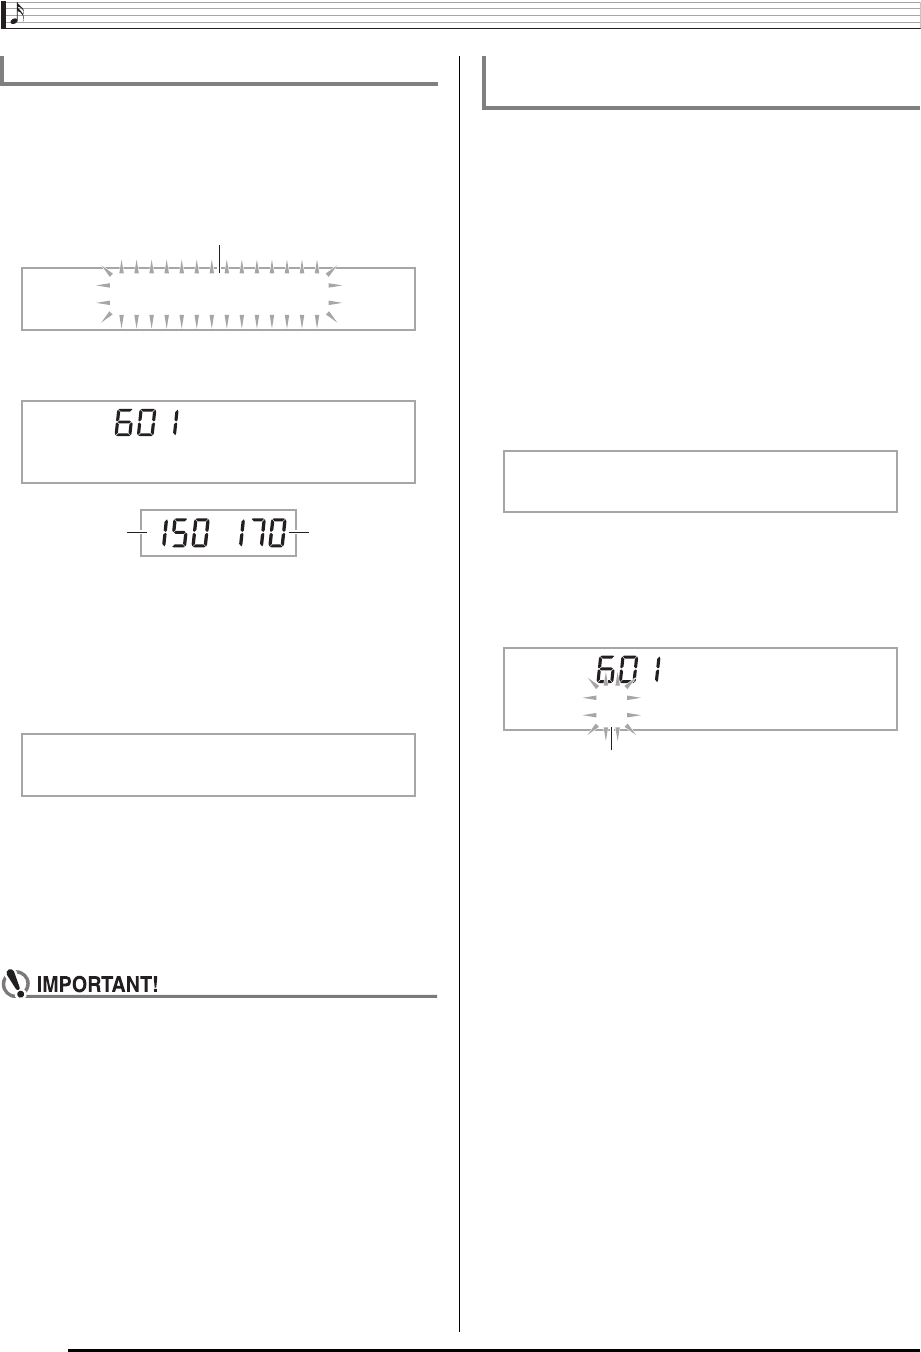
This displays a delete confirmation message.
5.
Press the
br
(10-key) [+] (YES) key to delete the
data, or [–] (NO) or [7] (EXIT) to cancel the
delete operation.
• After the delete procedure is complete, “Complete” will
appear on the display followed by the screen in step 1
of the above procedure.
• For information about deleting individual drum sounds
in a drum sampling set, see “Editing Sampled Drum Set
Sounds” on page E-24.
You can use the following procedure to protect each sampled
sound against accidental deletion.
1.
Press
bn
(TONE) and then use
br
(10-key) to
enter the tone number of the sampled tone you
want to protect.
2.
Press
ct
(FUNCTION) and then use the
br
(10-key) [4] (o) and [6] (p) keys to display
“SAMPLING” (page E-7).
3.
Press the
br
(10-key) [9] (ENTER) key.
4.
Use the
br
(10-key) [4] (o) and [6] (p) keys
to display “Protect”.
5.
Press the
br
(10-key) [+] key to turn on
protection.
Once protected a tone cannot be deleted.
A protected tone is indicated as shown below.
■Saving Sample Data on an External Device
See page E-62 for details about how to transfer sampled data
to a computer for storage.
Deleting a Sampled Sound
DELETE
Flashes
S1 :Or
g
nl
Used memory
(Unit: Kbytes)
Remaining
memory capacity
Sure?
Protecting Against Accidental Deletion of
Sampled Sounds
Protec t
*
1:Or
g
nl
Protected


