


18
Compact Mixer Reference Guide
MIXER ANATOMY: CHAPTER 2
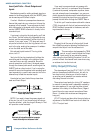
Even though microphones produce alter-
nating current (AC), they have a defi nite
polarity orientation. Be sure that you don’t
reverse the wires between pins 2 and 3.
Did you pick up a cool retro mic at a yard sale that
has a 1/4" phone plug instead of an XLR? Chances are
it’s a high impedance mic and it will require a match-
ing transformer in order to sound its best with your
mixer. Plug-in transformers available from several
sources will not only match the impedance and signal
level, but will adapt the plug too.
Phantom Power
Most condenser mics require phantom power, a
system whereby the mixer supplies a DC voltage to
the mic’s electronics through the same wires that
carry audio.
The phantom power on all Mackie mixers (except
the Onyx series) is globally controlled by the PHAN-
TOM switch on the rear panel (one switch for each
group of 8 mics on the 8-Bus). A PHAMTOM LED on
the front panel will remind you that phantom power
is turned on. The Onyx mixers have a 48V switch and
LED indicator on each channel for selective control of
phantom power.
“Phantom” owes its name to the ability to disappear
when it’s not needed, like when connecting dynamic
mics (Shure
®
SM57/SM58, for instance) that don’t
require external power.
The most common phantom power supply is 48
volts. All Mackie mixers have a 48 volt phantom
supply with the exception of the PPM series, which
provide 15 volts. Some microphones will operate just
fi ne on lower voltages while others require the full 48
volts. Check your mics’ specs.
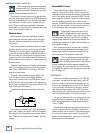
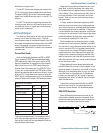
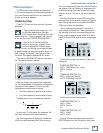
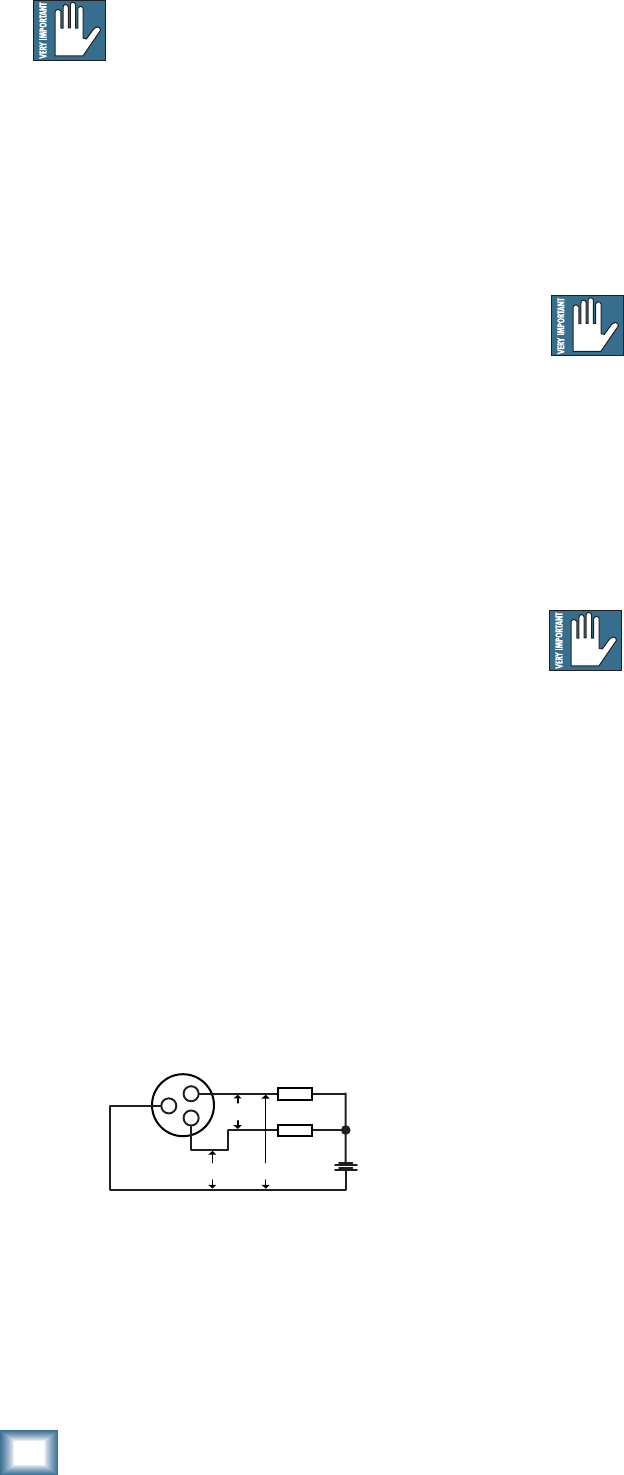
Here’s what the phantom powering circuit looks
like:
There’s 48 volts between pins 1 and 2 and between
pins 1 and 3. Since pins 2 and 3 are both at the same
DC potential, the voltage difference between them is
zero. That’s why an unpowered mic doesn’t “see” the
voltage.
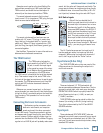
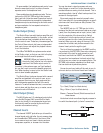
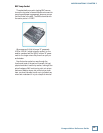
Barenekked Preamps!
People have thought highly of Mackie mic pre-
amps for a long time, so when it was time to put the
engineers to work on some new designs, they brought
us the Onyx series, which includes the 800R. This an-
swers a popular customer request for a rack-mounted
unit with eight mic preamps, but no other mixer
features. The 800R has a few neat tricks up its sleeve
which we’ll discuss later, but we wanted to mention it
in this discussion about microphone preamps.
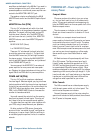
Dynamic and ribbon mics don’t like to
see DC voltage applied to their sensitive
insides. Normally it won’t be, but a shorted
or miswired mic cable can cause the full voltage to
appear across the sensitive microphone element. Be
sure that your cables are in good condition before ap-
plying phantom power.
Also, unless you know for certain that it is safe to
do so, never plug single-ended (un bal anced) micro-
phones, instruments, or electronic devices into the
MIC input jacks if the phantom power is on.
Practice safe phantom powering! Plug in
your mics with phantom power switched
off! The XDR preamps used in many Mackie
mixers have extra protection against damage from
“hot plugging,” but your mics don’t. Get into the habit
of plugging mic cables in with the phantom power off,
then turning it on.
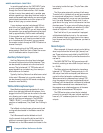
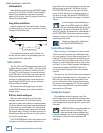
Line Inputs
Line inputs on Mackie mixers are on 1/4" TRS (tip-
ring-sleeve - the parts of the mating plug) jacks. All
Mackie line inputs are balanced and present a mod-
erately high impedance load, around 10 kΩ, depend-
ing on the model and the particular input. As we’ve
seen from our block diagram tour, LINE IN jacks on
channels with both line and mic inputs share circuitry
(but not phantom power) with the mic preamps.
You can use these inputs for virtually any line-level
signal. With proper adjustment of the TRIM control,
they’ll accept signals over a range of approximately
–45 to +16 dBu.
Some Mackie mixers are equipped with stereo line
inputs. These have two line-level input jacks which
share a common set of controls. To learn how signals
are routed from these inputs, consult the block dia-
gram or quick start guide for your mixer, or check the
Controls section of this manual.
48 V
48 V
0 V
2
3
1