


Changing this unit’s settings
Changing the MIDI settings
The following buttons are used to change the MIDI settings:
— [TAP] button: Used as the Enter button.
— [AUTO] button: Used as the Cancel button.
— [NUDGE (+, –)] button: Used to select items.
1 Turn on this unit’s power while pressing the
[QUANTIZE] button.
This unit starts up in the mode for changing the MIDI settings.
The setting items are displayed on the BPM display.
2 Press the [+] or [–] side of the [NUDGE (+, –)] button.
Select whether to change the MIDI channel or MIDI button type.
— If [CH] or numbers are displayed: MIDI channel changing mode
— If [btn] or letters are displayed: MIDI button type changing mode
3 Press the [TAP] button.
Switch to the mode for changing the MIDI channel or the one for chang-
ing the MIDI button type.
The MIDI channel number or MIDI button type flashes on the BPM
display.
4 Press the [+] or [–] side of the [NUDGE (+, –)] button.
Select and change the MIDI channel or MIDI button type. The values
below can be selected for each of these.
— MIDI channel: [1] to [16]
— MIDI button type: [tGL (toggle)] or [trG (trigger)]
5 Press the [TAP] button.
The selected setting is stored.
The stored setting flashes rapidly on the BPM display.
! When this unit’s power is turned off, the mode for changing the MIDI
settings is quit.
! The settings on this unit upon shipment from the factory are as
follows:
— MIDI channel: [1]
— MIDI button type: [tGL (toggle)]
Temporarily changing the MIDI channel
for the RMX-1000 Plug-in
Even when this unit is not in the mode for changing the MIDI settings, it
is possible to temporarily change the MIDI channel.
1 Press the [+] or [–] side of the [NUDGE (+, –)] button
while pressing the [BANK] button.
The MIDI channel number appears on the BPM display.
2 Release the [BANK] button.
! The MIDI channel changed in this way is reflected on this unit until
the power is turned off.
Using the update function
! Do not turn off this unit’s power during the updating procedure.
1 Turn on this unit’s power while pressing the
[HOLD (MUTE)] and [TAP] buttons.
This unit starts up in the updating mode.
The current firmware version number is displayed on the BPM display,
and the right edge of the [OUTPUT] level indicator flashes.
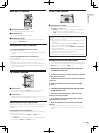
2 Insert the SD memory card on which the update file is
stored into the SD memory card slot of this unit.
Updating starts.
The [OUTPUT] level indicator lights to indicate the progress of updating.
Once all segments of the [OUTPUT] level indicator are lit, updating is
completed.
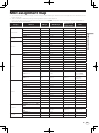
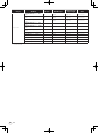
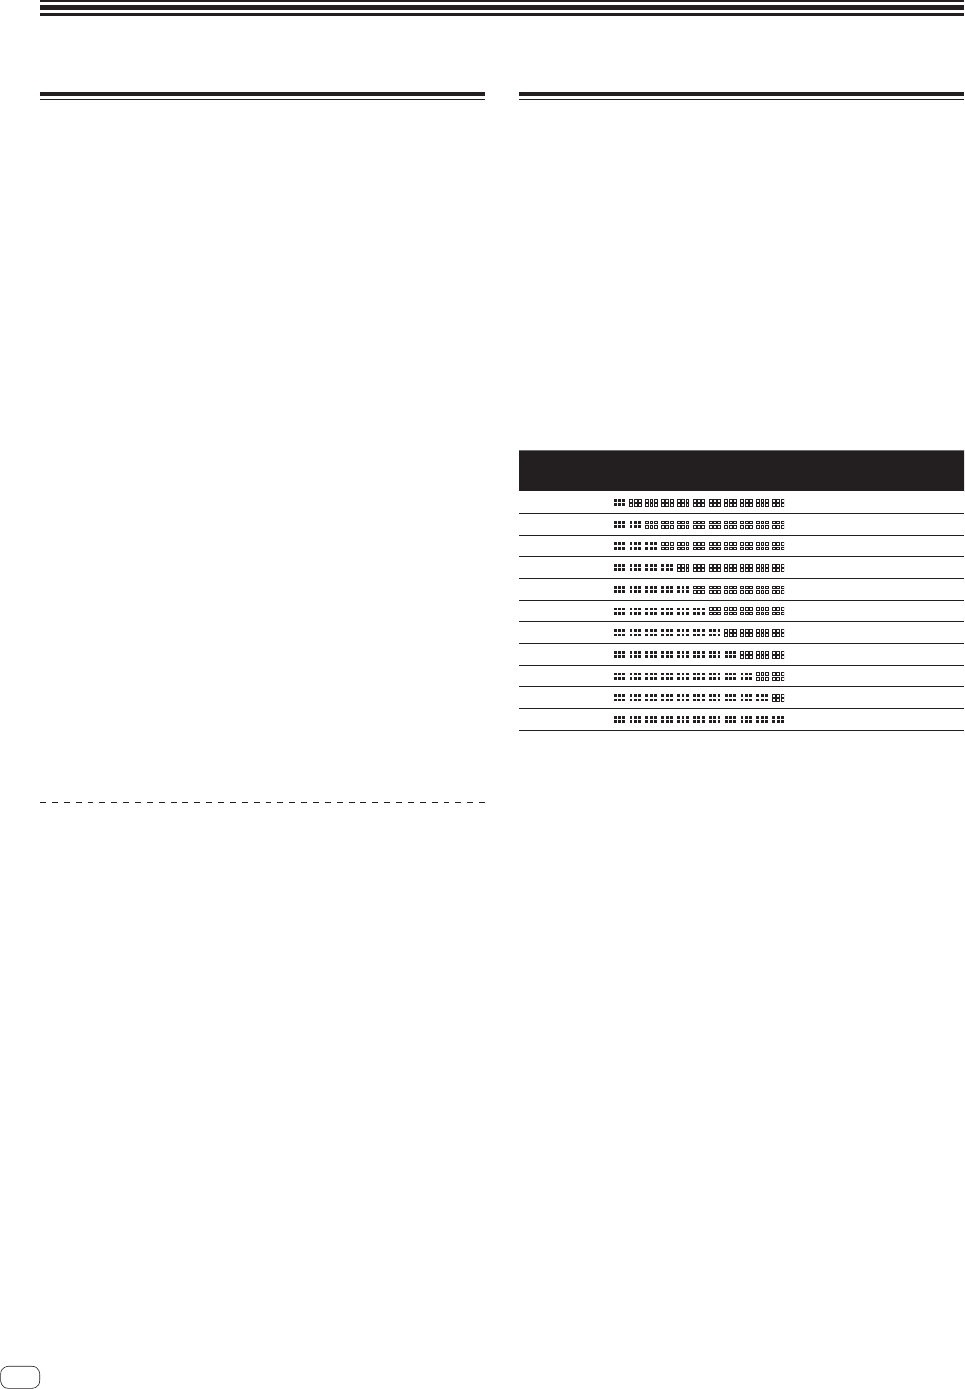
! If an error occurs during updating, the type of error is indicated by
the BPM display and the number of segments of the [INPUT] level
indicator that are lit.
BPM
display
Lit segments of the
[INPUT] level indicator
Type of error
E00
Updating error
E10
Updating error
E20
Updating error
E30
Updating file not detected
E40
Updating file corrupt
E50
SD memory card reading error
E60
Memory clearing error
E70
Memory writing error
E80
Memory verification error
E90
SD memory card error
3-digit number
Updating completed normally
22
En