


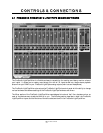
CONTROLS & CONNECTIONS
18 | PreSonus 2008
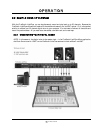
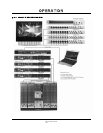
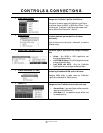
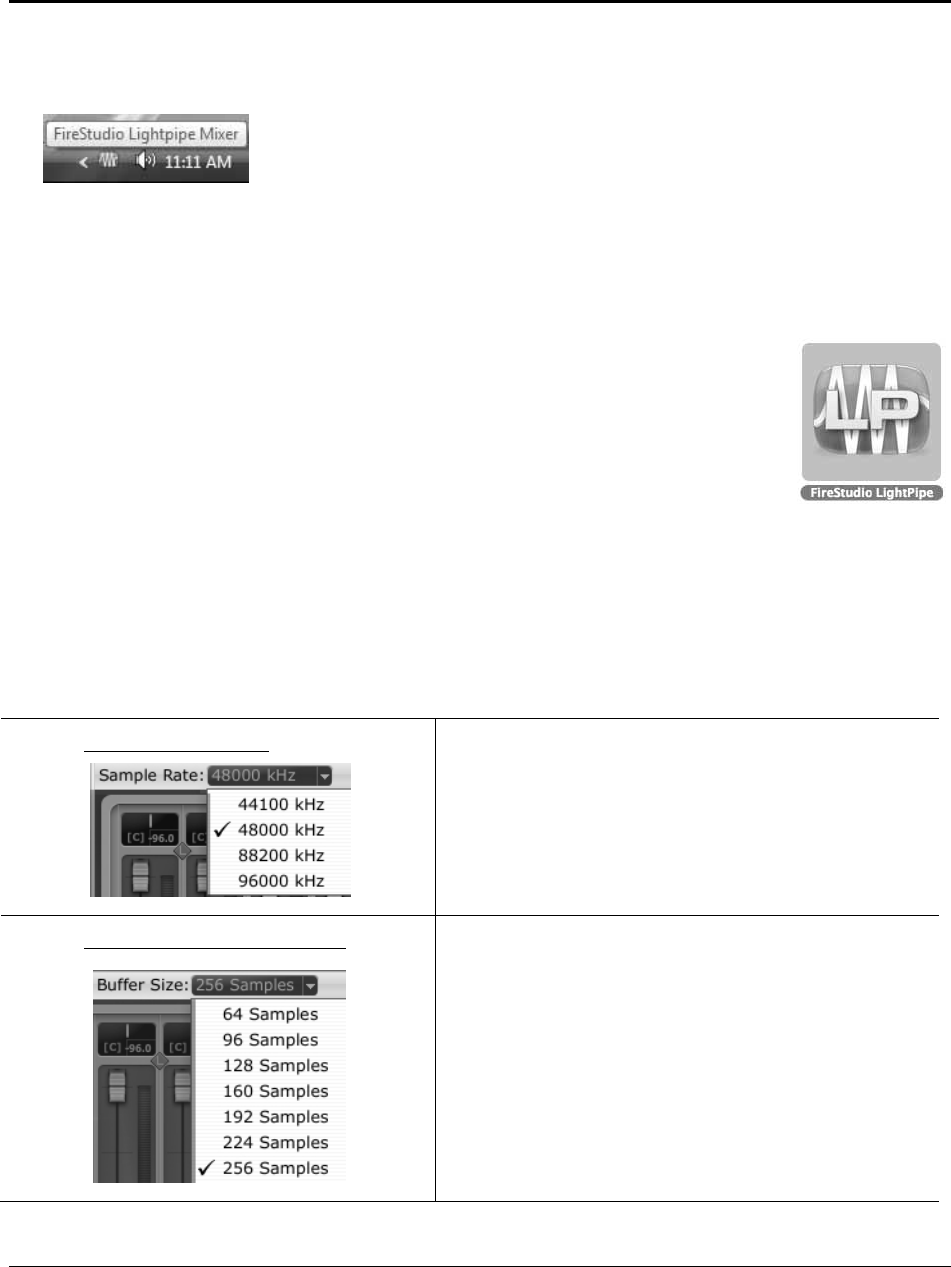
3.1.1 FireStudio LightPipe Mixer Application Icon
Once you have successfully installed your FireStudio LightPipe, the FireStudio
LightPipe Mixer will be available from the Notification Area of your taskbar
(typically at the bottom right corner of your screen near the clock).
The FireStudio LightPipe Mixer icon is red when your FireStudio LightPipe is disconnected or not installed
and blue when the FireStudio LightPipe is connected and properly installed.
Open the FireStudio LightPipe Mixer by double-clicking the blue FireStudio LightPipe Mixer icon or by
right-clicking the icon and selecting “Open PreSonus FireStudio LightPipe Mixer”.
Right-click the FireStudio LightPipe Mixer icon and select “Quit” to completely exit the
FireStudio LightPipe Mixer application and remove it from your Taskbar.
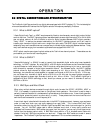
Mac OS X users will find the FireStudio LightPipe Mixer application in the Applications
folder on their MacHD.
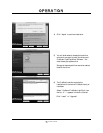
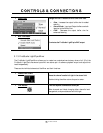
3.1.2 FireStudio LightPipe Mixer Hardware Settings
The Hardware Settings Section is always visible at the top of the window and gives you control over the
Sample Rate, Clock Source and Buffer Size of the FireStudio drivers.
• Sample Rate Selector
Changes FireStudio LightPipe Sample Rate
A higher Sample Rate increases frequency range and
sonic accuracy but increases recorded audio file sizes.
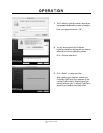
• Buffer Size Selector (PC Only)
Changes the FireStudio LightPipe Buffer Size
(Please Note: This selector is not present in Mac OS X)
A large buffer increases latency but is more stable. In
general, 512 samples will provide maximum stability with
minimal latency.