


Ridge Tool Company8
To avoid electric shock and electrical fires,
never use an extension cord that is damaged or does not
meet the following requirements:
• The cord has a three-prong plug similar to shown in
Electrical Safety section.
• The cord is rated as “W” or “W-A” if being used out-
doors.
• The cord has sufficient wire thickness (16 AWG below
50′/14 AWG 50′-100′). If the wire thickness is too small,
the cord may overheat, melting the cord’s insulation or
causing nearby objects to ignite.
To reduce risk of electric shock, keep all
electrical connections dry and off the ground. Do not
touch plug with wet hands. Test the Ground Fault Circuit
Interrupter (GFCI) provided with the electric cord to insure
it is operating correctly. When test button is pushed in, the
indicator light should go off. Reactivate by pushing the
reset button in. If indicator light goes on, the machine is
ready to use. If the GFCI does not function correctly, do
not use the machine.
Operating Instructions
WARNING
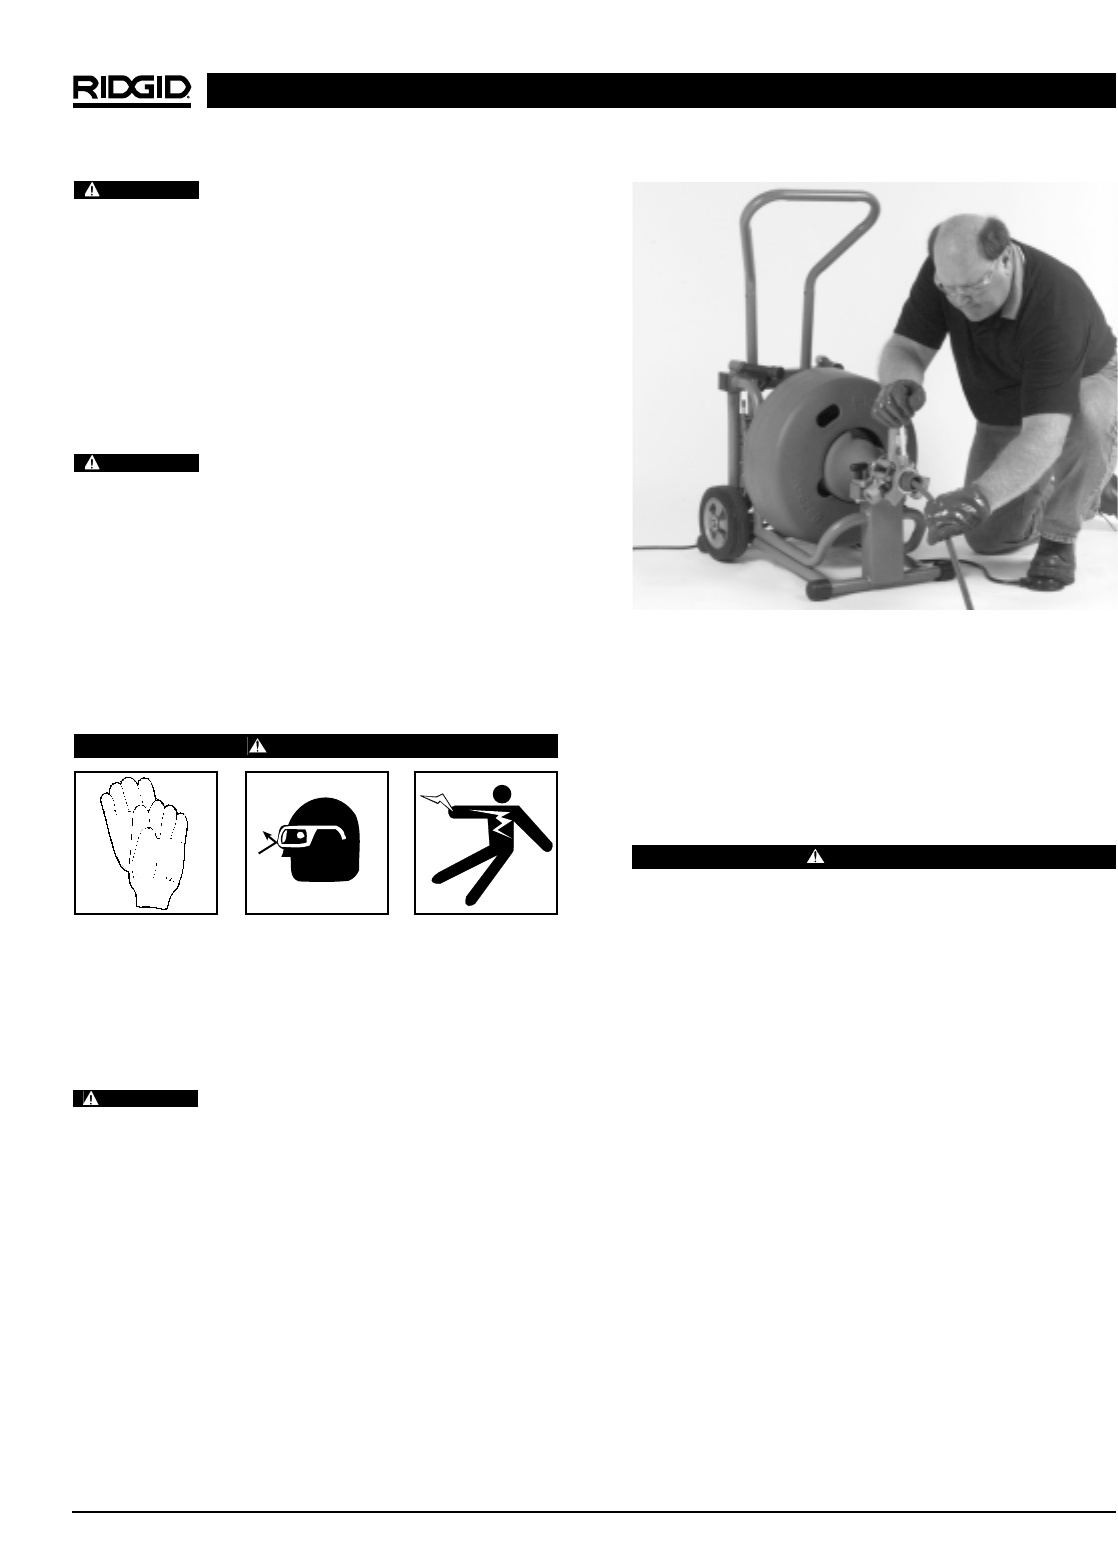
Wear gloves provided with machine. Never grasp a
rotating cable with a rag or loose fitting cloth glove
that may become wrapped around the cable, caus-
ing serious injury.
Always wear eye protection to protect your eyes
against dirt and other foreign objects. Wear rubber
soled, non-slip shoes.
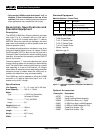
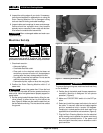
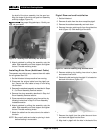
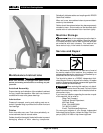
Always assume the correct operating pos-
ture in order to maintain proper balance (Figure 8). Should
an unexpected situation arise, this posture provides you
with the opportunity to safely keep control of the machine
and cable.
• Be sure you can quickly remove your foot from the
foot switch.
• Hand must be on the cable to control its twisting ac-
tion when it hits an obstruction.
• Keep hands away from rotating drum and guide tube.
Do not reach into drum unless machine is unplugged.
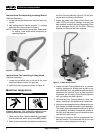
1. Loosen the feed knob to ensure auto feed is not en-
gaged. Manually pull a sufficient length of cable out of
the drum and manually push the tool and cable into
the sewer inlet.
Figure 8 – Proper Operating Position
2. Move FOR/OFF/REV switch into FOR (forward) po-
sition. Do not step on the air foot switch pedal at this
time.
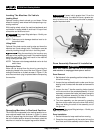
3. To use auto feed, turn feed knob down until top bear-
ing makes contact with the cable, then turn one full
additional turn. Do not over-tighten.
WARNING
Before starting machine, operator’s gloved hand
must be on the cable.
4. Exert sufficient downward pressure on cable to keep
it in sewer line while depressing air foot switch pedal
to start cable rotating.
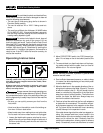
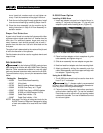
5. Move the feed lever in the opposite direction of the ro-
tating drum to advance the cable (Figure 9). The rate
at which the cable is fed (0 – 28′ per minute) into the
sewer is controlled by the position of the feed lever
away from neutral (vertical) position. The further from
vertical, the faster the feed rate. Always keep one
hand on the cable to feel tension.
6. Continue to feed the cable into the line until resistance
or obstruction is encountered. This condition will gen-
erally become apparent to the operator as the motor
will “lug” down and/or the cable will have a tendency
to twist sideways in the operator’s hands.
If the cable shows signs that the cutter has stopped ro-
tating, fully reverse feed lever (move handle in the
same direction of the drum rotation) to back the cutter
away and to relieve the load. Gradually feed the
cable into the obstruction, allowing cutter to advance
slowly. Occasionally move auto feed lever to neutral
K-6200 Drain Cleaning Machine
WARNING
WARNING
WARNING