


13
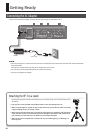
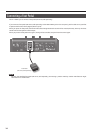
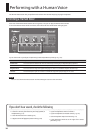
Connecting a Microphone
A microphone is indispensable when performing with the VP-7.
The VP-7 models vocal sounds by using your voice that is input via the microphone.
922
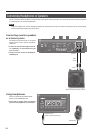
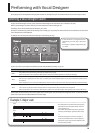
* This instrument is equipped with balanced (XLR/TRS) type
jacks. Wiring diagrams for these jacks are shown below.
Make connections after rst checking the wiring diagrams
of other equipment you intend to connect.
1: GND 2: HOT
3: COLD
TIP: HOT
RING: COLD
SLEEVE: GND
983
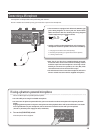
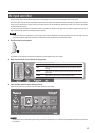
* Howling could be produced depending on the location of
microphones relative to speakers. This can be remedied by:
1. Changing the orientation of the microphone(s).
2. Relocating microphone(s) at a greater distance from speakers.
3. Lowering volume levels.
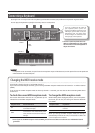
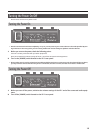
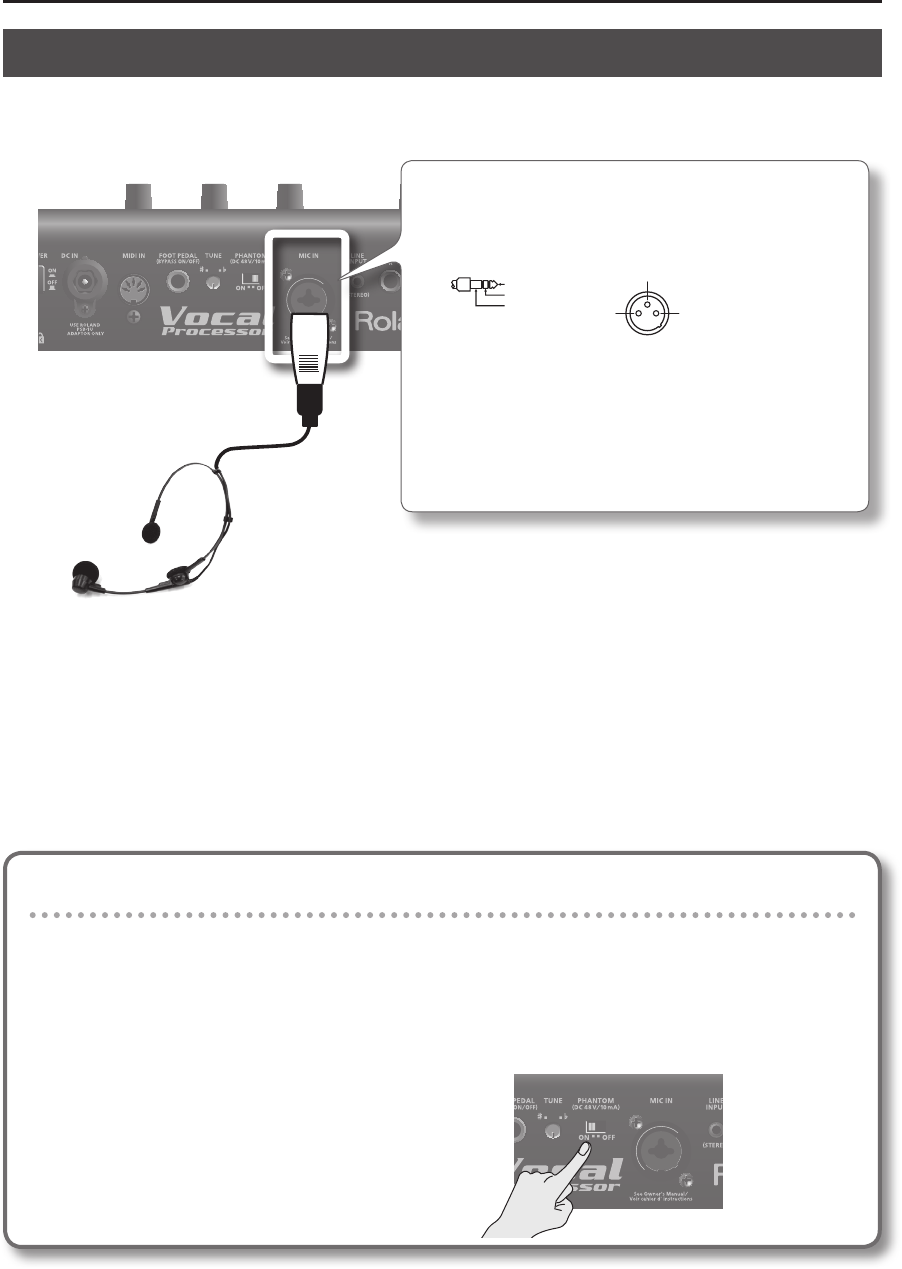
If using a phantom-powered microphone
The VP-7’s MIC IN jack can provide phantom power.
* Turn this o if you’re using the included microphone.
* You must turn the phantom power o unless you’ve connected a condenser microphone that requires phantom
power.
Supplying phantom power to a dynamic microphone or audio playback device will cause malfunctions. For details
on the specications of your microphone, refer to the owner’s manual that came with your microphone.
(The VP-7’s phantom power supply: DC 48 V, 10 mA Max)
1. Turn on the [PHANTOM] switch.
Phantom power will be supplied.
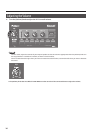
* Note that if you don’t have a MIDI keyboard connected,
the Human Voice sound could continue sounding without
end if the input from the microphone is at too high a level.
Should you encounter this problem, turn the [Mic] knob
counterclockwise to lower the level of the input.
* For information on how to wear the microphone, refer to the
owner’s manual that came with the supplied microphone.