


6
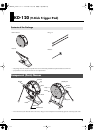
KD-120 (V-Kick Trigger Pad)
1.
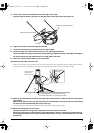
Place the KD-120 pad, with the head surface facing downward, on a flat surface such as the floor.
2.
Use the included tuning key to loosen and remove the bolts for the brackets on the back of the KD-120 pad.
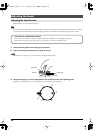
3.
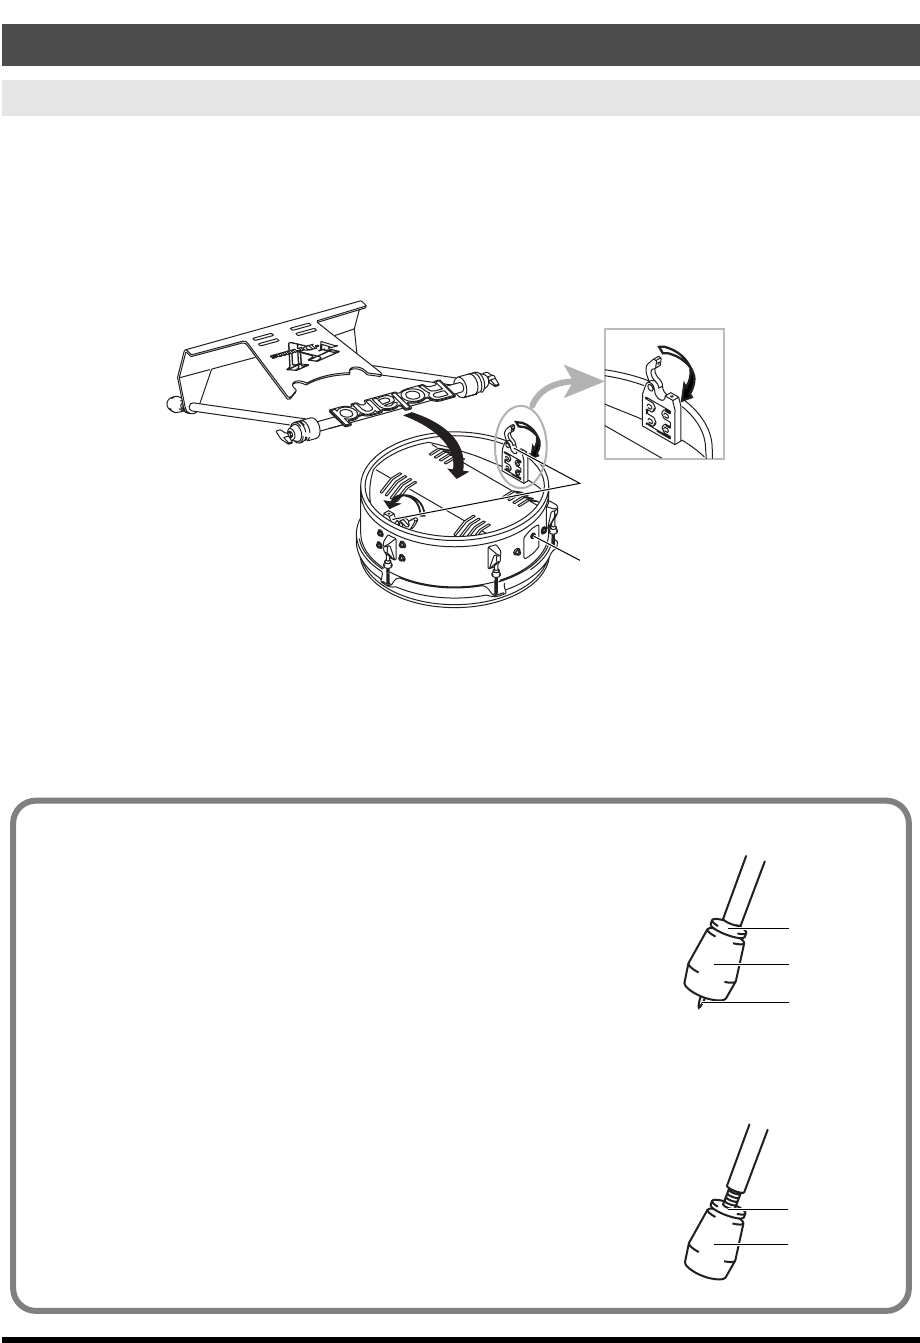
Mount the stand on the brackets so that the output jack for the KD-120 pad faces up.
Use the bolts you removed earlier to secure the KD-120 pad to the stand, tightening the bolts with the
included tuning key.
fig.08.e
* Take care not to pinch your fingers between the KD-120 pad and the stand plate.
4.
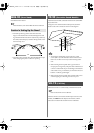
Adjust the ends of the legs to match the location where you’re installing the KD-120.
Adjust to use the spike legs when installing on carpeting or other soft surfaces, or the rubber legs when
installing on flooring or other hard surfaces.
When shipped from the factory, the stand is adjusted for using the rubber legs. If you’re using the
rubber legs, proceed to step 5 on the next page.
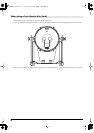
Setup
Assembling the KD-120
Output jack
Bracket
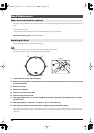
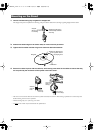
Adjusting for the Spike Legs
1. Loosen the leg nut.
2. Turn the rubber foot to adjust so that the spike portion sticks out from
the rubber foot. Adjust the length of the spike to suit the location
where installing and the length you prefer.
* The tip of the spike is sharp. Handle it with care.
3. Tighten the nut to secure the rubber foot in place and keep it from
loosening.
* When using on flooring, the spike legs may damage the floor. Adjust to use the rubber legs.
Adjusting for the Rubber Legs
1. Loosen the leg nut.
2. Turn the rubber foot to adjust so that the spike portion does not stick
out from the rubber foot.
3. Tighten the nut to secure the rubber foot in place and keep it from
loosening.
Nut
Rubber foot
Spike
Nut
Rubber foot
TD-20K_e.book 6 ページ 2006年12月7日 木曜日 午前9時24分