5
This section suggests microphone placement for typical use cases. Keep
in mind that there are many effective ways to record a given source.
Experiment with microphone placement and settings to find what works
best.
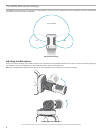
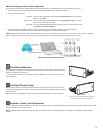
Tip: To ensure correct stereo orientation of the microphone at a glance,
check to see if the Shure name is clearly visible on the top of the micro-
phone. If the name is not visible, turn the barrel 90°.
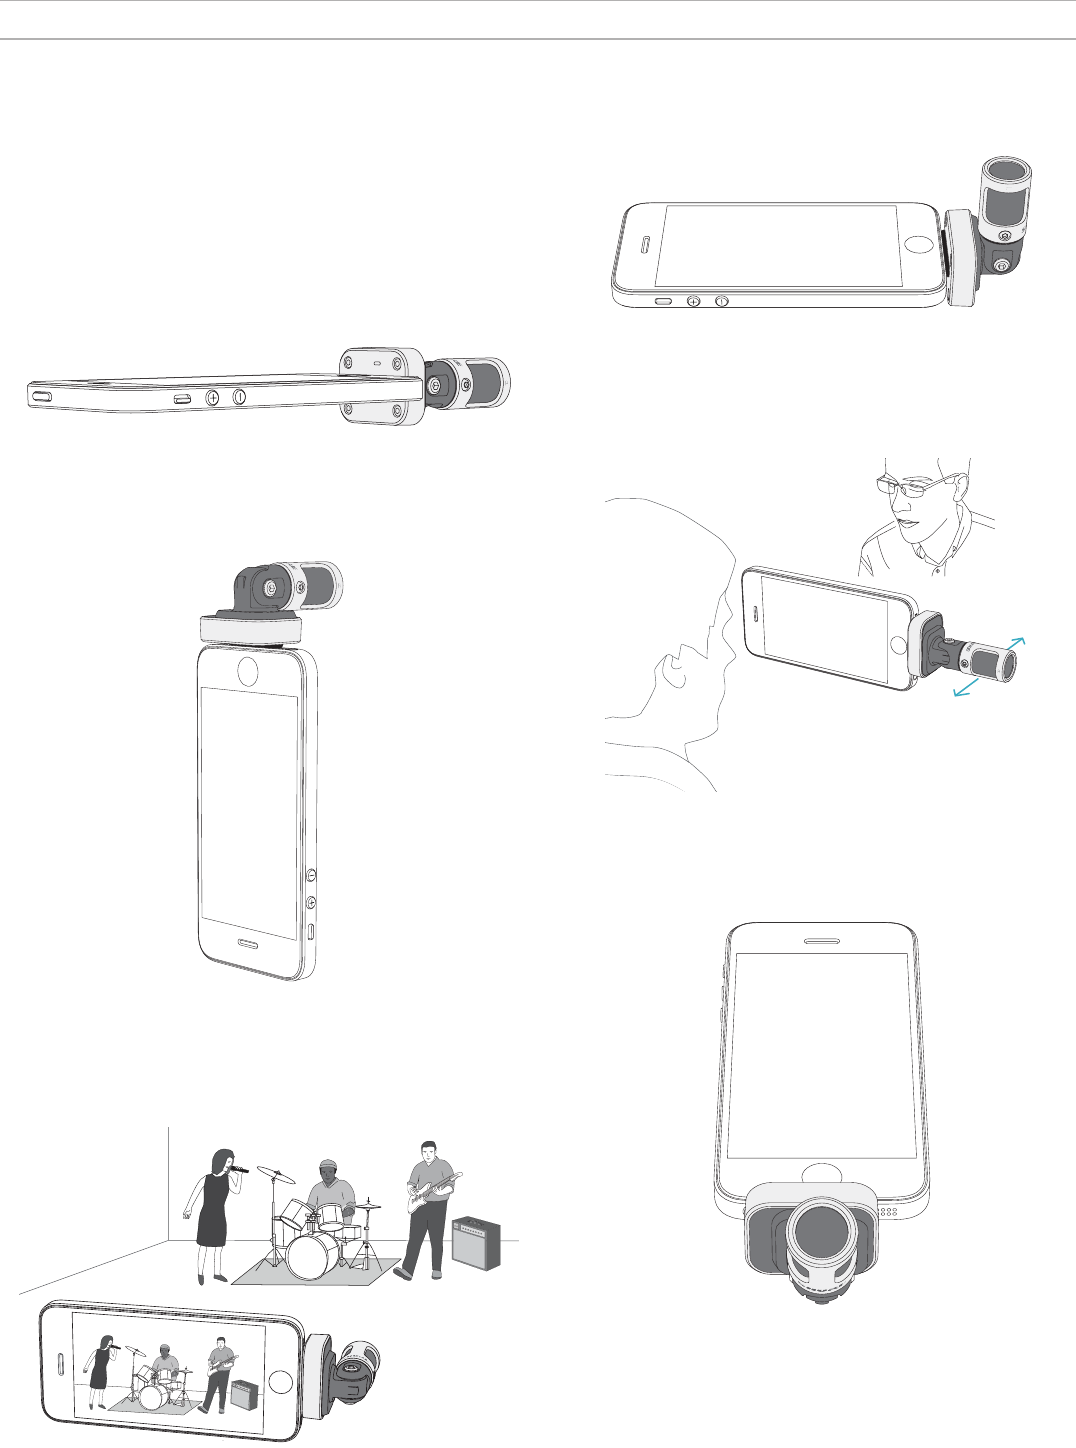
Audio Recording
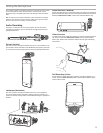
The phone or tablet can be used in any position. Aim the front of the
microphone towards the source, with the left and right sides facing the
appropriate direction.
Portrait (Vertical)
Aim the front of the microphone towards the source. The microphone can
be mounted in either orientation of the MV88 with the Lightning connector,
so ensure that the left and right sides are facing the appropriate direction.
Landscape (Horizontal)
Aim the front of the microphone towards the source. The microphone
can be connected in either orientation with the Lightning connector, so
ensure that the left and right sides of the MV88 are facing the appropriate
direction.
Audio Interview (Tabletop)
Set the recording device on a flat surface with one side of the microphone
pointed towards the subject and the other pointed towards the interviewer.
Select the MONO BIDIRECTIONAL preset in the ShurePlus MOTIV app.
Video Interview
To capture the voices of both the subject (on-camera) and the interviewer
(off-camera), select the MONO BIDIRECTIONAL preset in the ShurePlus
MOTIV app. Position the microphone with the left and right sides facing
each person.
Self-Recording (Voice)
Set the device on a flat surface and angle the microphone towards your
mouth. Select the MONO CARDIOID preset in the ShurePlus MOTIV app to
reduce ambient noise.
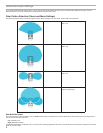
Aiming the Microphone


