


34
TASCAM DR-680MKII
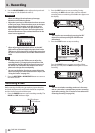
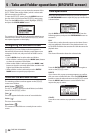
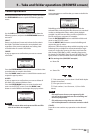
4 – Recording
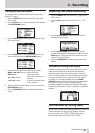
Track incrementation
With this unit, the maximum recording file size is 2 GB.
If the file size reaches 2 GB while recording, the unit
automatically continues recording in a new take and stops
recording the current take.
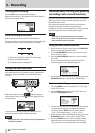
Manually incrementing tracks during
recording
You can manually create a new take during recording at
any time.
Press the REC button during recording to create a new take
and continue recording.
NOTE
•
When a new take is created, the number at the end of
the take name is increased by one.
•
You should use a folder that contains as few takes as
possible when creating new takes while recording or
when expecting to do so.
•
The maximum number of takes in a folder is about
100.
CAUTION
•
If the total number of folders and files would exceed
5000, a new take cannot be created.
•
If the total number of takes would exceed 1000, a new
take cannot be created.
•
A new take cannot be created if the recording time is
less than 4 seconds.
•
If the newly created take would have the same name
as an existing take, the numerical suffix is increased by
one as many times as necessary until a unique name
is created.
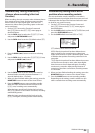
Automatically incrementing tracks by
file size
When recording, if the size of the file reaches one of the
limits listed below, the unit stops recording the current
take and starts recording in a new take without inter-
rupting the recording.
WAV/BWF: When the file size reaches 2 GB
MP3: When the file size reaches 2 GB or the recording time
reaches 24 hours
CAUTION
•
If the total number of folders and files would exceed
5000, a new take cannot be created.
•
If the total number of takes would exceed 1000, a new
take cannot be created.
NOTE
Recording times are different for the same file size
depending on the file format and recording mode.
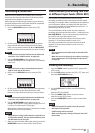
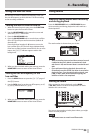
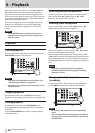
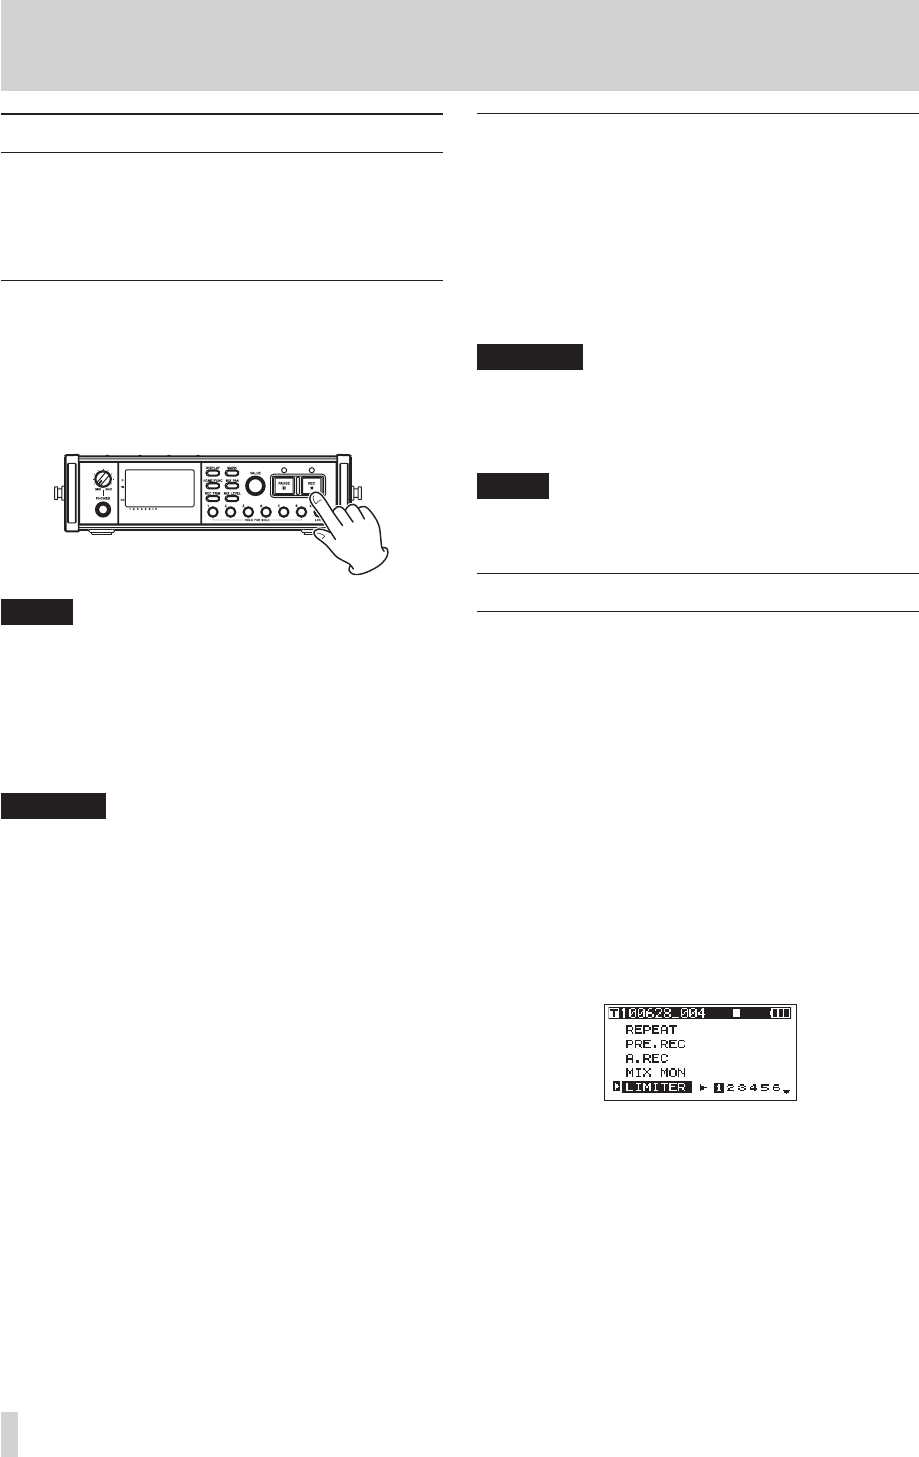
Using the limiter
Turn the limiter function ON to make the unit automati-
cally adjust the input level to prevent distortion if the input
level is too loud.
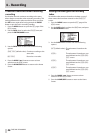
1. When the Home Screen is open, press the FUNCTION
button to open the Functions Screen.
2. Use the VALUE/MARK knob to move the cursor and
select the
LIMITER
menu item.
3. Press the VALUE/MARK knob.
4. Press the VALUE/MARK knob to turn the limiter ON or
OFF for all inputs at the same time (default: all channels
off).
Press the channel number (1–6) buttons to turn the
limiter ON or OFF for each input independently.
If the limiter has been turned ON for one or more
inputs, the
LIMITER
indicator appears with a dark
background.
5. When you have finished making the settings, press the
HOME/DISP button to return to the Home Screen.