11
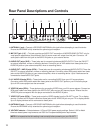
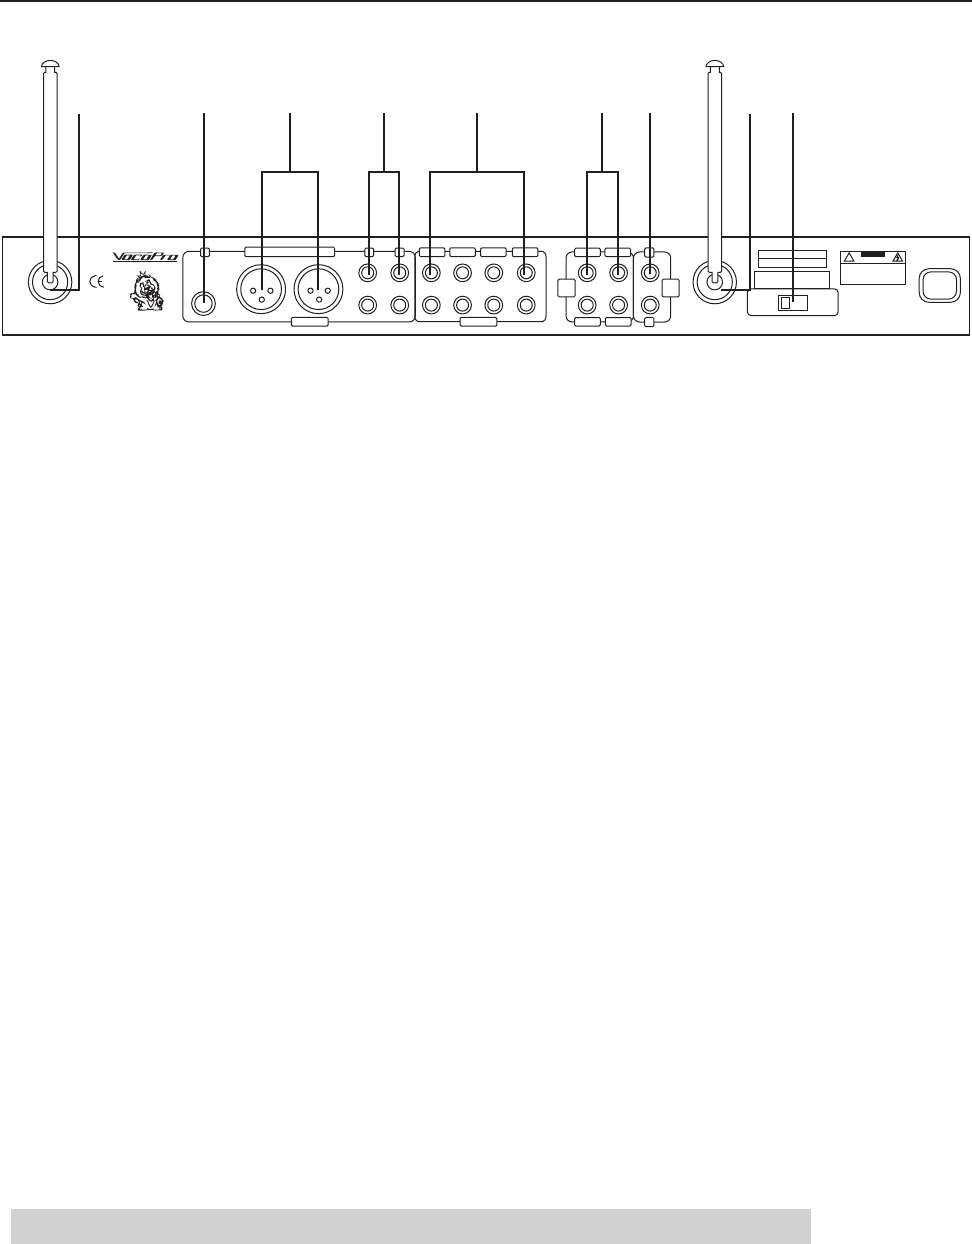
Rear Panel Descriptions and Controls
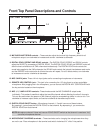
1. ANTENNA 1 jack – Connect a RECEIVER ANTENNA to this jack before attempting to use this device.
Ensure the ANTENNA is fully extended for optimal signal reception.
2. MIC OUT jack (1/4") – This jack provides an AUDIO OUT connection of MICROPHONE OUTPUT only for
vocal specific applications (vocal effects). No A/V source music will output from this jack. Connect a 1⁄4"
audio patch cable from this jack to the AUDIO IN jacks on your external device.
3. AUDIO OUT jacks (XLR) – These jacks are for connecting balanced AUDIO OUTPUT from the DA-2277
to external amplifiers, mixers or recording devices. Connect a pair of XLR cables from these jacks to the
AUDIO IN jacks on your external amplifier, mixer or recording device.
4. AUDIO OUT 1 AND 2 jacks (RCA) – These jacks are for connecting unbalanced AUDIO OUTPUT from the
DA-2277 to external amplifiers, mixers or recording devices. Connect a paired RCA patch cable from these
jacks to the AUDIO IN jacks on your external amplifier, mixer or recording device. Up to 2 devices can be
connected to these AUDIO OUT jacks.
5. A/V AUDIO IN jacks (RCA) – These jacks are for connecting AUDIO from your A/V source players.
Connect a paired RCA patch cable from these jacks to the AUDIO OUT jacks on your A/V source player.
Up to 4 A/V source players can be connected.
6. VIDEO IN jacks (RCA) – These jacks are for connecting VIDEO from your A/V source players. Connect an
RCA patch cable from these jacks to the VIDEO OUT jacks on your A/V source players. Ensure that the
VIDEO IN jacks correspond with the player connected to the AUDIO IN jacks.
7. VIDEO OUT jacks (RCA) – These jacks route the VIDEO signals from the DA-2277 to your TV or display
devices. Connect an RCA patch cable from these jacks to the VIDEO IN jack on your TV or display device.
Up to 2 display devices can be connected to these jacks.
8. ANTENNA 2 jack – Connect a RECEIVER ANTENNA to this jack before attempting to use this device.
Ensure the ANTENNA is fully extended for optimal signal reception.
9. VOLTAGE selector – Selects between 115V and 230V power supply settings. Select 110V for North
American based power requirements and 230V for European based power requirements.
NOTE: It is imperative that this setting is set correctly before powering on your DA-2277.
www.vocopro.com
LA VERNE, CALIFORNIA USA
1
2
VIDEO
OUT
VIDEO
IN
V3/LD
V4/VCV V2/CDG
V1/DVD
A1/DVDA2/CDGA3/LDA4/VCD
VIDEO INAUDIO OUT
124
3/L BALANCED OUT 3/R
MIC OUT ONLY
AC OUTPUT
!
CAUTION
RISK OF ELECTRICAL SHOCK
DO NOT OPEN
CAUTION: TO PREVENT ELECTRIC SHOCK,
DO NOT REMOVE COVER SCREWS
NO USER-SERVICEABLE PARTS INSIDE.
REFER SERVICING TO QUALIFIED
PERSONNEL
WARNING: TO REDUCE THE RISK OF
FIRE OR ELECTRICAL SHOCK
DO NOT EXPOSE THIS EQUIPMENT
TO RAIN OR MOISTURE
SERIAL NUMBER
115
ANT 2ANT 1
1 82 7 93 4 65


