Replacing/Recharging the Microphone Batteries
13
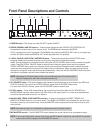
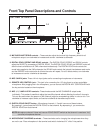
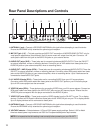
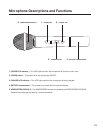
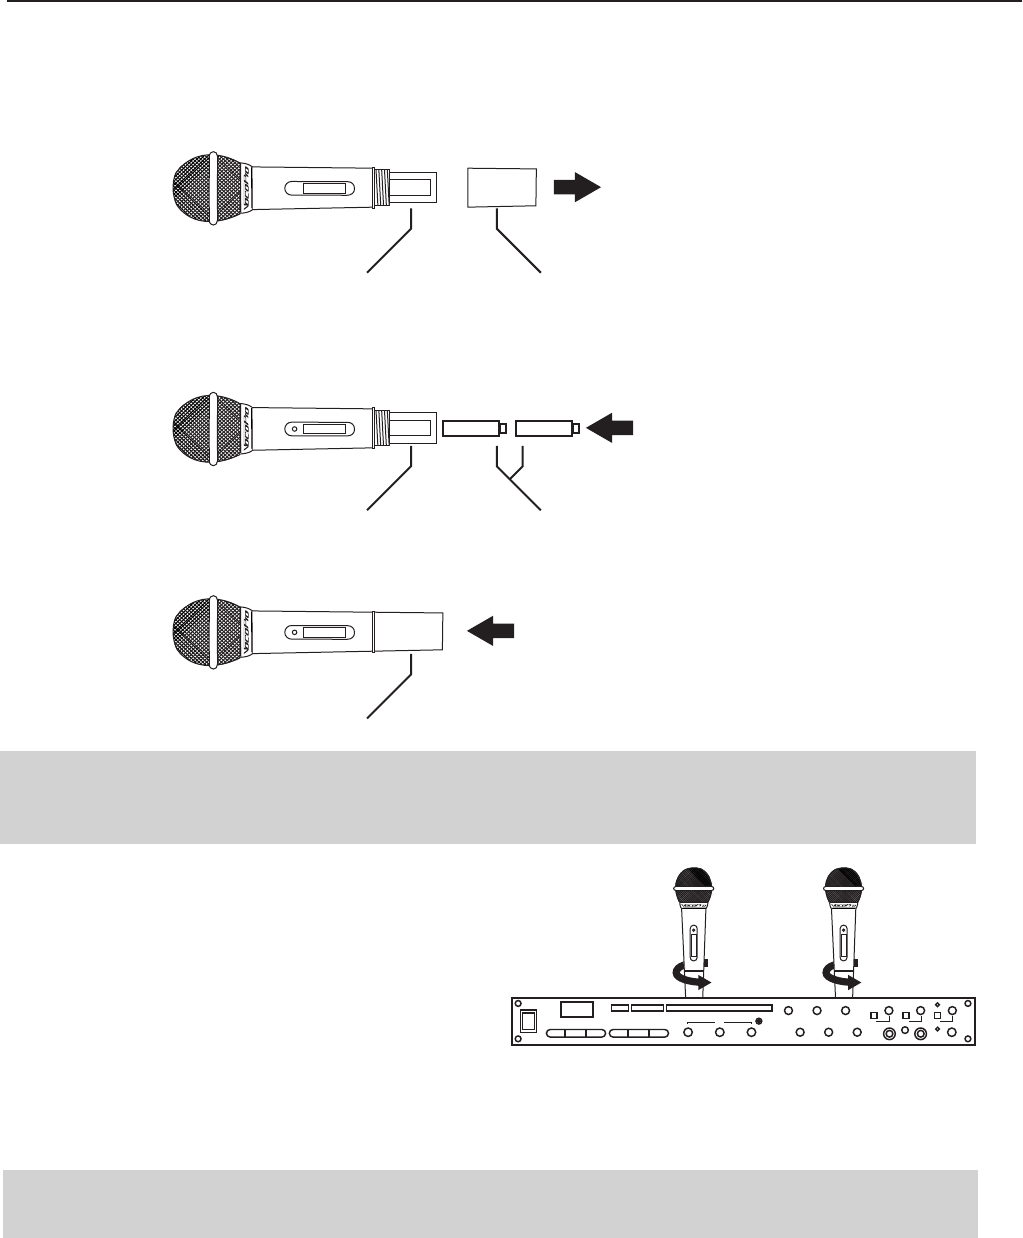
Replacing Microphone Batteries
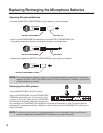
• Unscrew the BATTERY COMPARTMENT cap by twisting it counter-clockwise.
• Insert 2 new RECHARGEABLE AA batteries into the BATTERY COMPARTMENT with
the polarities matched as shown in the diagram located in the compartment.
• Replace and retighten the BATTERY COMPARTMENT cap by twisting it clockwise.
NOTE: The microphones will operate on regular non-rechargeable batteries, however when using regular
batteries, DO NOT PLACE THE MICROPHONE IN THE RECHARGING TERMINAL, as that could
cause the batteries to explode.
Recharging Your Microphones
Turn the MICROPHONE to the OFF position.
Insert the MICROPHONE into the RECHARGING
TERMINAL and carefully turn it till you hear it "lock"
in place. At that time, make sure the CHARGING
LED indicator is illuminated. When the microphone is
fully recharged, the CHARGING LED indicator will no longer be illuminated. In case you need to end the
recharging of a microphone manually, carefully turn the microphone till the CHARGING LED indicator is no
longer illuminated.
NOTE: To maintain long-life use from a rechargeable battery, do not recharge for more than 8 hours or
allow to recharge after the CHARGING LED indicator is no longer illuminated.
BATTERY COMPARTMENT BATTERY LID
BATTERY COMPARTMENT
BATTERY COMPARTMENT CLOSED
BATTERIES
DIGITAL KEY CONTROLLER
Digital Key Control Mixer with/Dual Rechargeable Wireless Mic System
POWER Down Vocal PartnerVocal Cancel A/V SourceNormal Up
Music
0 0
0
0
5
10
10
0
-15 +15
0
-15 +15
0 10 0 10
9
Mic 4 Input Mic 3 Input
Remote
Key Control
Delay Repeat Digital Echo Mic 4 Mic 3
Mic 1 (wireless)
Mic 2 (wireless)
Echo On Echo On Echo On
Mic Master
Bass Treble


