


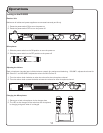
13
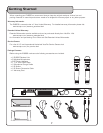
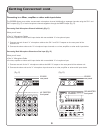
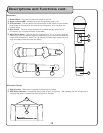
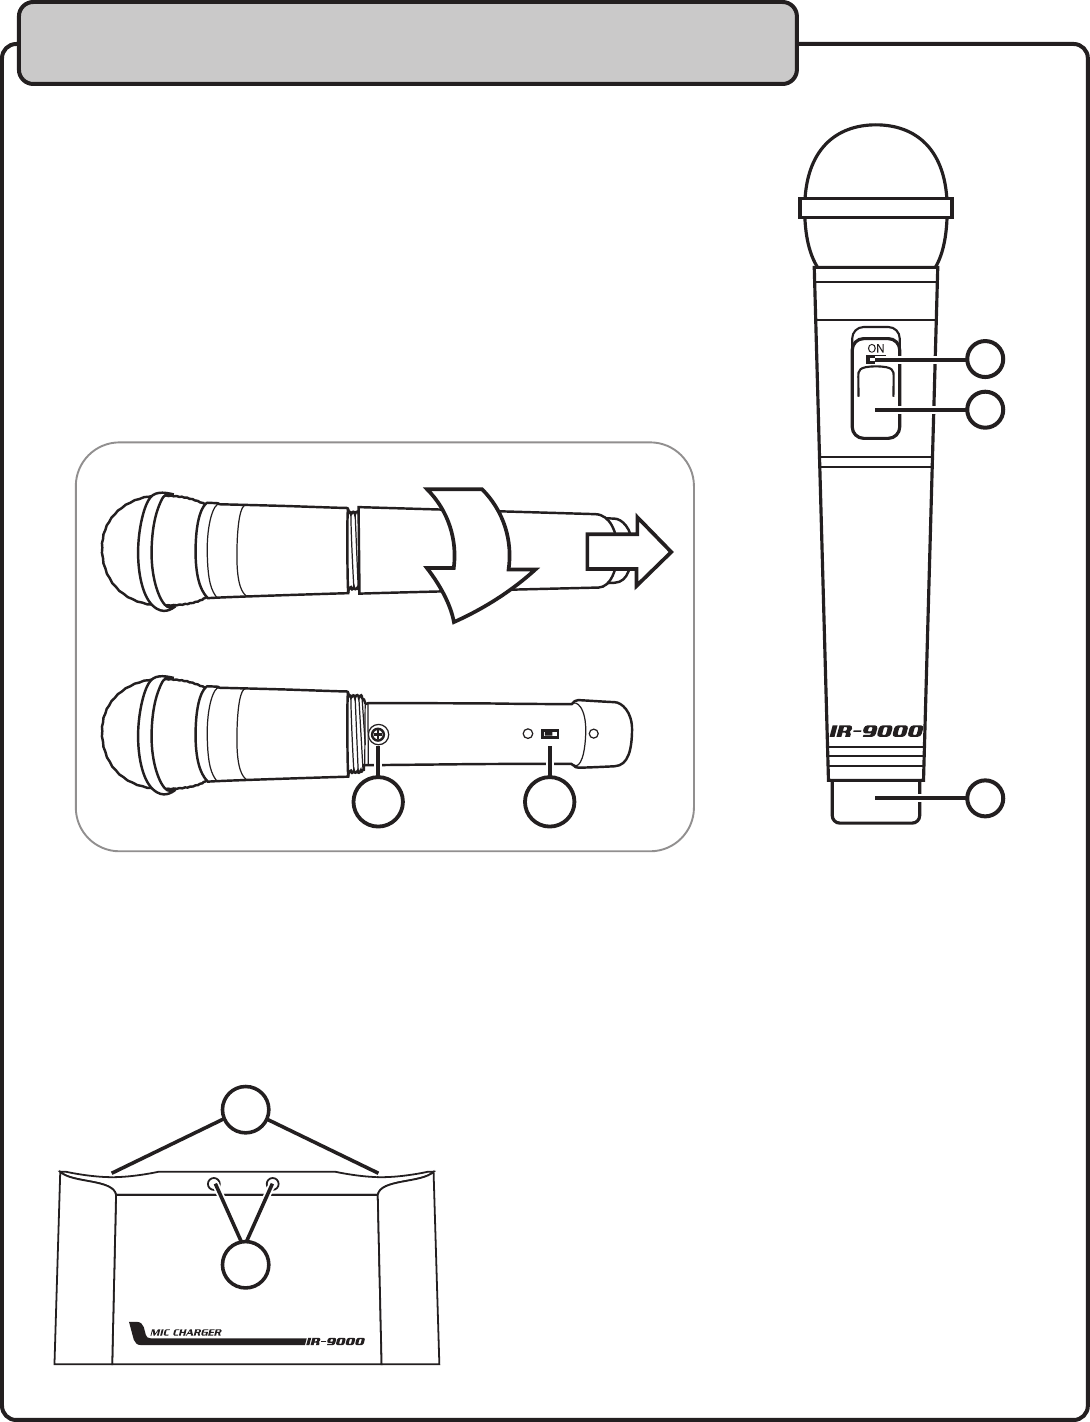
Microphone
1. Power Switch - Turns the microphone’s power on and off
2. Power indicator LED - Indicates when the microphone’s power is on.
4. IR Transmitter - This lens emits the infrared signal to the sensor on the receiver.
Note: Keep hands away from this part of the microphone, as it may block the
infrared signal.
4. Gain Control - Turn this control clockwise to increase the gain output of the
microphone, turn counter-clockwise to decrease.
5. Signal Hi/Lo Switch - Use this switch to toggle from a “hi” or “lo” signal strength
that will give your microphone signal an extra boost if you would like to extend the
range of the microphone. Note: The high setting will cause more power use and
drain the battery faster than the low setting.
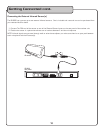
Microphone Charger
1. Charging slots - Place the microphones in these slots to charge.
2. LED charge indicators - indicate the charge level of each microphone. Red indicates that the microphone is
charging and green indicates that the microphone is charged.
Descriptions and Functions cont.