


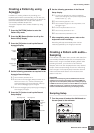
Step 5: Creating a Pattern
MOTIF XS Owner’s Manual
39
Start Guide
Creating a Pattern by using
Arpeggio
In addition to creating a Pattern by recording your
keyboard performance conventionally, you can also use
the powerful Arpeggio playback features of the MOTIF XS
(described below) and even record audio data from
commercially available sample CDs.
This section explains how to create a Pattern by using
Arpeggio.
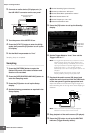
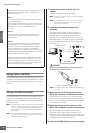
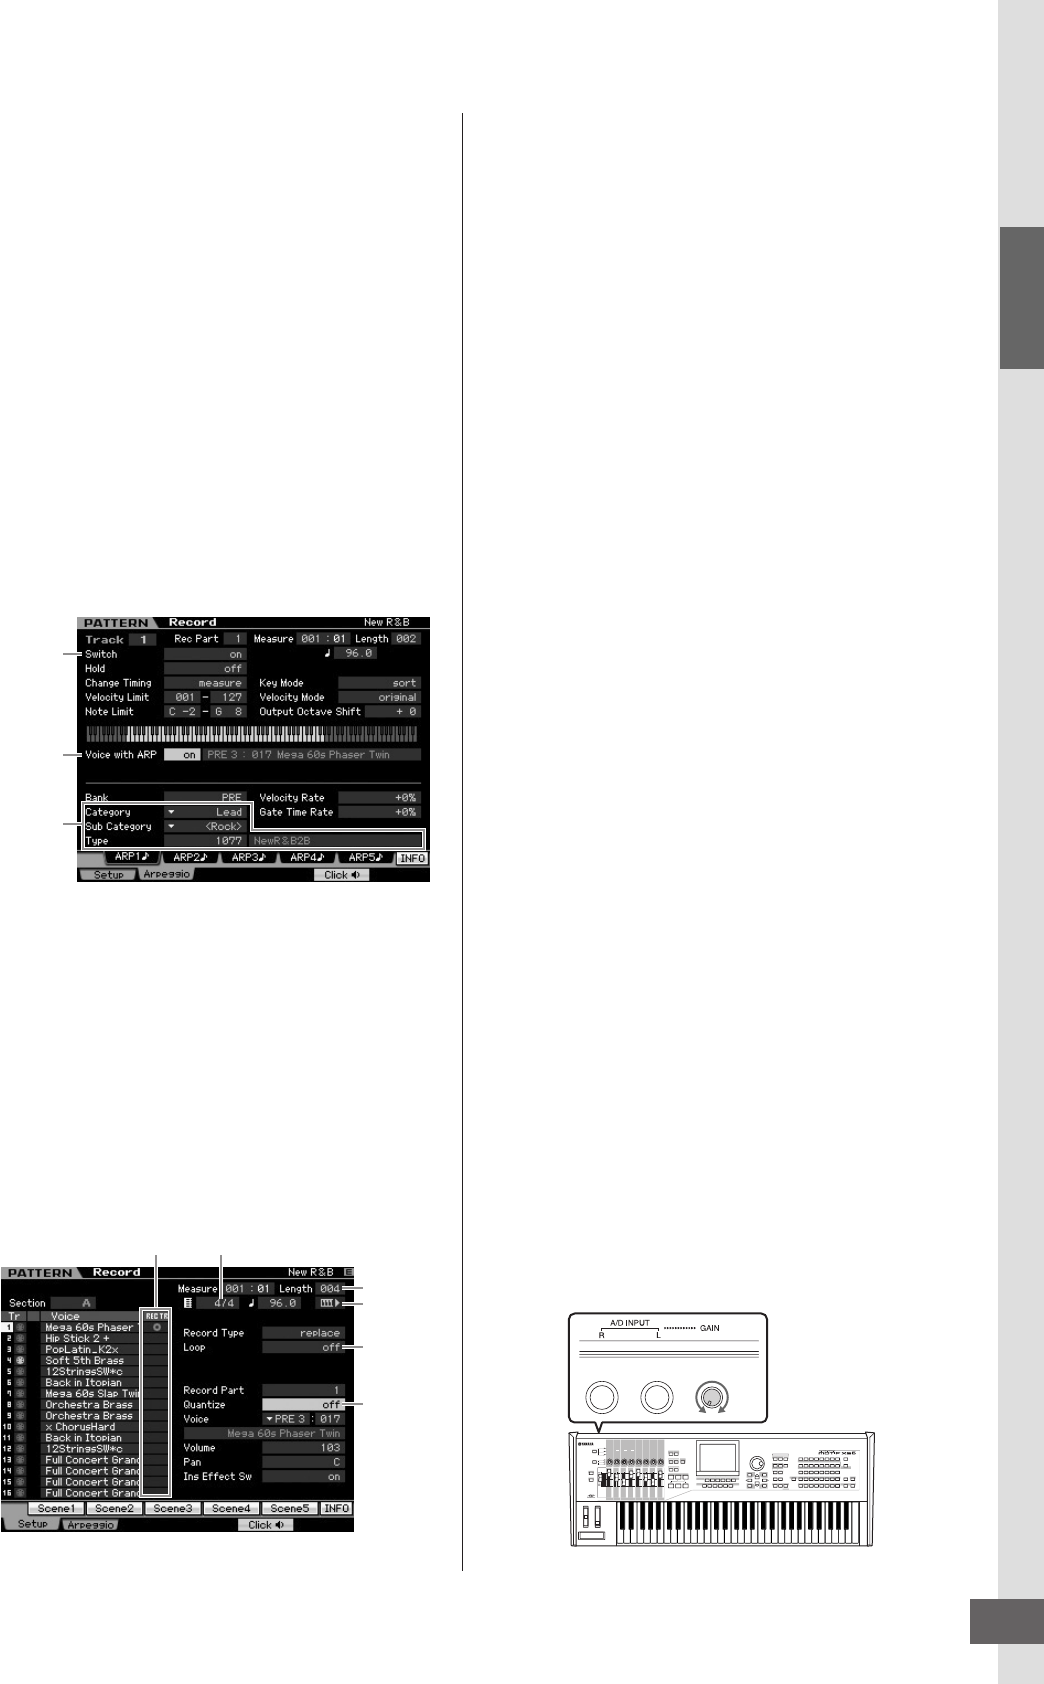
1 Press the [PATTERN] button to enter the
Pattern Play mode.
2 Press the [I] (Record) button to call up the
Record Setup display.
3 Press the [F2] button to call up the Record
Arpeggio display.
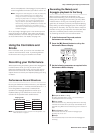
4 Set the following parameters as required in the
Arpeggio Record display.
4-1 Set the Switch parameter to on.
4-2 Set the Voice with Arpeggio (ARP) parameter to on.
When this is set to “on,” the Voice matching the
selected Arpeggio type is automatically called up
each time the Arpeggio type is changed.
4-3 Select the Arpeggio type by specifying the Category,
Sub Category and Type.
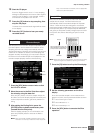
5 Press the [F1] button to call up the Record
Setup display.
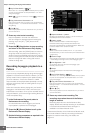
6 Set the following parameters in the Record
Setup display.
6-1 To select the desired track, press the [TRACK]
button (the lamp lights), then press the appropriate
Number button [1] – [16].
6-2 Set the Time Signature to “4/4.”
6-3 Set the Pattern length to a value equivalent to the
Arpeggio length.
6-4 Turn the Keyboard Start icon “on.”
6-5 Set the Loop parameter to “off.”
6-6 Set the Quantize parameter to “off.”
7 After completing setup, press a note on the
keyboard to start recording.
Recording will stop automatically when the last
measure (specified by the Length) is reached.
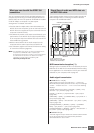
Creating a Pattern with audio—
Sampling
In this section, you’ll learn how to record audio data (from
commercially available sample CDs, for example) to the
Pattern track, using the versatile Sampling feature. After
recording the audio, you can slice it into individual
Samples, which can then be played back at any desired
tempo—without compromising the sound or introducing
pitch changes. These step-by-step instructions assume
that the recorded audio data is a one-measure drum
pattern in 4/4 time.
Important
In order to use the Sampling function, DIMM modules must be
installed to the instrument. For details on installing DIMMs, see
page 295. The recorded (edited) sample data residing temporarily
in DIMM is lost when the power is turned off. Make sure to prepare
a USB storage device or a computer connected to the same
network as the MOTIF XS before using the Sampling function.
••••••••••••••••••••••••••••••••••••
Sampling Setup
1
Turn the power off and set the GAIN knob on
the rear panel to the minimum.
Arpeggio
Switch
Voice with
Arpeggio
Arpeggio type
selection
Recording Track Time Signature
Length
Keyboard
start
Loop
Quantize
Min.
Max.