


32
BStart Recording.......................................................................................................................................
Play on the keyboard. Recording will begin automatically as soon as you start
playing.
NOTES
• You can turn the metronome on before or during recording (the metronome
sound will not be recorded).
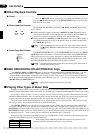
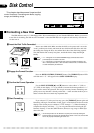
NStop Recording.......................................................................................................................................
Stop recording by pressing the [START/STOP] button or the [REC] button.
When recording has finished the indicator of the recorded track will glow green,
indicating that the track is ready for playback.
NOTES
• The PDP-400 may continue to write data to the disk for a short time after you stop
recording. “
rEc
” will appear on the display while this occurs. DO NOT eject the
disk while this display is showing.
MPlay Back the Recording .......................................................................................................................
Press the [START/STOP] button to play back your recording. Play along on the
keyboard if you like. During playback you can use the [oPAUSE], [r REW],
and [f FF] buttons, as described on page 30. You can also change the playback
tempo via the TEMPO [▲] and [▼] buttons.
<Stop Playback .........................................................................................................................................
Playback will stop automatically when the end of the recording is reached, or
you can press the [START/STOP] button to stop it at anytime.
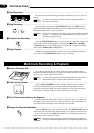
Multi-track Recording & Playback
ZInsert a Formatted Disk..........................................................................................................................
If you haven’t already done so, make sure that a properly formatted disk is
loaded into the PDP-400 disk drive (see page 38), and that the disk’s write protect
tab is set to the “write” position (tab closed).
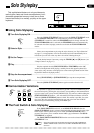
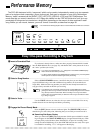
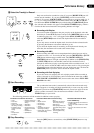
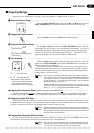
XSelect a Song Number ...........................................................................................................................
Select a SONG NUMBER between 1 and 60 for the piece you are about to
record (up to 60 different songs, each with a different song number, can be re-
corded on a single disk). Make sure the song number you select has not already
been used for a song previously recorded on the disk you are using.
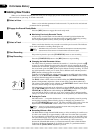
CSet All Performance Features As Required .........................................................................................
Set up all necessary performance features as required: voice, voice mode (nor-
mal, dual, or split), style, tempo, foot switch function, etc. Try out the features as
you select them to check that you have the right overall sound.
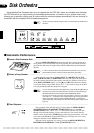
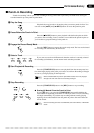
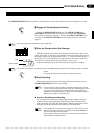
VEngage the Record Ready Mode...........................................................................................................
Press the [REC] button so that its indicator lights. The [RIGHT/1TR] indicator
should also glow red at this point, indicating that you are ready to record on track
1. As soon as you release the [REC] button the first dot of the beat indicator will
begin to flash at the currently set tempo.
NOTES
• Be careful not to start recording prematurely by either playing the keyboard or
pressing the [START/STOP] button before you’ve completed the following steps.
Performance Memory
NOTES
• If a disk is already loaded and the [SONG SELECT] indicator is out, press the
[SONG SELECT] button so that the indicator lights before proceeding.
REC
START/STOP
/
START/STOP
/
1
SONG NUMBER
REC