Viewing Automatically Configured IP Information 41
Connecting to the
Console Port
Alternatively, you can view the automatically configured IP information
via the command line interface (CLI) through a connection to the console
port. (This example describes a local connection to the console port,
rather than a remote one via a modem.)
Pre-requisites
■ A workstation with terminal emulation software installed, such as
Microsoft Hyperterminal. This software allows you to communicate
with the Switch via the console port directly, or through a modem.
■ Documentation supplied with the terminal emulation software.
■ The RJ-45 to RS-232 cable supplied with the Switch
You can find the pin-out diagram for this cable in
Appendix B
on
page 69
.
■ A Category 5 twisted pair Ethernet cable with RJ-45 connectors to
connect your Switch to the network.
Connecting the Workstation to the Switch
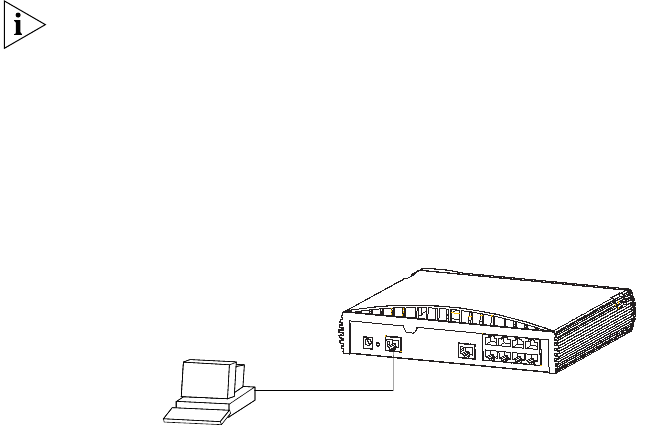
1 Connect the workstation to the console port using the RJ-45 to RS-232
cable as shown in Figure 10.
Figure 10 Connecting a workstation to the Switch via the console port
To connect the cable:
a Attach the RJ-45 to RS-232 cable to the console port on the Switch.
b Connect the other end of the cable to one of the serial ports (also
known as a COM port) on your workstation.
c Tighten the retaining screws on the RS-232 connector to prevent it
from being loosened.
Console Port
Connection
Standard Null Modem Cable
Workstation
(with terminal emulation
software installed)
Switch
