24 C1624M-F (9/07)
4. As an alternative, click a camera in the list with the left mouse button. To select several cameras, press and hold the Control or Shift key
while you select more cameras or a range of cameras from the list. From the Explorer view you can select a camera group.
5. After you have selected a camera or cameras, drag the selected camera icon into the video pane of your choice. The video from that camera
appears in the video pane almost immediately. If there is audio associated with that camera, it will begin playing when the video starts. If
you cannot hear the audio, click the video pane to select it. If you select several cameras, they are loaded into the workspace video panes
in the order in which they appear in the camera list. If you select more cameras than the workspace is set up to display, only the first few
cameras are displayed in the workspace. The remaining cameras are ignored.
A “Connecting…” message may appear briefly in the pane before the video starts. The pane displays “Connect Failed” if the connection did
not succeed.
Figure 16. Selecting a Camera
To move a camera directly from one video pane to another, press the Shift key on your keyboard and then click the video you wish to move
and drag it to a different pane. To assign video to a second video pane without disconnecting it from the first one, press the CTRL key while
you drag the video to the second pane.
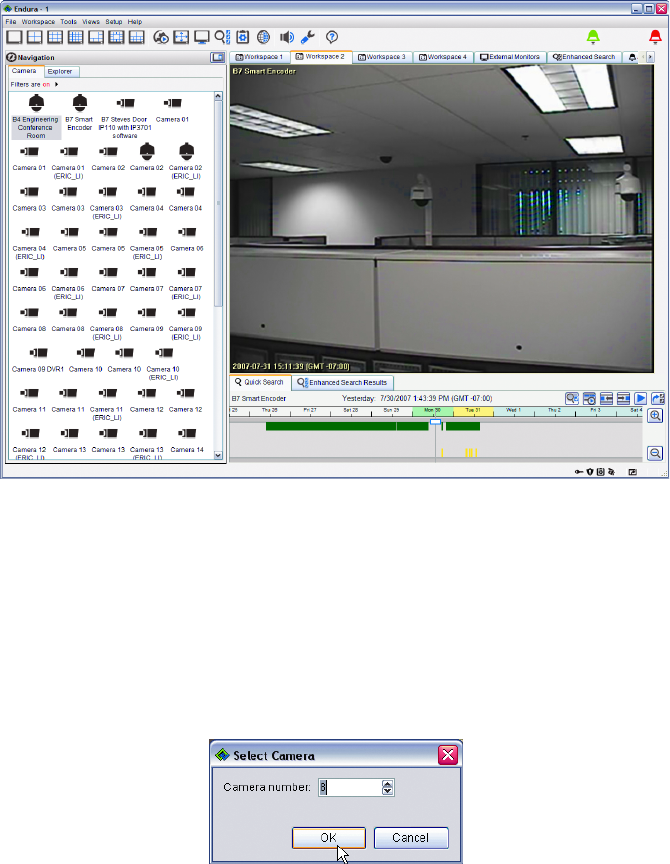
Instead of clicking and dragging a camera, you can also select a camera by its number. To select a camera by number:
1. Right-click in the video pane.
2. Select “Select Camera Number…” from the shortcut menu. The “Select Camera” dialog box appears.
Figure 17. Selecting a Camera by Number
3. Type or use the up or down arrow to select a camera number. You must enter a camera number that has been assigned to select a camera
with this method.
4. Click OK to select the camera or Cancel to exit without selecting it.


