Enhancing Resolution
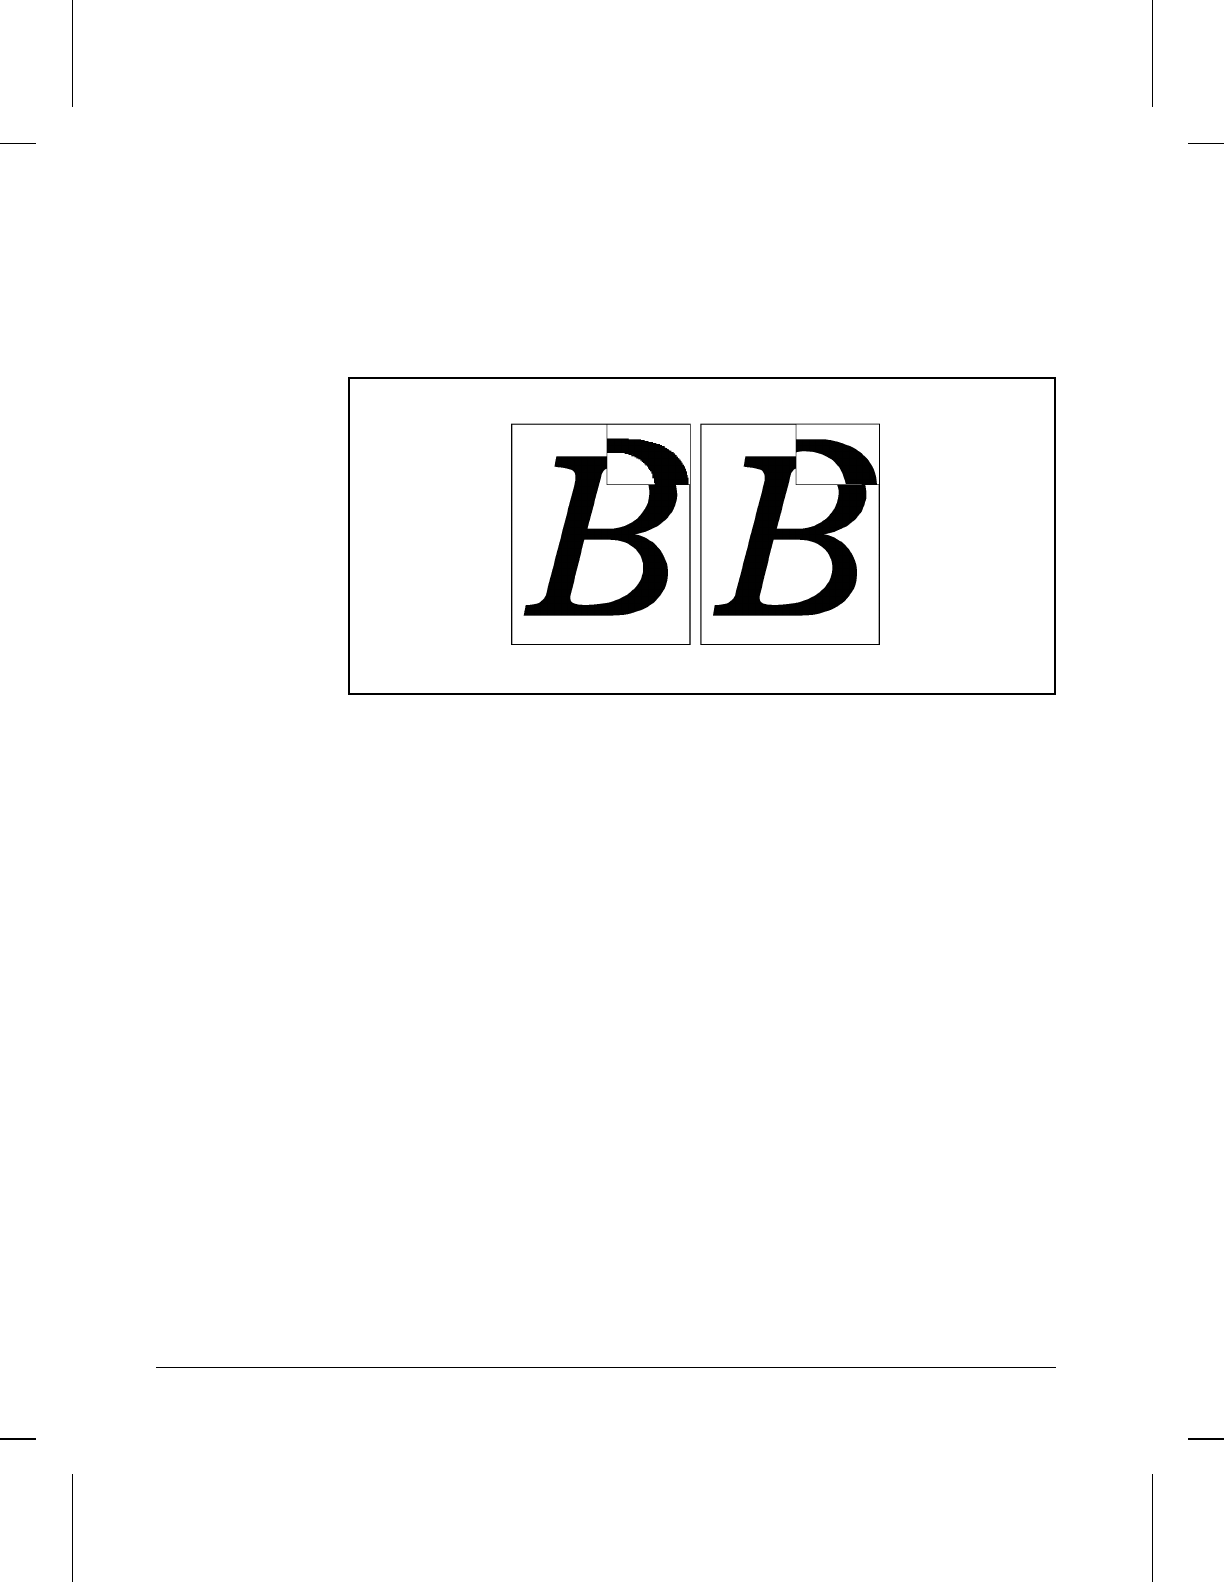
Resolution Enhancement technology (REt) refines the print quality of
characters and graphics by smoothing the fine gradations along the angles
and curves of the printed image. Figure 5-3 shows two magnified images:
the left one shows REt set to OFF; the right one shows it set to MEDIUM, the
default. You can also select LIGHT or DARK.
To adjust REt:
You can change this setting using the software that came with your printer
(see software and online help) or through the printer’s control panel by
following these steps:
1 Press [On Line] to take the printer off line.
2 Press [Menu] until PRINTING MENU appears.
3 Press [Item] until RET=setting appears.
4 Press [+] or [Shift] + [-] until the setting you want appears.
5 Press [Enter] to save your selection. An asterisk (*) appears next to your
selection.
6 Press [On Line] to place the printer back on line.
Checking the Effect of an REt Setting
You can check the effect of a REt setting by printing a self test at 600 dpi
and examining the Resolution Enhancement block on the printout (see
Figure 5-1, Item 12). The Resolution Enhancement block does not appear on
self test printouts printed at 300 dpi.
Figure 5-3
5-14 Special Tasks


