7E
Recording
Basic SetupConnections Playback EditingIntroduction Function Setup Others
Español
DUBBING
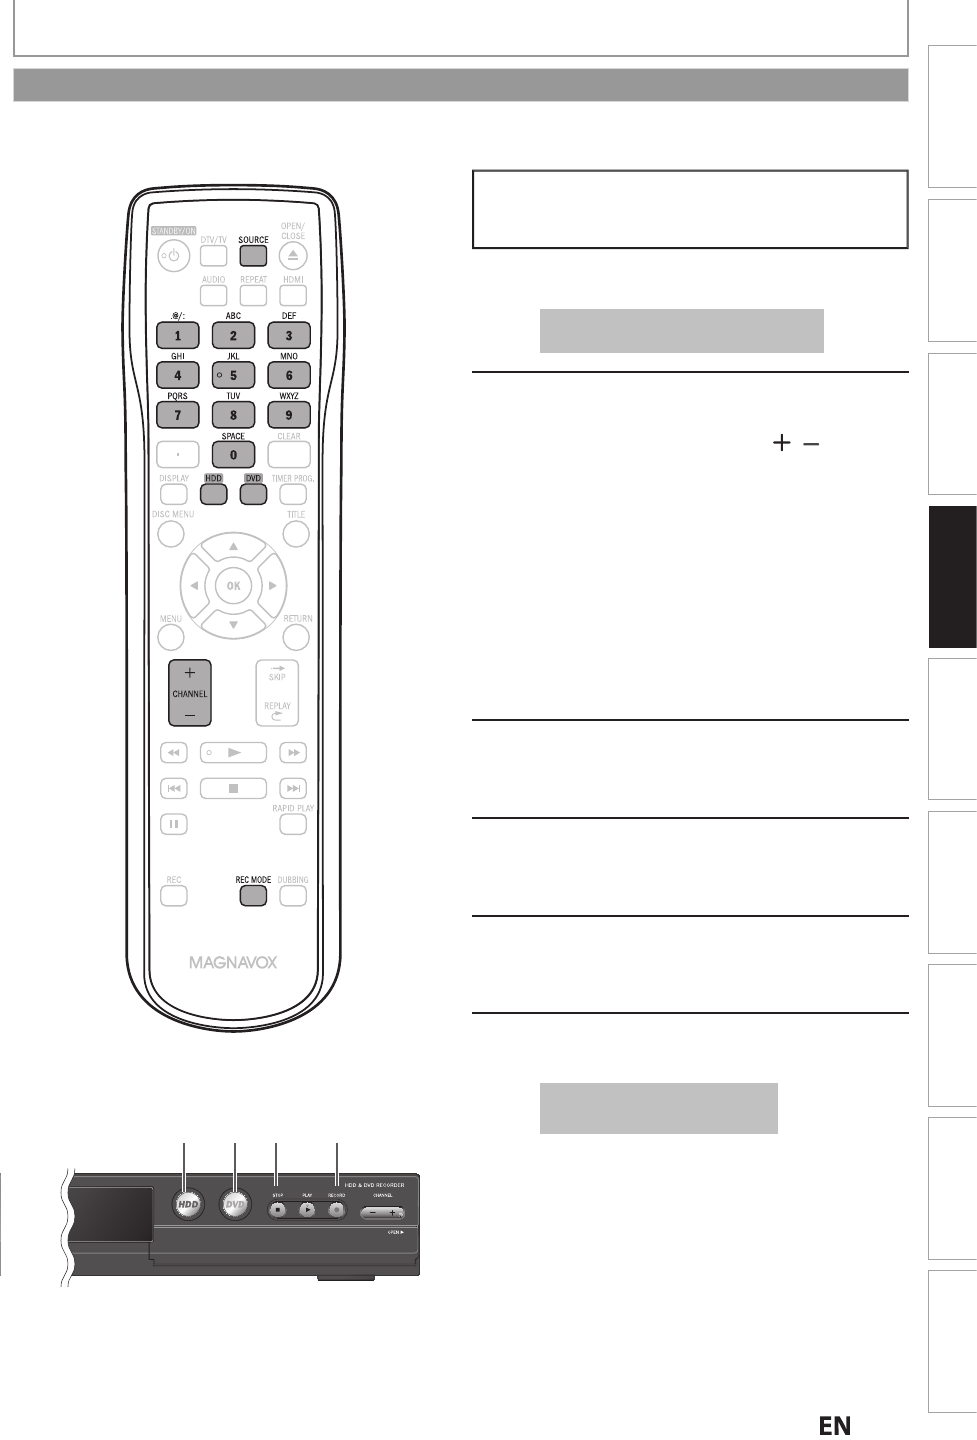
If
ou are recording to the HDD, press
HDD
first
then
procee
to step 2.
If you are recording to a disc, press
DVD
first
Insert a recordable disc (refer to page
27 on how to insert a disc)
It may take a while to load the disc
ata after the disc tray closes.
Select the appropriate external input
channel (L1, L2 or L3) by pressing
[SOURCE] or [CHANNEL
.
• If the external device is connected to the rear
f this unit, select L1.
• If
h
x
rn
l
vi
i
nn
h
fr
n
f this unit, select L2 or L3.
• If
ou are connecting the digital video
amcorder to the DV-IN input of this unit, refer
o pages 58-60
• You can a
so se
ect L1 or L2 c
anne
y using
the Number buttons
.g.) For L1, press
0
0
1
or
2, press
0
0
2
.
For L3, press
0
0
3
Press [REC MODE] repeate
y to
se
ect a recor
ing mo
e
Re
er to “Recording Mode” on page 42.
Press
ECORD] on the unit to start
recordin
Start p
a
ac
on t
e externa
evice
to record
rom.
Press
C
TOP] on the unit to stop
recordin
This operation may take a
while to be completed
Be
ore recording
rom an external device, re
er to the instructions
or the connection on page 55.
Recording from an External Device


